Contractor estimates can look similar on the surface and still represent very different work. One estimate can include prep, repairs, and finish details. Another can be “labor only” with key assumptions that shift costs later. Understanding how to read an estimate helps you compare options fairly and avoid surprises after work starts.
This guide explains how to read finish work estimates (tile, painting, vinyl, door installation, cabinet installation, drywall, exterior house painting) in a practical way.
Quick takeaways
- Clarity on what’s included is the biggest predictor of a smooth project. Vague estimates create change orders and frustration.
- Prep details matter. Prep is where quality comes from, and it should be addressed explicitly.
- Assumptions should be written down. “Owner provides materials” and “existing surface is sound” are real estimate drivers.
- Comparing bids requires comparing what’s included. Lowest price isn’t meaningful if what’s included isn’t equivalent.
0) What an estimate is (and what it is not)
An estimate is a written summary of what’s included, assumptions, and pricing. It is not a mind reader. Two estimates can both say “paint the living room” and still mean very different things.
Before you compare numbers, treat an estimate as a “what’s included” document. Ask:
- What is included?
- What is excluded?
- What assumptions are being made about the existing conditions?
When what’s included is clear, the project is usually smoother. When it’s vague, the project often becomes a series of change orders.
1) Start with the “what’s included” statement
A good estimate clearly states:
- What service is being provided
- What areas are included (rooms, walls, square footage)
- What is excluded (and why)
If the estimate feels like “paint: $X” with no details, ask for clarification before you compare it to other bids.
1a) Watch for missing boundaries
Many estimate problems come from missing boundaries. For example:
- “Paint kitchen” can mean walls only, or walls + ceiling + trim, or even cabinets.
- “Install vinyl” can mean install only, or install + demo + subfloor prep + transitions.
- “Tile backsplash” can mean tile install only, or tile + wall prep + outlet adjustments + edge trim.
If boundaries are not listed, ask for them.
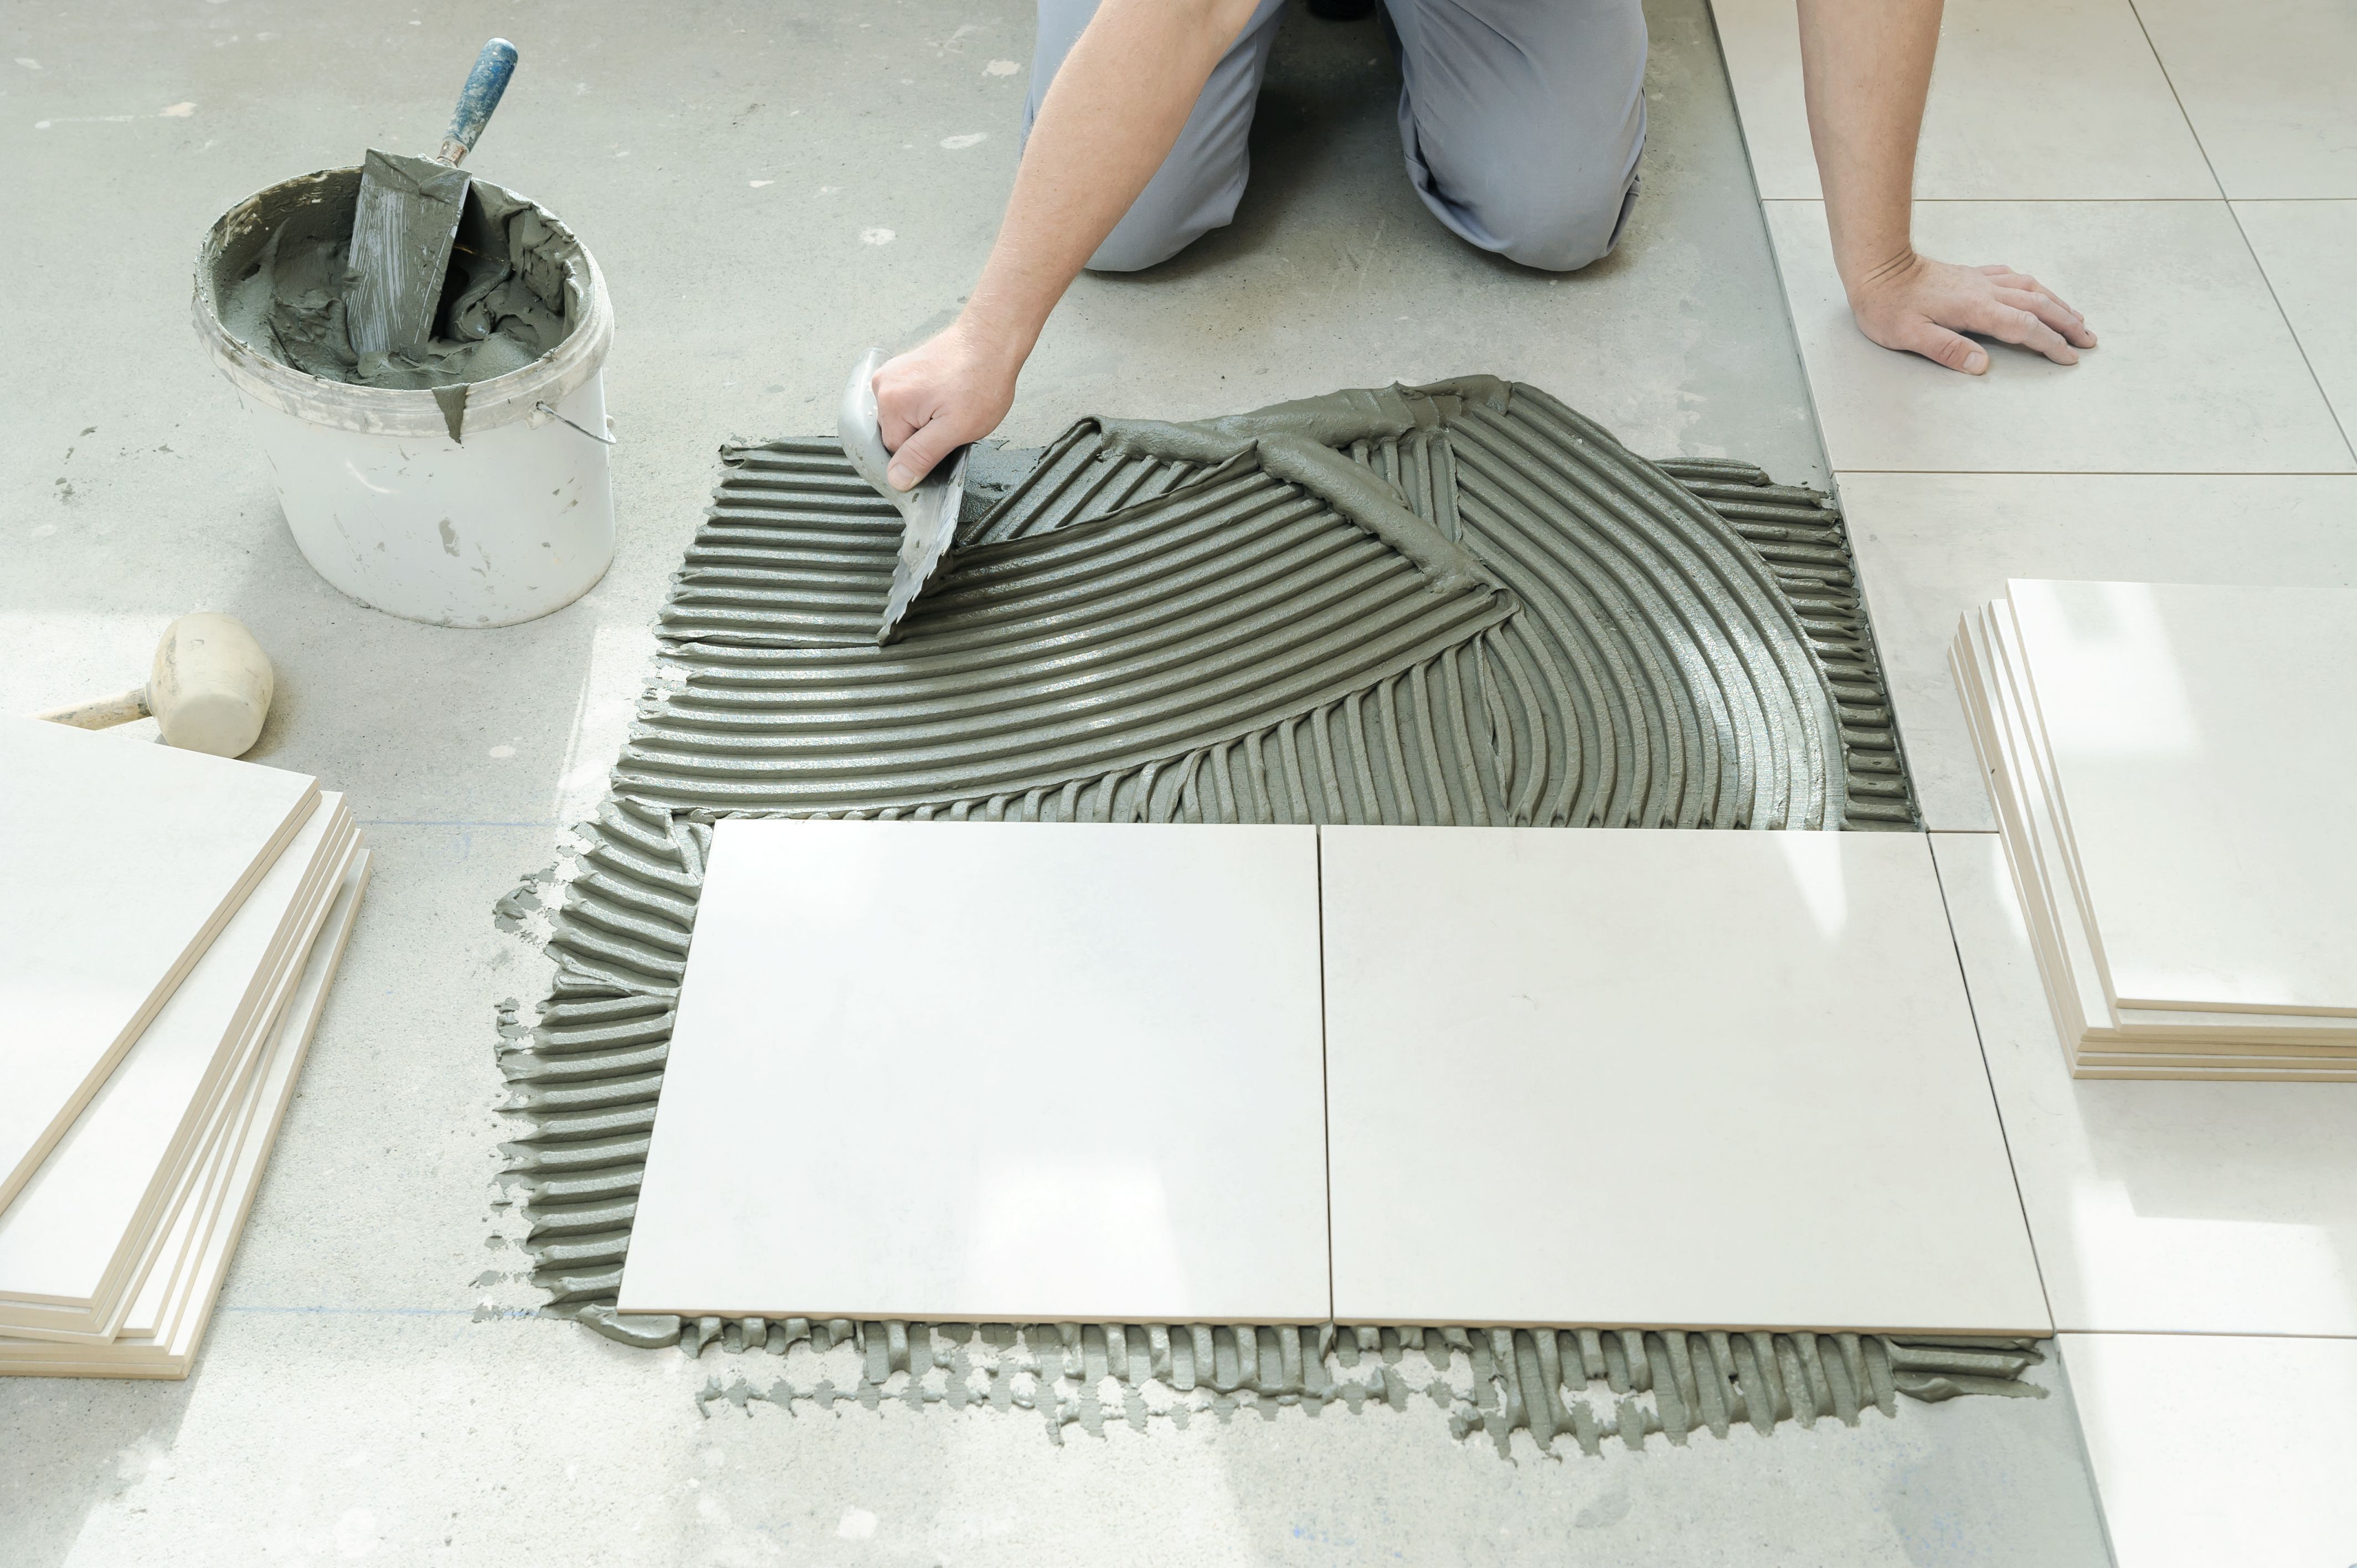
2) Look for prep and repair language
Prep is often the difference between:
- “Fresh paint” and “finished paint”
- “Tile installed” and “tile looks intentional”
Examples of prep items that often change the estimate:
- Drywall patching and sanding
- Surface cleaning/degreasing
- Removing loose paint outside
- Subfloor flattening for floors
Related guides:
- Drywall repair basics: Drywall repair guide
- Tile base prep: Tile subfloor prep and flatness
2a) Prep is where bids become “apples to oranges”
One contractor may include a high prep standard, while another assumes the surface is perfect. The price difference is not necessarily “one is expensive.” It may be “one is doing more work.”
If you want a fast way to compare prep:
- Ask each bidder to describe prep in 3-5 bullet points.
- Ask what repairs are included vs. billed separately.
- Ask how the finish standard will be verified (walkthrough checklist, photos, etc.).
3) Materials: who provides what?
An estimate should clarify:
- Who provides finish materials (tile, paint, flooring)
- Who provides consumables (tape, plastic, fasteners)
- Whether trim pieces and transitions are included
If you’re supplying materials, the estimate should still specify what product details matter (thickness, size, finish).
If you want a simple way to send materials info, use: Quote request checklist.
3a) The “materials vs labor” misunderstanding
Sometimes a bid looks low because it excludes materials. Sometimes a bid looks high because it includes:
- Finish materials (paint, tile, flooring)
- Setting materials (thinset, underlayment, primer)
- Finish details (transition pieces, trim)
If you’re comparing bids, verify whether each bid is:
- Labor only
- Labor + consumables
- Labor + all materials
4) Assumptions: the fine print that can change the price
Common assumptions that can shift the estimate:
- Existing surfaces are sound
- No hidden damage
- No asbestos/lead testing included
- Access is available during certain hours
- Furniture is moved by homeowner
Assumptions aren’t “bad.” They just need to be clear so expectations match reality.
4a) Hidden conditions are normal (plan for them)
Finish work often reveals things you cannot see until demolition or prep begins:
- Damaged drywall behind old cabinets
- Soft subfloors under old flooring
- Old paint that is loose or chalking
- Out-of-square corners that affect trim and tile layouts
The best projects treat hidden conditions as a possibility and define how changes will be handled.
5) Line items vs. lump sum: what’s better?
Both can be fine. What matters is clarity.
Line items can help you understand:
- What portion of cost is prep vs. finish
- Where changes will affect price
Lump sum can be fine if what’s included is extremely clear and supported by notes and photos.
5a) Allowances (a common source of confusion)
Some estimates use allowances: a placeholder amount for materials or a specific part of the work. Allowances can be reasonable, but they should be written clearly:
- What the allowance covers
- What happens if actual cost is higher or lower
- Whether labor changes if the selected material changes
If you see allowances, ask for details so you know what the final price could become.
6) Comparing bids fairly
To compare bids, build a simple checklist:
- Same areas included?
- Same prep standard?
- Same finish details (edges, transitions, trim)?
- Same material responsibilities?
- Same timeline and access assumptions?
If what’s included isn’t equivalent, the price comparison isn’t meaningful.
6a) Build an “apples to apples” comparison sheet
If you’re comparing multiple bids, make a simple list and fill it in for each bidder:
- Areas included
- Prep included
- Materials responsibility
- Edge/transition details included
- Timeline and working hours
- Cleanup and disposal included
- Warranty or callback policy (if any)
This turns a confusing comparison into a clear decision.
7) Questions worth asking before you choose
Here are practical questions that improve clarity:
- What level of prep/repair is included vs. optional?
- What is assumed about the existing surface condition?
- How are edge details handled (tile trims, flooring transitions, paint cut lines)?
- What is the expected timeline and sequencing?
- How are changes handled if hidden issues are found?
7a) Questions that reveal finish quality (without being confrontational)
If you want to understand quality expectations, ask:
- How will you handle edges and transitions so the finish looks intentional?
- What is your plan for protecting floors and finished surfaces during the job?
- What does “prep” include for this specific surface?
- What should I expect the home to look like at the end of each day (cleanliness and access)?
Good contractors usually have clear answers because they have a repeatable process.
8) Service-specific estimate checklists (what to look for)
These are not universal rules, but they are common line items that help you compare what’s included.
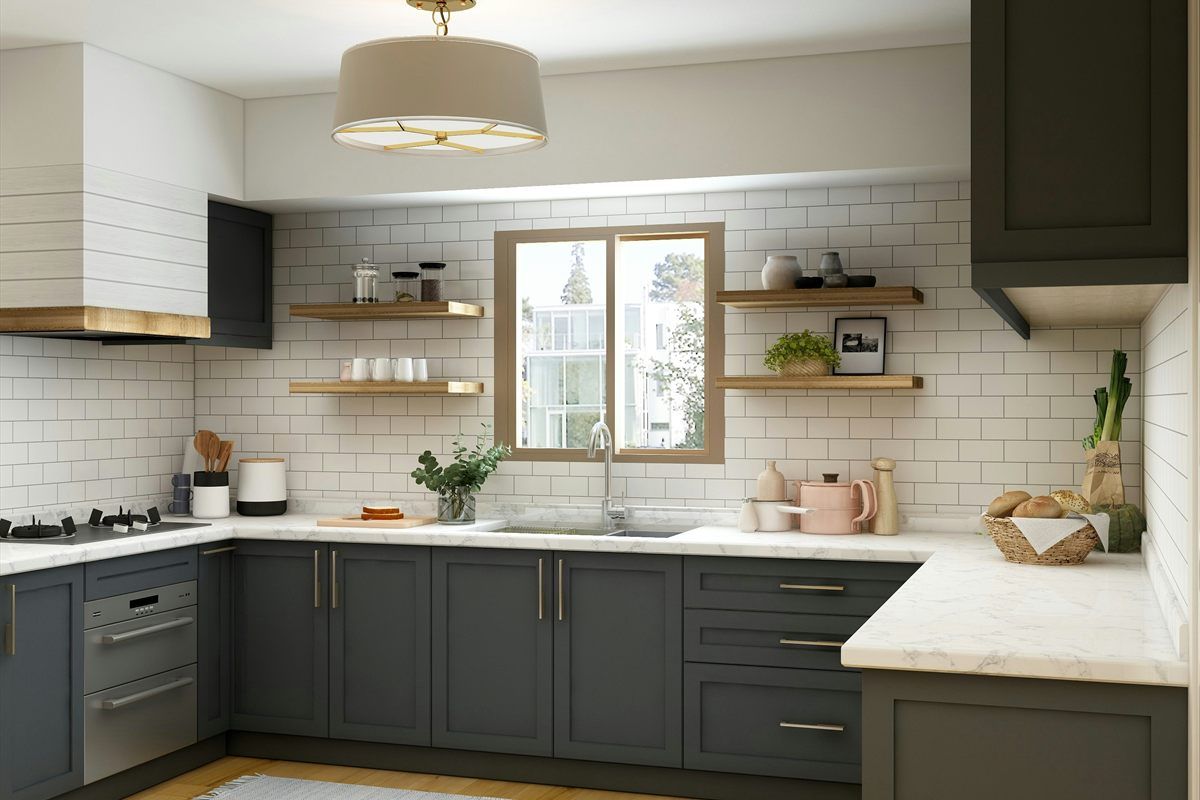
Tile
Look for clarity on:
- Surface prep and flatness plan (especially for floors)
- Layout plan and edge trim decisions
- Waterproofing approach if the area is wet or splash-prone (if applicable)
- Grout and caulk locations (especially at changes of plane)
- Demo and disposal (if existing tile is removed)
Helpful planning guides:
Interior painting
Look for clarity on:
- What is painted (walls, ceilings, trim, doors)
- Repair details (patching, sanding, stain blocking)
- Primer strategy if stains or major repairs exist
- Number of coats (or coverage expectations)
- Protection and cleanup plan
Helpful planning guides:
Vinyl flooring
Look for clarity on:
- Demo and disposal (remove existing flooring or install over?)
- Subfloor prep (flatness and squeak/soft spot plan)
- Underlayment requirements (per product)
- Transition pieces at doorways and to other floors
- Baseboard strategy (remove/reinstall vs shoe molding)
Helpful planning guides:
Door installation
Look for clarity on:
- Slab vs. prehung replacement approach
- Hardware included or excluded
- Trim and casing details (reuse vs replace)
- Threshold and weather details for exterior doors
Helpful planning guides:
Cabinet installation
Look for clarity on:
- Layout plan source (supplier plan vs field-verified)
- Leveling and shimming approach in an imperfect room
- Fillers, panels, and trim included or excluded
- Hardware install included or excluded
- Coordination with countertops and backsplash timing
Helpful planning guides:
Drywall repair
Look for clarity on:
- Repair areas and finish expectation (smooth vs texture match)
- Primer and paint touch-up approach after repairs
- Moisture history and what is assumed about it
Helpful planning guides:
Exterior house painting
Look for clarity on:
- Cleaning and scraping details
- Caulking details (where, and how much)
- Priming details (spot vs full)
- Protection plan for landscaping and adjacent surfaces
- Weather window expectations
Helpful planning guides:
8) FAQs
Why are two estimates so different for the “same” project?
Usually because what’s included isn’t actually the same. Prep, repairs, materials, and finish details can vary dramatically.
Should I choose the lowest bid?
Choose the bid with the best clarity on what’s included and a plan that matches your expectations. Price matters, but what’s included and finish standard matter too.
How do I avoid change orders?
You can’t eliminate them entirely, but you can reduce surprises by clarifying what’s included, assumptions, and finish details up front.
What should be in writing before work starts?
At minimum, make sure you have:
- Clear boundaries (what is included and excluded)
- Material responsibilities (who buys what)
- Schedule expectations (start date range and working hours)
- Change handling process (how changes are approved and documented)
This reduces confusion and sets everyone up for a smoother project.
Is it rude to ask for more detail?
No. Clarity helps both sides. A clear estimate reduces misunderstanding and reduces time spent re-explaining decisions later.
Next steps
- Review our services: Services
- See how work is sequenced: Our process
- Start a quote request: Request a quote


Need help planning the next step?
Share photos and rough measurements to get a clear yes/no on fit and the right follow-up.