Tile can look excellent in the middle and still look unfinished at the edges. Many of the “professional finish” details live at the ends: where tile stops, where it meets another surface, and how exposed edges are finished.
This guide explains common tile edge and transition options and how to choose what fits your space and your style.
Quick takeaways
- Decide edges early. Edge choices affect layout, ordering, and cut placement.
- Metal profiles are predictable. They create clean lines without needing special edge tile pieces.
- Transitions are where height differences show up. Flooring thickness and adjacent surfaces need a plan.
- Corners usually need a specific strategy. Corners are rarely “just grout.”
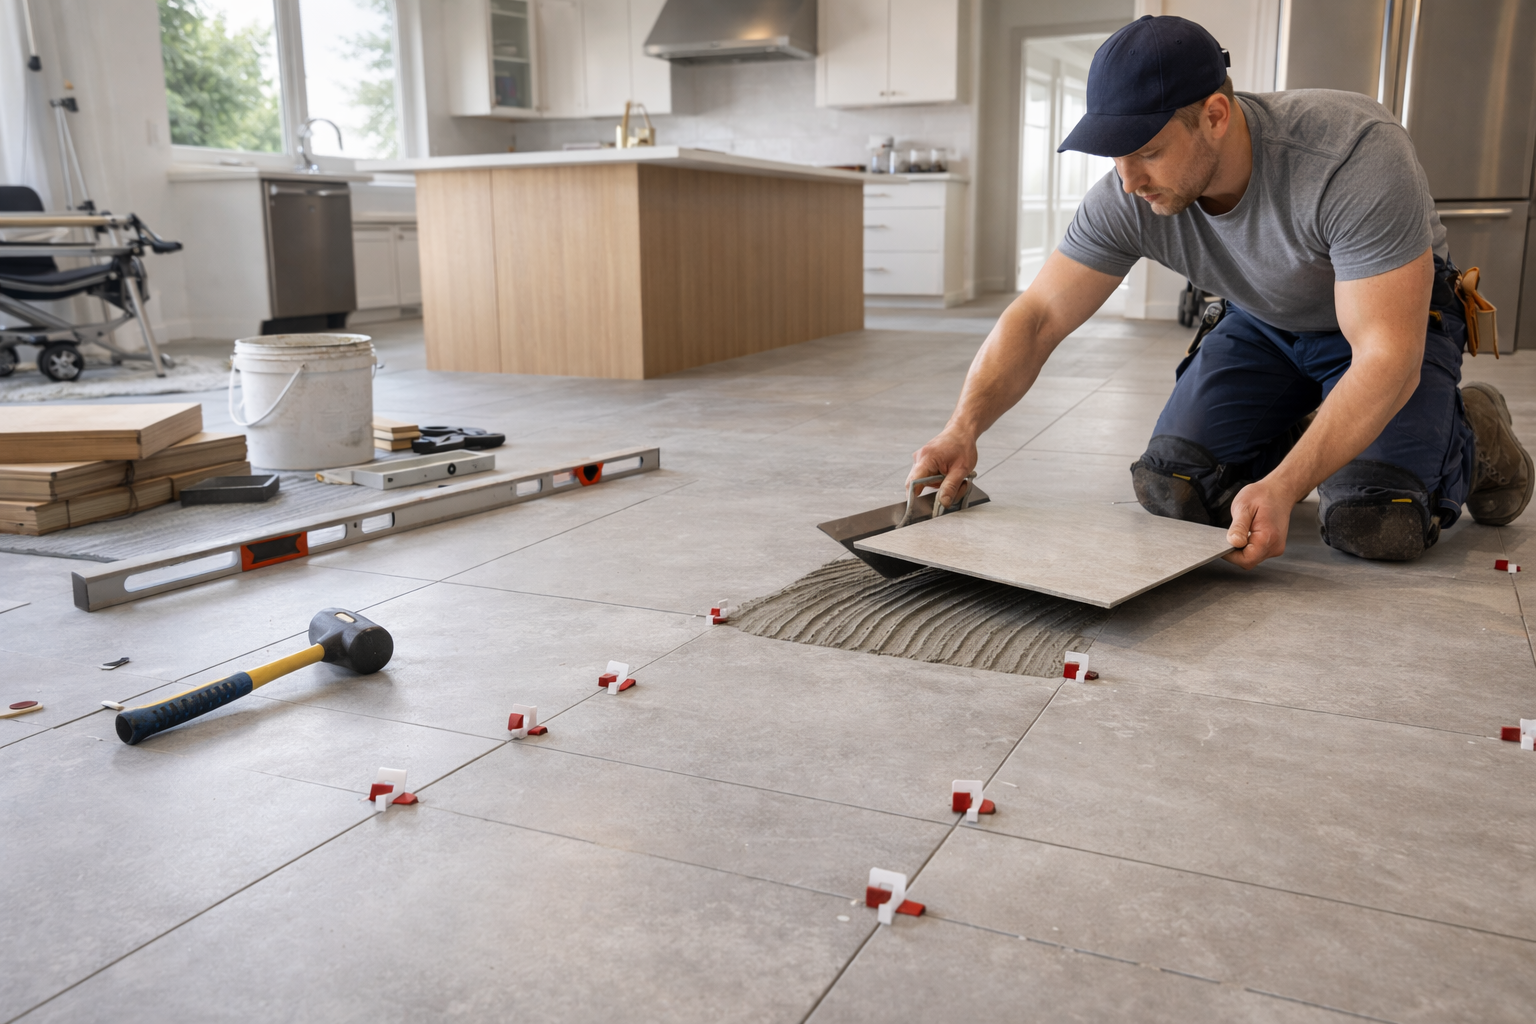
0) Why edges are the difference between “installed” and “finished”
Most tile looks great in the middle. The edges are where people judge the work:
- Does the tile terminate cleanly, or does it look like it just stops?
- Are exposed edges sharp or chipped?
- Do transitions feel safe underfoot?
- Do lines look straight and intentional at corners and thresholds?
Edge decisions also affect layout. If you pick a profile that adds a visible line, you may want your layout to align to it. If you plan a mitered corner, you may need extra attention to tile consistency and cut quality.
1) Identify every exposed edge
Before choosing a trim option, list where tile ends. Common edge locations:
- End of a backsplash run
- Outside corner of a wall or half wall
- Around a niche or feature area
- Where tile meets painted drywall
- At a doorway threshold
- Where tile meets vinyl or another floor finish
One project can have multiple edge conditions. It’s normal to use different solutions in different areas.
1a) A quick list of edge questions to answer early
If you want a simple edge planning checklist:
- Where does tile stop on each side (exact boundary)?
- Is the tile edge exposed (yes/no)?
- If exposed, what finishes it (metal profile, bullnose, miter, or another detail)?
- What surface does tile meet (painted drywall, countertop, vinyl, carpet)?
When these are decided early, tile layout becomes much easier.
2) Wall tile edge options
Metal edge profiles
Profiles (often aluminum or stainless) create a crisp, durable edge. They’re popular because:
- They come in many finishes
- They create a consistent, straight line
- They reduce the need for matching bullnose pieces
Choosing a profile finish (so it looks intentional)
Profile finish should relate to nearby finishes. Common things to coordinate with:
- Faucet finish
- Cabinet hardware finish
- Door hardware finish
- Light fixture finish
You do not have to match everything perfectly. The goal is to avoid a random mix of metals in a small area where the eye can see them all at once.
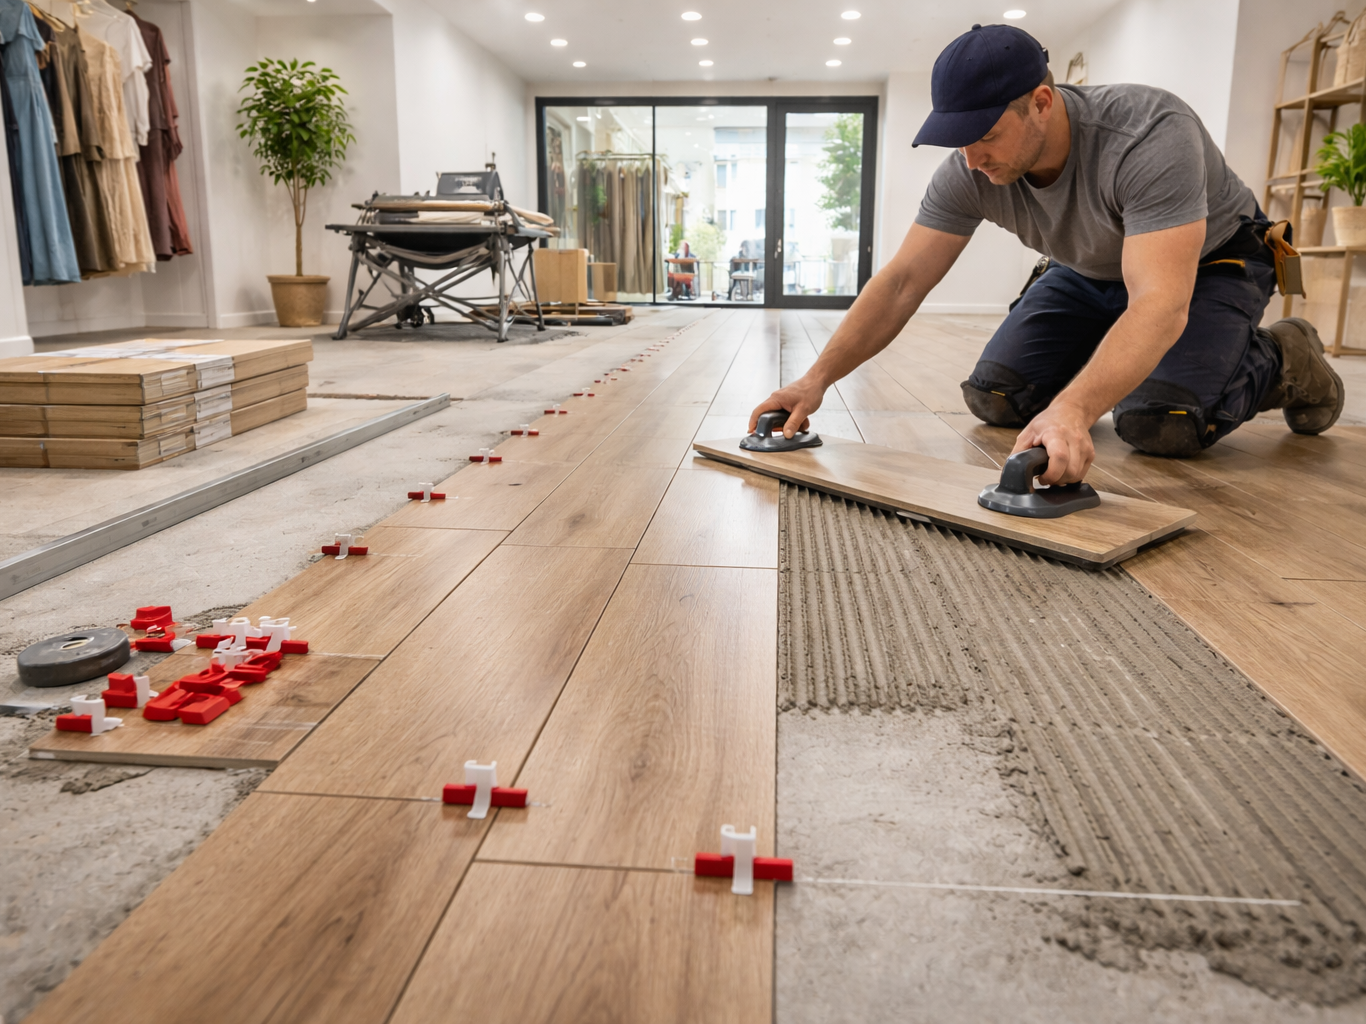
Profile sizing (why tile thickness matters)
Profiles are chosen to match tile thickness and installation detail. This is one reason a product link is so helpful: the tile thickness and edge shape can change what profile works cleanly.
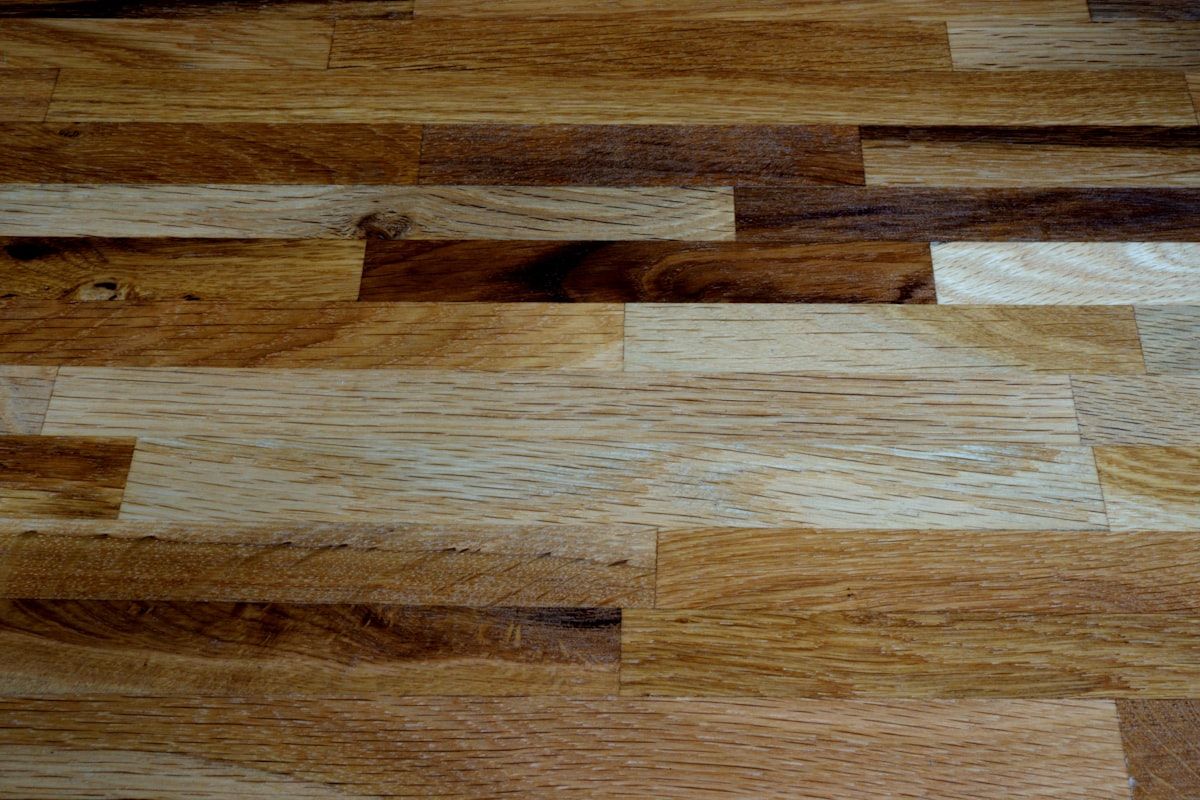
Bullnose or finished edge tiles
Some tile lines offer bullnose pieces. Pros:
- Classic, cohesive look
- No separate metal finish to match
Trade-offs:
- Not every tile line includes bullnose
- Matching can be difficult if the tile is special order or discontinued
Mitered edges (where two tiles meet cleanly)
Miters can look premium but require precision. They’re less forgiving of:
- Out-of-square corners
- Tile variation
- Inconsistent cuts
Miter planning tip
Miters can look great, but they are less forgiving of out-of-square corners. If your corner is not square (common in many homes), planning for how that miter will look is part of getting a good result.
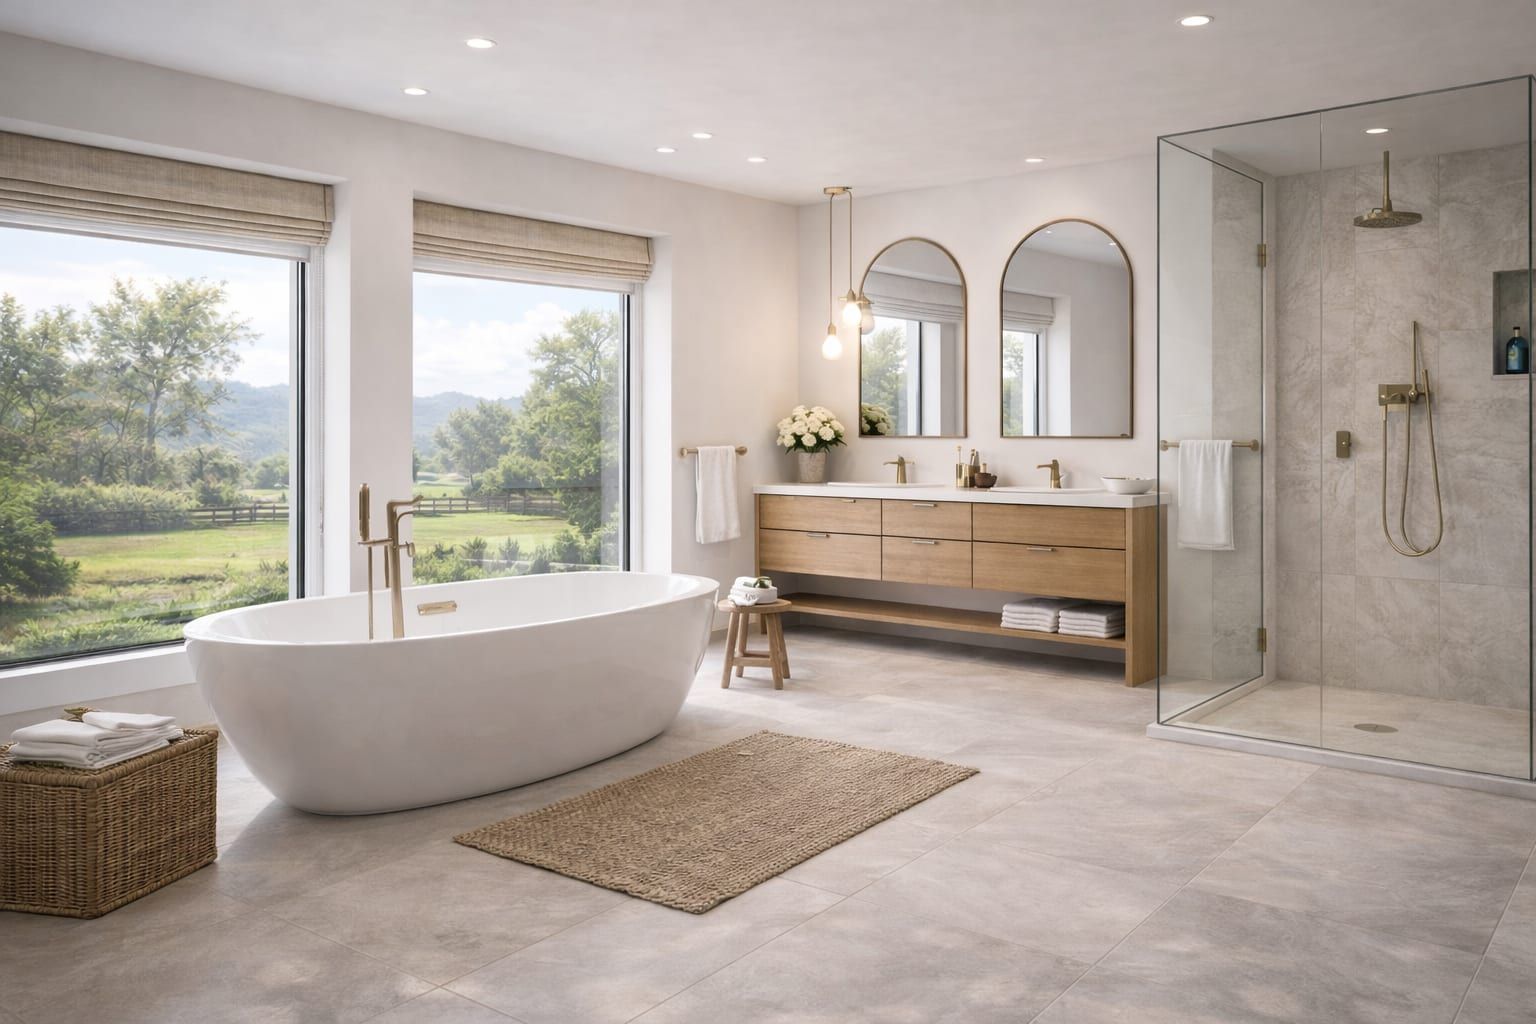
3) Inside corners and changes of plane
A change of plane is where one surface meets another:
- Wall-to-wall corners
- Wall-to-floor transitions
- Countertop-to-backsplash joints
These joints can move. A clean finish usually relies on:
- Straight, consistent lines
- A joint strategy that fits movement realities
3a) Grout vs. flexible joints (what to plan)
At changes of plane, the goal is a clean line that holds up. Movement is normal. Planning questions that help:
- Where should the joint be treated as a change of plane?
- What finish line will look clean (especially with contrasting grout)?
- How will the corner line look in strong light?
If you want a deeper layout guide, this post helps explain why wall tile and floor tile planning differ: Tile installation: floor vs. wall.
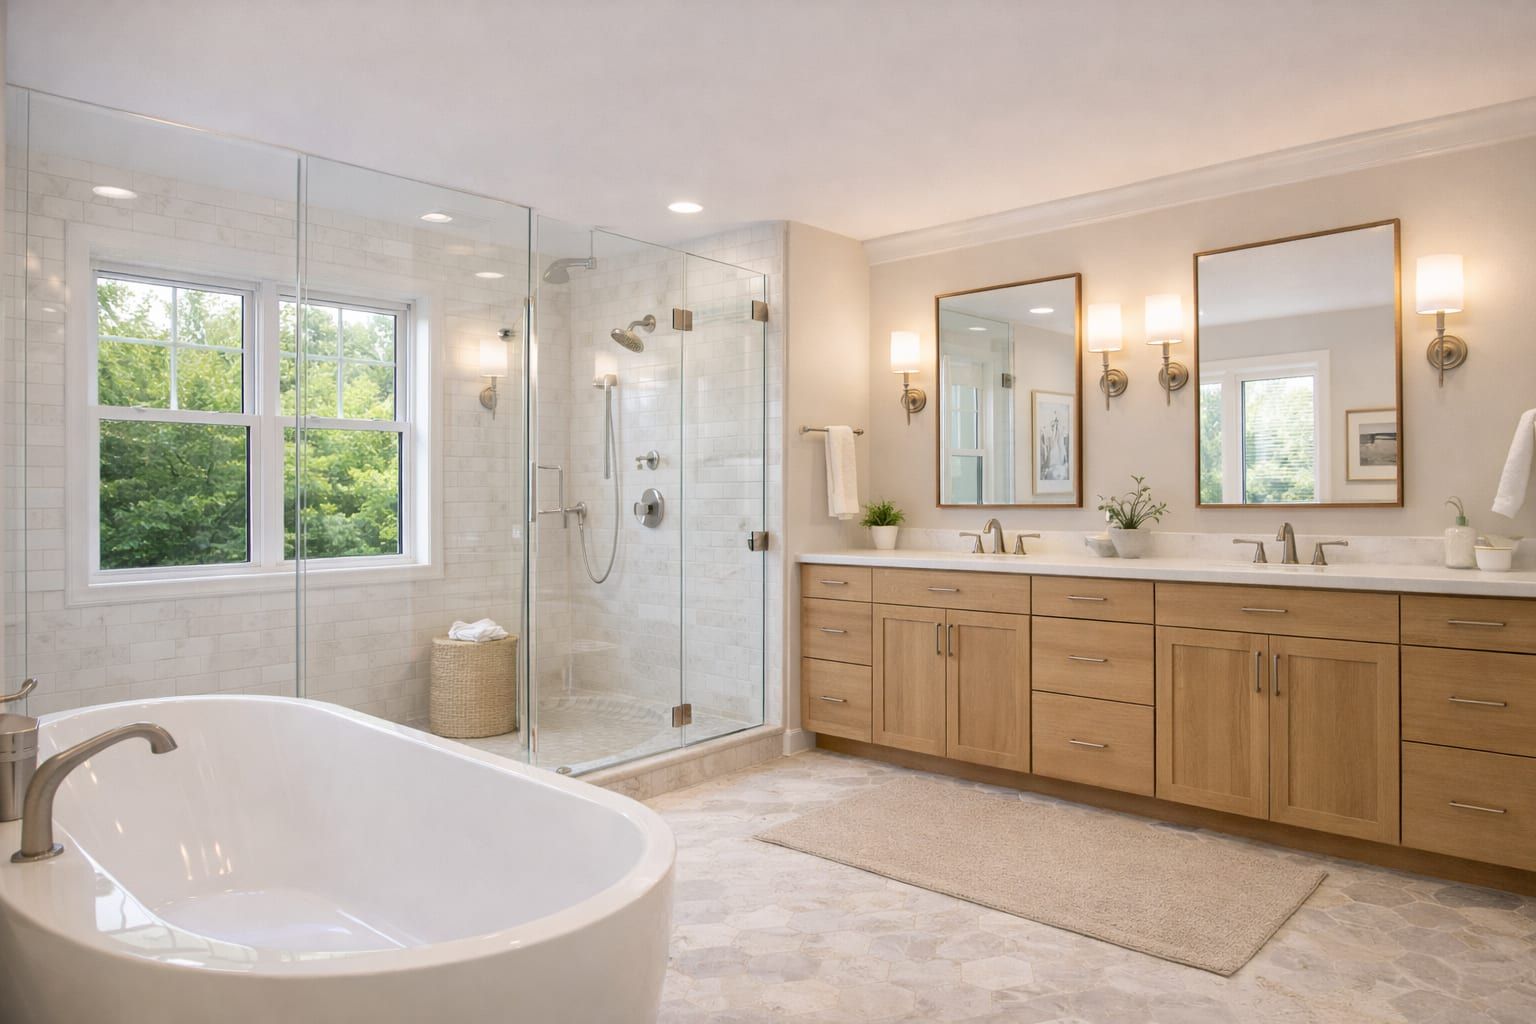
4) Countertop-to-backsplash transitions
Backsplashes end at the countertop. That line is highly visible. Factors that affect the finished look:
- Is the countertop perfectly level across the run?
- Are there seams or height changes?
- Will tile sit on the countertop or start slightly above?
If you’re planning a backsplash, layout planning is the best place to start: Tile backsplash planning.
4a) Outlet and edge coordination (common backsplash detail)
Backsplashes often have:
- Outlets and switches
- Cabinet edges that create a visual boundary
- Countertop seams or slight level differences
These details affect where edges land and how “finished” the final line looks. This is why a backsplash layout plan should include both edges and outlets, not just the tile pattern.
5) Floor transitions (tile meeting vinyl, etc.)
Floor transitions are where people feel issues first. Common problems include:
- Toe-catching lips
- Door clearance issues
- Thresholds that look “added on”
Before install day, confirm:
- Tile + underlayment + mortar height
- Adjacent flooring height
- Transition style and finish preference
If vinyl is part of the plan, thickness and transitions matter: Vinyl flooring.
5a) Tile to vinyl: the most common transition planning point
Tile assemblies can be thicker than vinyl systems. The height difference can affect:
- Comfort underfoot (toe catches)
- Door clearance
- The look of the threshold line
If you are planning tile and vinyl in adjacent rooms, it is worth thinking about transitions early. This vinyl transition guide is a good companion: Vinyl floor transitions and trim.
5b) Tile to carpet: the edge should feel safe
Tile-to-carpet transitions often need a plan so the carpet edge is secure and the transition does not feel sharp. Even if the tile field looks perfect, a poor transition can make the whole floor feel unfinished.
6) Doorways: where to stop tile
In doorways, a clean transition often means:
- Centering the transition under the closed door when possible
- Planning a threshold that matches the adjacent finish
- Confirming door swing and clearance
If doors are being replaced, thresholds and transitions should be coordinated: Door installation.
6a) Door clearance and finished height
If flooring height changes, door clearance can become a surprise. Helpful planning note:
- If a door already barely clears the existing floor, a new tile assembly may require door adjustments.
- If doors are being replaced, coordinating thresholds and flooring heights early helps prevent rework.
7) Cut placement: the edge detail is only as good as the layout
Trim and profiles won’t fix awkward cut placement. A good layout plan avoids:
- Thin slivers at ends
- Unbalanced cuts around focal points
- Tiny cuts around outlets and corners
If you need help planning layout, include wide photos and a few measurements: Quote request checklist.
7a) Decide edges before you commit to the starting point
Layout and edges should be decided together. If you change where tile stops (or add a profile), you can change:
- Where full tiles land
- Where cuts land at the ends
- Whether the layout looks centered
This is why “edge decisions first” is a good planning mindset.
7b) A fast photo checklist for edge planning
If you want help planning edges and transitions, photos that help most:
- Wide photos of the full area (show corners and adjacent surfaces)
- Close-ups of each edge where tile will stop
- Close-ups of each transition to another floor
- For backsplashes: close-ups of outlets and cabinet edges
If you include a tape measure in one photo, it helps scale and reduces guesswork.
8) FAQs
Do I need trim for every tile project?
Most projects have at least one exposed edge. Planning the exposed edges early prevents a “unfinished end” look.
Are metal profiles always modern?
They can blend in or stand out depending on finish selection. A brushed or matte profile can be subtle; a contrasting profile can be a design accent.
Can you avoid transitions between floors?
Sometimes, but height differences and material changes often require a transition. The goal is to make it intentional, durable, and safe.
What is the most common edge mistake?
Deciding edges at the last minute. When edge choices are made late, you often end up with:
- Awkward cuts at the ends
- A profile that does not match nearby finishes
- A transition that feels bulky because it is trying to solve a height issue after the fact
Do I need to choose trim finish before ordering tile?
It helps. You can still choose later, but early decisions prevent mismatched finishes and help layout look intentional.
9) Quick checklist: what to decide before install day
- Where tile starts and stops (each edge)
- Edge finish type (profile, bullnose, miter)
- Transition plan at doorways and floor changes
- Door clearance concerns (if any)
- Tile product link (size and thickness)
If you want a simple quote template, use: Quote request checklist.
Next steps
- Service details: Tile installation
- Plan layout first: Tile backsplash planning
- Start a project conversation: Request a quote

Need help planning the next step?
Share photos and rough measurements to get a clear yes/no on fit and the right follow-up.