Tile is tile—until you get into the details. A floor tile project and a wall tile project can use the same material, but the planning, prep, and “what can go wrong” lists are different. Understanding those differences helps you set the right expectations, avoid rework, and get a cleaner finished look.
This guide breaks down what changes when tile goes on a floor vs. on a wall, with practical homeowner-facing checkpoints you can use before ordering materials or requesting an estimate.
Quick takeaways
- Floors care most about flatness and movement. Subfloor prep and movement joints are the hidden work that keeps tile from cracking.
- Walls care most about layout and edges. Tile is at eye level, so cut quality, trim, and alignment show more.
- Water exposure changes everything. Wet areas need the right waterproofing system (and the right sequence).
- The “starting point” is different. Floors often start from a reference line; walls often start from a visual centerline or a ledger.
1) Surface prep: flatness matters more on floors
Tile follows the plane you set it on. The more the surface varies, the harder it is to keep edges aligned and avoid lippage (when one tile edge sits higher than another).
Floor tile prep is typically more demanding because:
- You feel imperfections with your feet.
- Grout lines can exaggerate unevenness.
- Furniture and appliances add load over time.
Common floor prep tasks include:
- Checking the subfloor for deflection (bounce) and addressing it.
- Getting the floor flat enough for the tile size.
- Repairing damaged subflooring or underlayment before any tile goes down.
If you want a quick baseline, start with our tile service overview and then compare it to the room conditions you have: Tile installation.
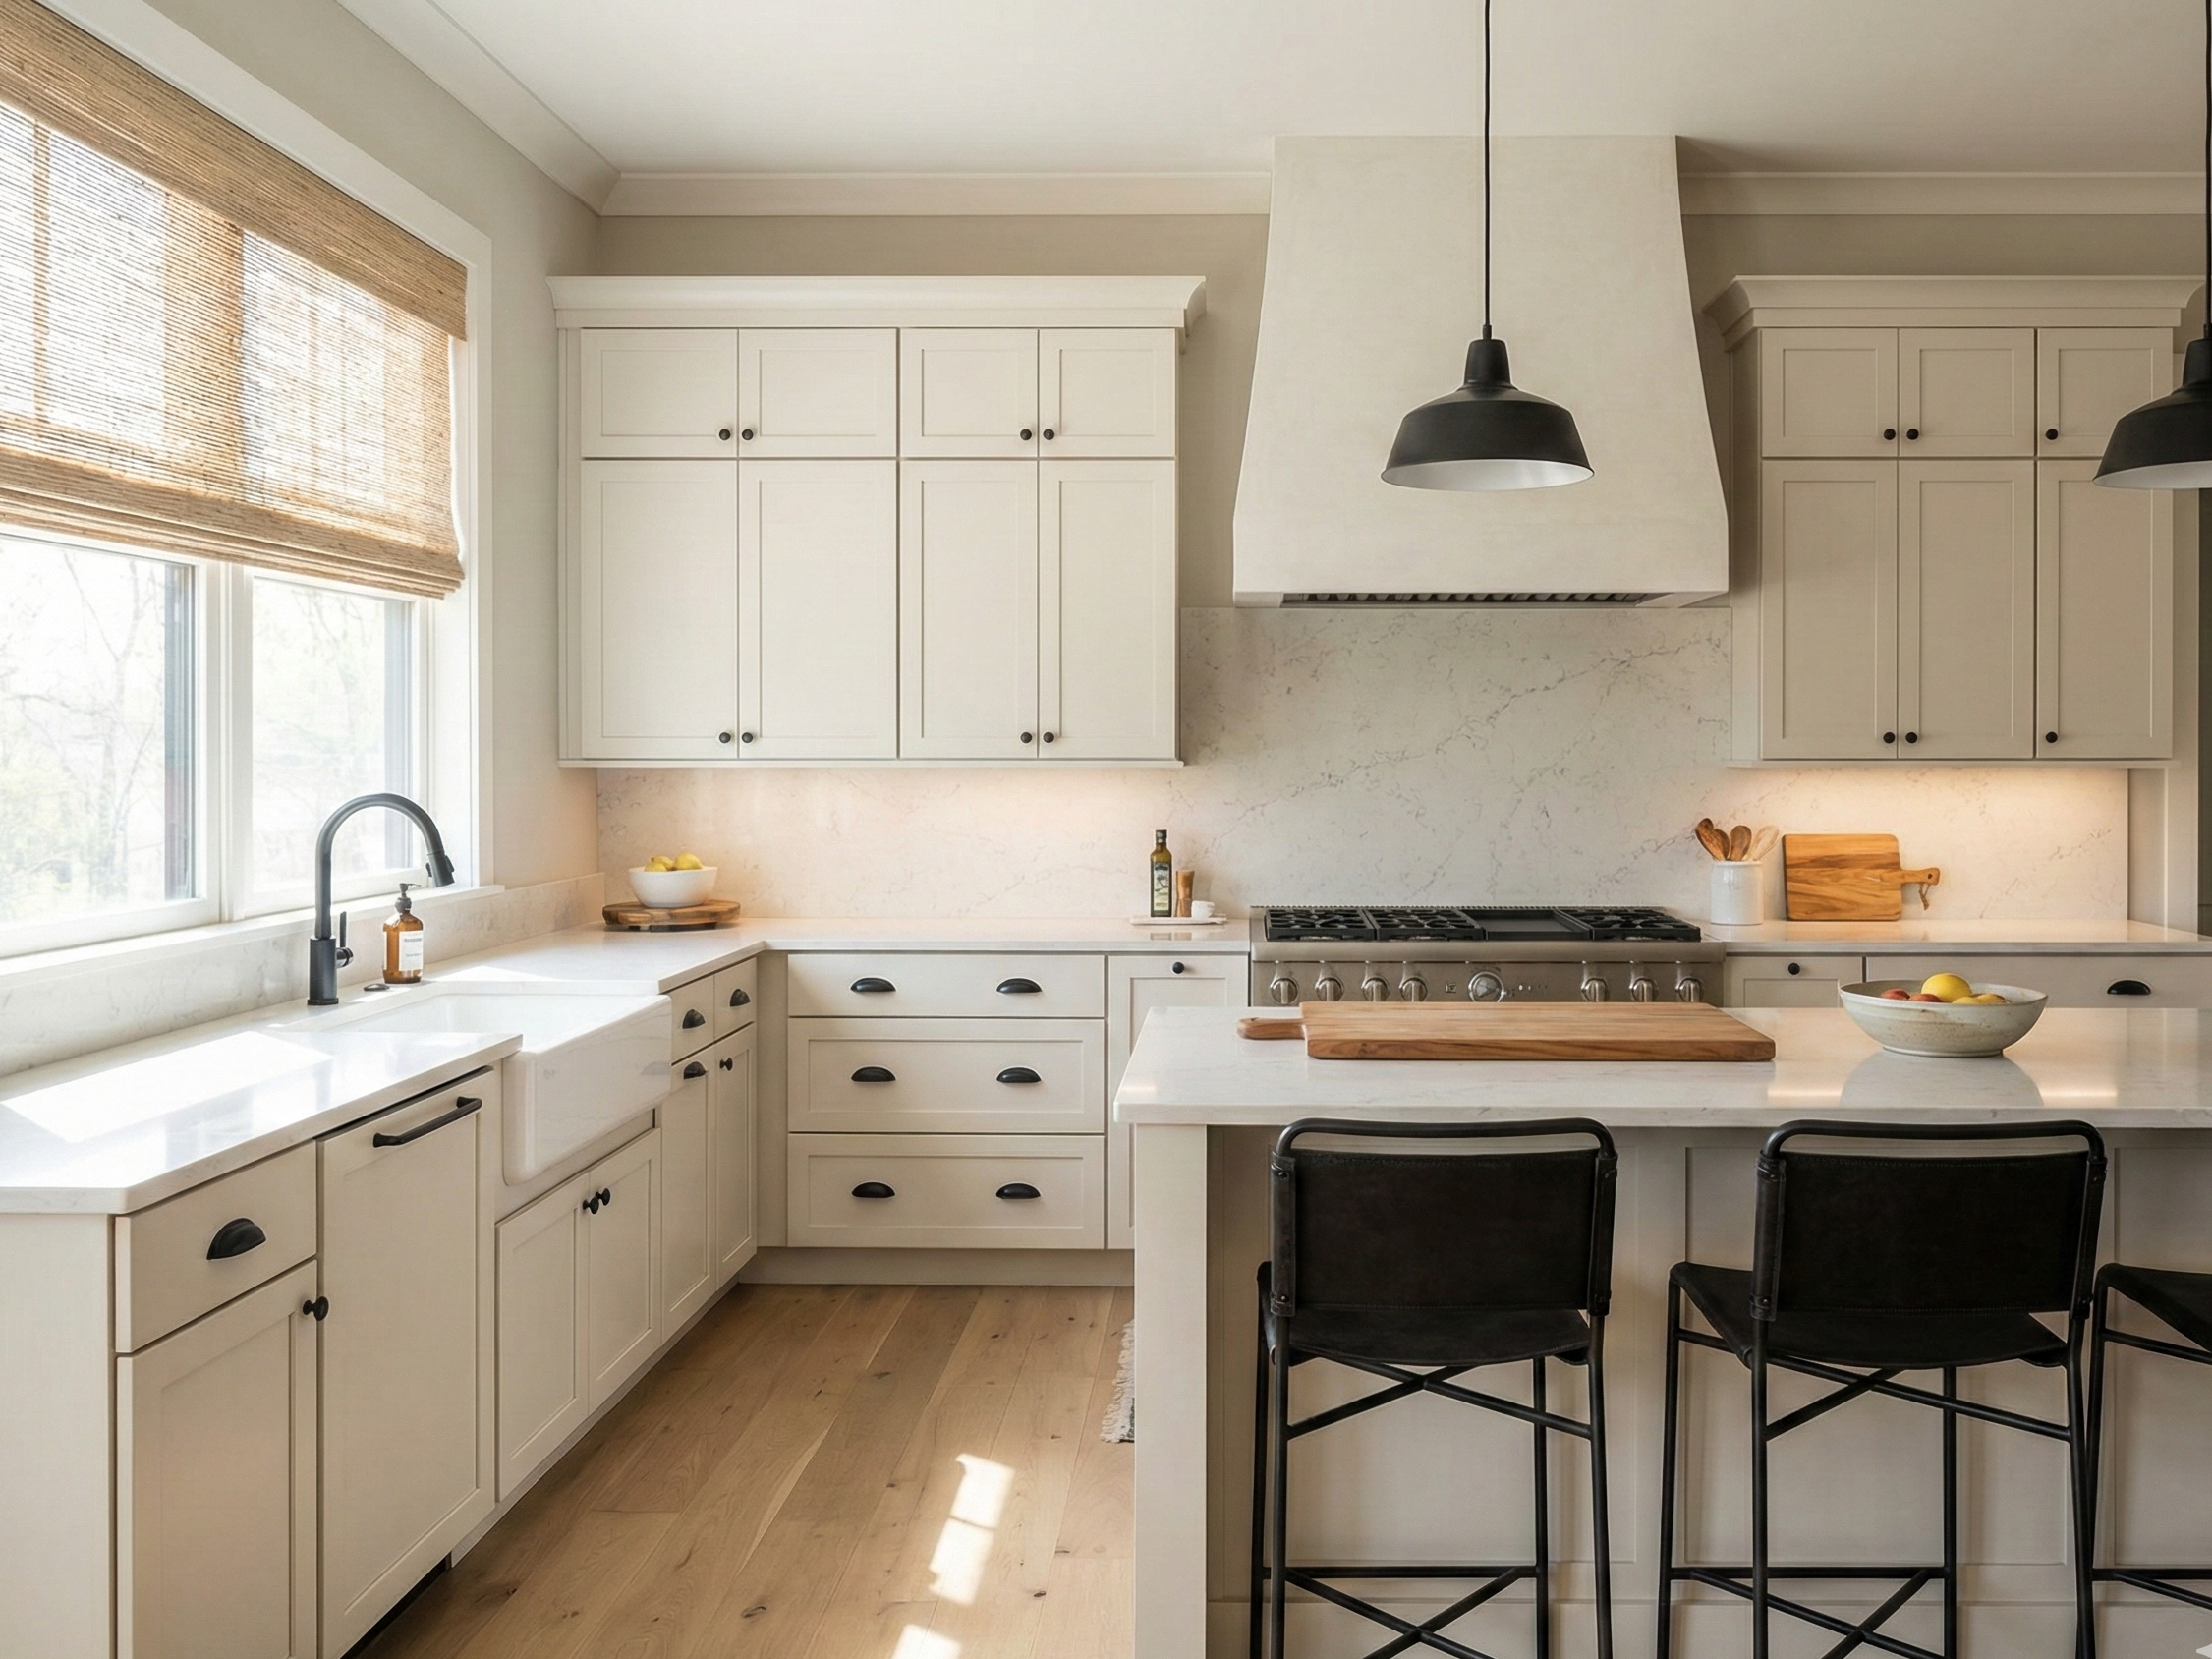
2) Walls prioritize plumb, level, and “what you see first”
Walls don’t deal with the same foot traffic and load, but they do have their own constraints:
- Walls may not be plumb (perfectly vertical), especially in older homes.
- Corners may not be square, which changes how patterns and trims land.
- Your eye notices small layout issues because the tile is at eye level.
For wall tile, the goal is often to make what’s visible look intentional:
- Clean, consistent grout lines
- Balanced cuts at the ends
- Straight lines where tile meets cabinets, trim, or another finish
For a wall project like a backsplash, you’ll also want to think about outlets, edges, and trim. This planning guide is a good companion: Tile backsplash planning.
2a) Mortar and bonding: gravity changes wall work
Floors and walls often use similar mortars, but the forces are different:
- Floors: the tile is supported by the substrate. Your main focus is coverage, flatness, and long-term movement.
- Walls: the tile is fighting gravity while the mortar cures. The plan has to account for sag, slip, and keeping courses straight.
A few practical planning points for wall tile:
- Ledger boards and starter rows: many wall installs start from a level ledger so the first visible course is dead straight.
- Tile weight and size: larger or heavier tile can require more careful support while it sets.
- Coverage checks: good bonding comes from full contact, not just “it looks stuck.” Back-buttering and the right trowel choice can matter.
You do not need to choose materials for the installer, but you can ask the right questions: “How will you keep the first rows level?” and “How will you confirm coverage, especially in wet areas?“
3) Layout and reference lines: floors vs. walls
Floors: reference lines keep the room “square”
Many floors aren’t perfectly square. Instead of blindly following a wall that’s slightly out of square, installers often create reference lines to keep the field tile looking straight.
Typical floor layout considerations:
- Where the eye naturally looks first (entry point, hallway alignment)
- How grout lines align across thresholds
- How cuts land at walls, cabinets, islands, and vents
Walls: centerlines and focal points matter most
Walls are often laid out around a focal point:
- Centering on a sink, window, range, or vanity
- Aligning edges with cabinet lines
- Avoiding tiny “sliver cuts” at the ends
A small shift in the starting point can change the entire finished look, especially around outlets.
4) Tile size changes the tolerance for imperfect surfaces
The larger the tile, the more it “reveals” surface issues.
On floors, larger format tiles usually require:
- Tighter control of flatness
- More careful trowel technique
- More attention to lippage management
On walls, large tiles can look clean and modern, but they also make:
- Edge finishing more obvious
- Pattern alignment more unforgiving
- Niche and corner details more precise
If you’re still choosing a tile size, decide based on the room’s real conditions (and what you’re willing to prep), not just a showroom photo.
5) Expansion and movement joints are not optional (especially on floors)
Tile assemblies move—seasonally, with temperature and humidity changes, and with building movement over time. A good plan includes movement accommodation so that movement doesn’t express itself as cracked grout or popped tile.
Practical examples of where movement considerations show up:
- Perimeters (where tile meets walls/trim)
- Large open rooms
- Transitions between different rooms or substrate changes
Walls can also need movement accommodation, but floors usually carry more risk because of larger uninterrupted surfaces and structural movement.
6) Water exposure: wet walls and wet floors have different risks
Not all “water exposure” is the same:
- A kitchen backsplash sees splashes and wiping.
- A bathroom floor sees humidity, occasional puddles, and repeated cleaning.
- A shower surround sees constant direct water and vapor.
Each situation requires the right system underneath the tile. If you’re planning tile in a wet area, ask early:
- What is the waterproofing approach (if required)?
- What is the substrate condition behind the surface?
- What sequencing is needed so waterproofing and tile integrate correctly?
If your project also includes drywall work (repairs before paint or tile), these topics overlap more than people expect: Drywall service.
7) Edges and transitions: walls have more “finished-edge” decisions
Floor transitions matter (tile to vinyl, tile to carpet), but wall tile often has more exposed edges that need a clean finish.
Common wall edge decisions:
- Metal edge profiles vs. bullnose/finished tile edges
- How tile dies into trim, cabinets, or paint
- Inside corners and how grout/caulk lines will look
If you want a deeper dive on this, see: Tile edges, trims, and transitions.
8) Sequencing: what happens before tile goes down
Tile often touches other work:
- Painting before tile (to avoid paint cuts tight to tile)
- Drywall repair before paint or tile
- Flooring replacement that changes heights at thresholds
- Door replacement that changes clearances and transitions
A clean finish is often a sequencing win. If your project involves multiple steps, reviewing order of work saves time and rework: Our process.
9) What to send for an accurate estimate (floors vs. walls)
For floors, the details that change the estimate the most are:
- Subfloor type and condition
- Tile size (especially large format)
- Room shape, obstacles, and transitions
For walls, the details that change the estimate the most are:
- Edge finishing requirements
- Outlets/switches and any planned changes
- Surface condition (texture, old adhesive, damaged drywall paper)
If you want a fast start, here’s a simple quote checklist: Quote request checklist.
10) FAQs
Can the same tile be used on floors and walls?
Sometimes, yes—but you still plan and install differently. You also want to confirm the tile is rated appropriately for the location (especially floors and wet areas).
Why do floors “need more prep” than walls?
Floors are more sensitive to flatness and movement. A small hump can telegraph through tile and show up as uneven edges.
Is wall tile easier than floor tile?
Not automatically. Walls often demand more visual precision around edges, corners, and focal points because the tile is at eye level.
What’s the biggest mistake people make before a tile project?
Ordering tile without planning the layout and edges. Good tile work looks intentional because the layout is intentional.
Do wall tiles need special support while they set?
Often, yes. Because wall tile is fighting gravity, installers may use a level ledger, spacers, and careful sequencing so courses stay straight while the mortar cures. That support work is part of what keeps lines crisp.
Next steps
- Explore service details: Tile installation
- See how projects flow: Our process
- Share details for next steps: Request a quote
Need help planning the next step?
Share photos and rough measurements to get a clear yes/no on fit and the right follow-up.