A backsplash is a small area, but it has a big visual impact. Good-looking tile backsplashes usually come down to layout choices and a few “before you start” decisions that prevent awkward cuts and uneven edges.
This guide is a practical, homeowner-friendly checklist.
Quick takeaways
- Define boundaries early. Where tile starts and stops changes layout and edge details.
- Layout is the whole game. A small shift can turn sliver cuts into clean, balanced cuts.
- Outlets are the hidden complexity. Photos and a plan prevent last-minute surprises.
- Edges are what look finished. Decide trim and terminations before you order materials.
- Prep matters. Grease, texture, old adhesive, and drywall damage change the plan.
1) Decide what the backsplash includes
Start by deciding the boundaries:
- Just the wall behind the sink, or the full countertop run?
- Up to the bottom of the upper cabinets, or higher for a feature?
- Behind the range, will it go to the hood or just the cabinet line?
If you are changing outlets or adding under-cabinet lighting, mention it early. Those details affect the tile layout and scheduling.
1a) Common boundary choices (and why they matter)
Most backsplashes fall into one of these:
- Standard backsplash height: countertop to the bottom of upper cabinets.
- Full-height feature area: a taller section behind a range or sink.
- Full-height wall: sometimes used for a more modern look, but it increases the amount of tile and needs more planning.
The boundary choice affects:
- How many edge conditions you have
- Where cuts land relative to cabinets
- How “finished” the ends need to be
2) Choose tile size with the space in mind
Tile size and pattern change how many cuts you will have. Examples:
- Large format tiles can look clean but may require fewer grout lines and more careful planning around outlets.
- Small mosaic sheets can be forgiving, but edges and sheet alignment matter more than people expect.
If you already picked a tile, keep the product link handy. Tile thickness and edge style can change how trim and transitions work.
2a) Pattern choice affects the “busyness” of the wall
Pattern decisions change the look dramatically:
- Straight lay: clean and simple, usually the easiest to keep visually straight.
- Offset patterns: classic look, but cuts and alignment become more noticeable.
- Herringbone: very impactful, but requires careful planning and usually creates more waste.
If you want a pattern that creates more visual movement, commit to a layout plan early so the pattern looks intentional.
3) Plan the “starting point” for a balanced look
A common goal is to avoid tiny slivers at the ends. Even for simple subway tile, small layout changes can improve the final look:
- Center the layout on a key feature (sink, window, range) when possible
- Consider how cuts land at the ends of a run
- Think about how tile aligns with cabinet edges and countertop lines
If you are not sure, photos of the full wall and measurements of the run are usually enough to propose a clean plan.
3a) Decide what must look centered
Backsplashes often have a “visual center.” Common centers include:
- The sink
- The range
- A window
- A faucet or pot filler location
Once you choose the visual center, you can build the layout so the cuts at the ends feel balanced.
3b) Where to hide less-pretty cuts
If the layout cannot be perfect everywhere, choose where the less-pretty cuts go:
- Behind a refrigerator
- Behind a range
- Near a corner that is less visible
This is normal. The goal is to put the best-looking cuts where the eye naturally goes first.
4) Account for outlets, switches, and under-cabinet lighting
Backsplashes have lots of interruptions. Helpful notes:
- Take close-up photos of outlets and switches
- Note if outlet locations may change
- Consider whether you want outlet covers to sit flush with tile (this can require planning)
These details can change time and materials, so it is best to flag them early.
4a) Outlet details that affect layout
Two common issues:
- Outlets that land in awkward locations relative to the tile pattern.
- Outlets that need to sit flush with the finished tile surface.
If you want a clean look, mention outlets early so layout and detailing can be planned together.
5) Edge decisions: this is where “finished” happens
Ask yourself:
- Will there be exposed tile edges at the ends?
- Do you want a trim profile (like a metal edge) or a bullnose/finished edge tile?
Edges are highly visible, so a clear decision here prevents last-minute changes.
5a) Common edge solutions (high-level)
Most backsplash edges are finished with one of these:
- Metal profile: clean, modern, predictable.
- Bullnose/finished edge tile: more traditional look when available in the tile line.
- Mitered edge: premium look but requires precision and a clean corner condition.
If you want to see the full breakdown, including transitions and thresholds for other tile work, this guide helps: Tile edges, trims, and transitions.
6) Material checklist for quoting and ordering
If you are requesting a quote or preparing to order, this list helps:
- Tile product link (size, finish, thickness)
- Approximate square footage (include a little extra for cuts)
- Grout color preference (or ask for guidance)
- Edge trim preference (if needed)
- Photos of the wall, including corners and outlets
- Timeline and any hard deadlines
If you want to talk through your layout or get a quote, you can send details and photos here: Request a quote.
6a) Ordering tips that prevent delays
Two practical ordering tips:
- Confirm tile is in stock (or confirm lead time) before setting a hard deadline.
- Keep a small number of spare tiles if the tile is special order or you expect future repairs.
If you want a more detailed approach to tile quantity and waste planning, see: How to estimate tile quantity.
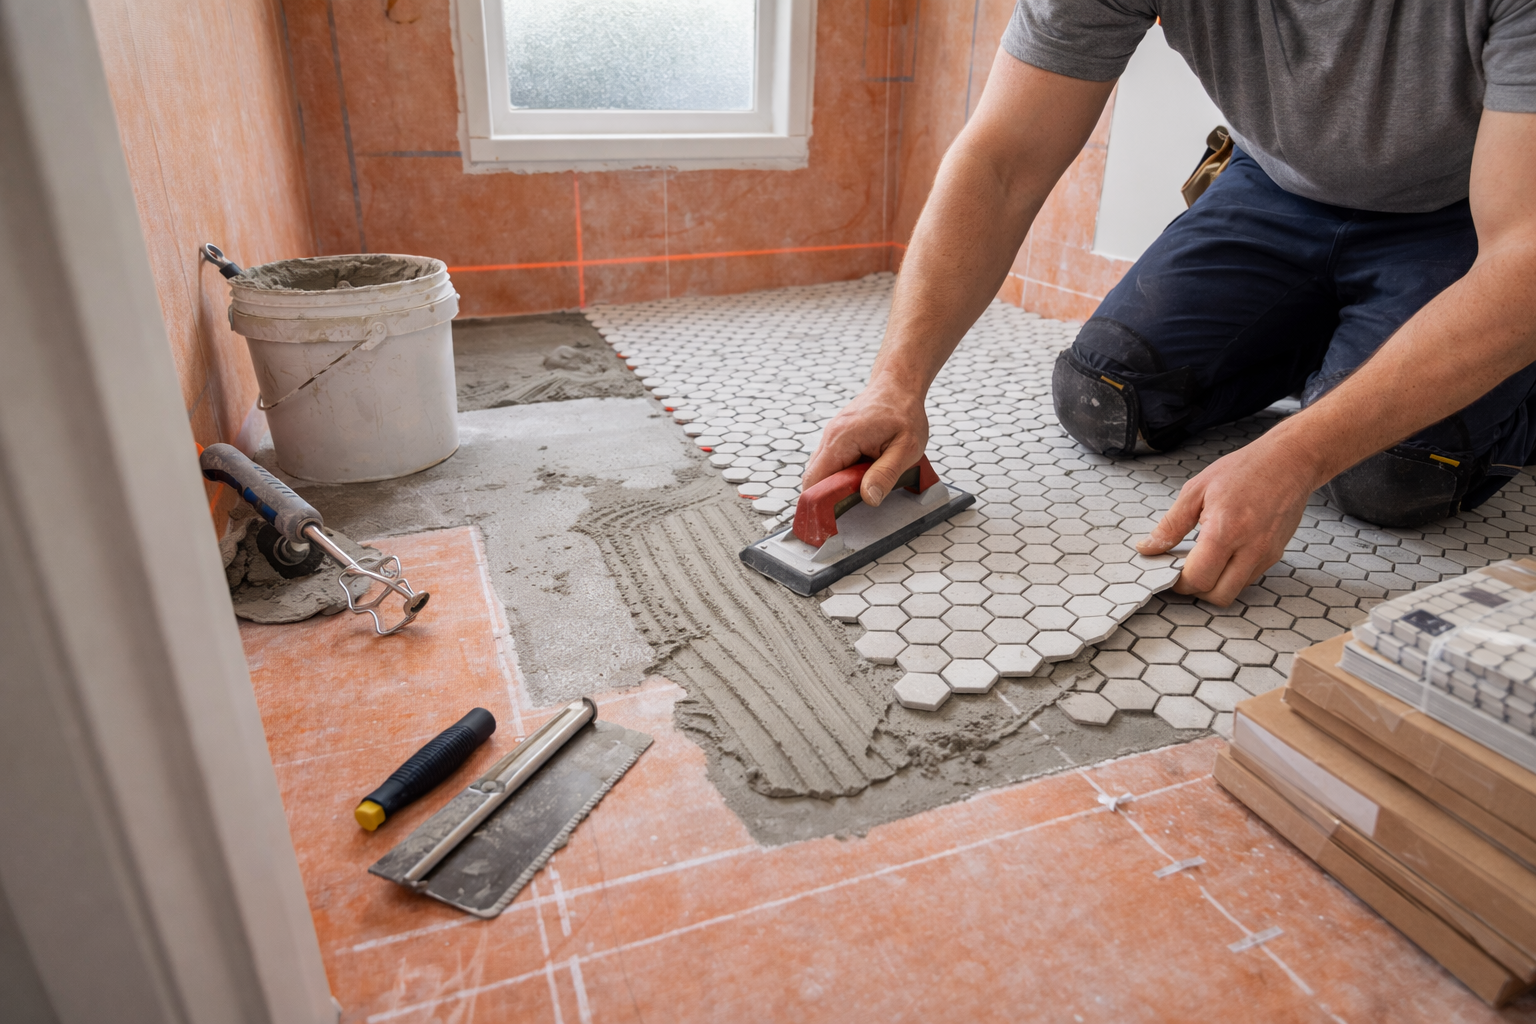
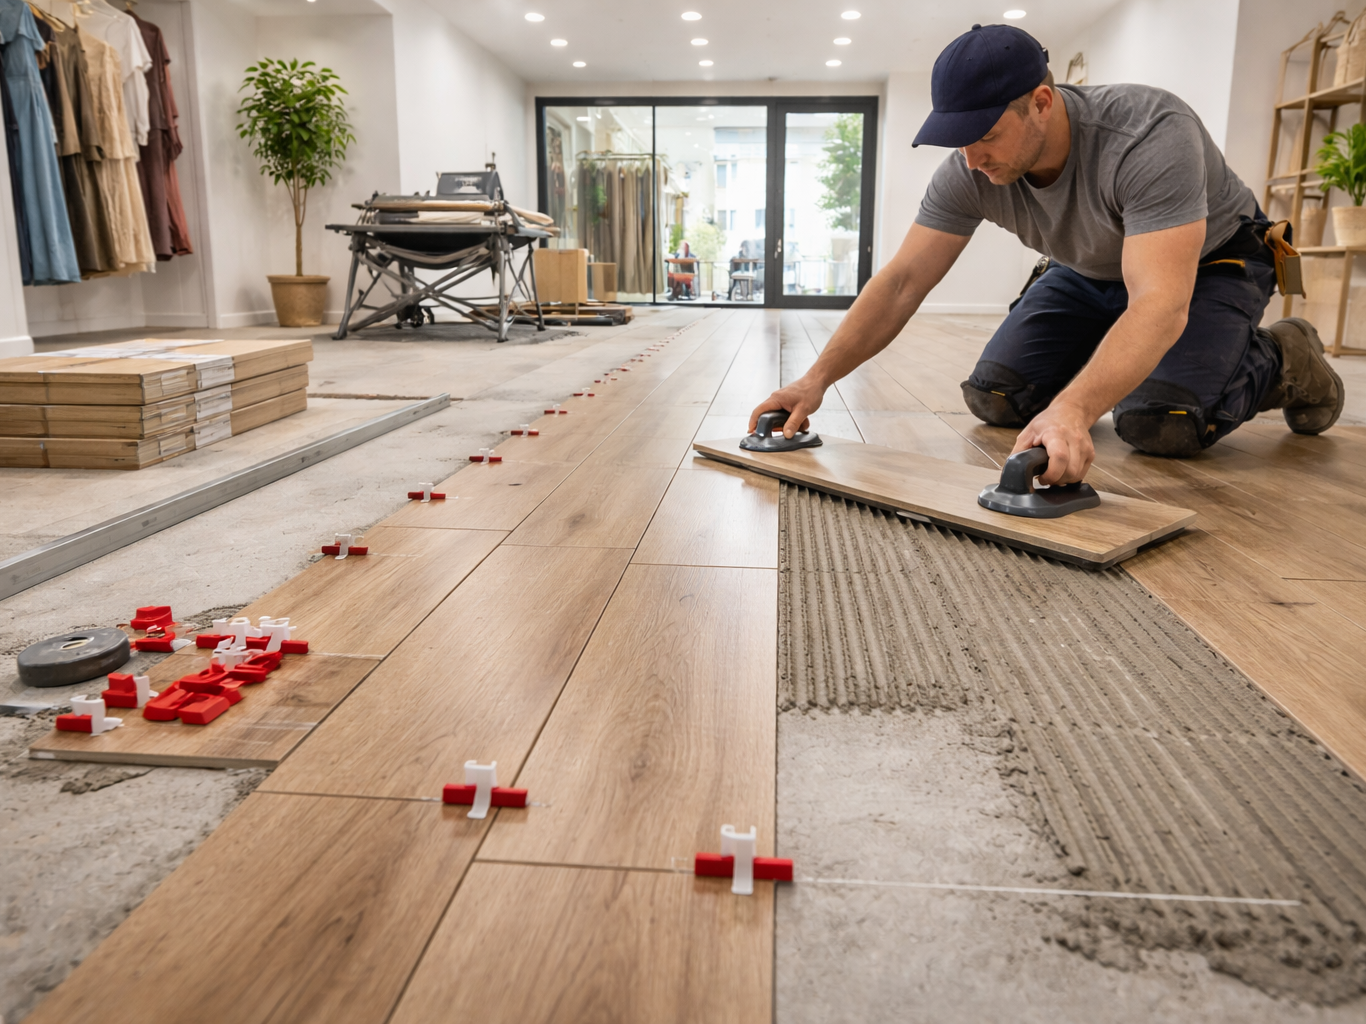
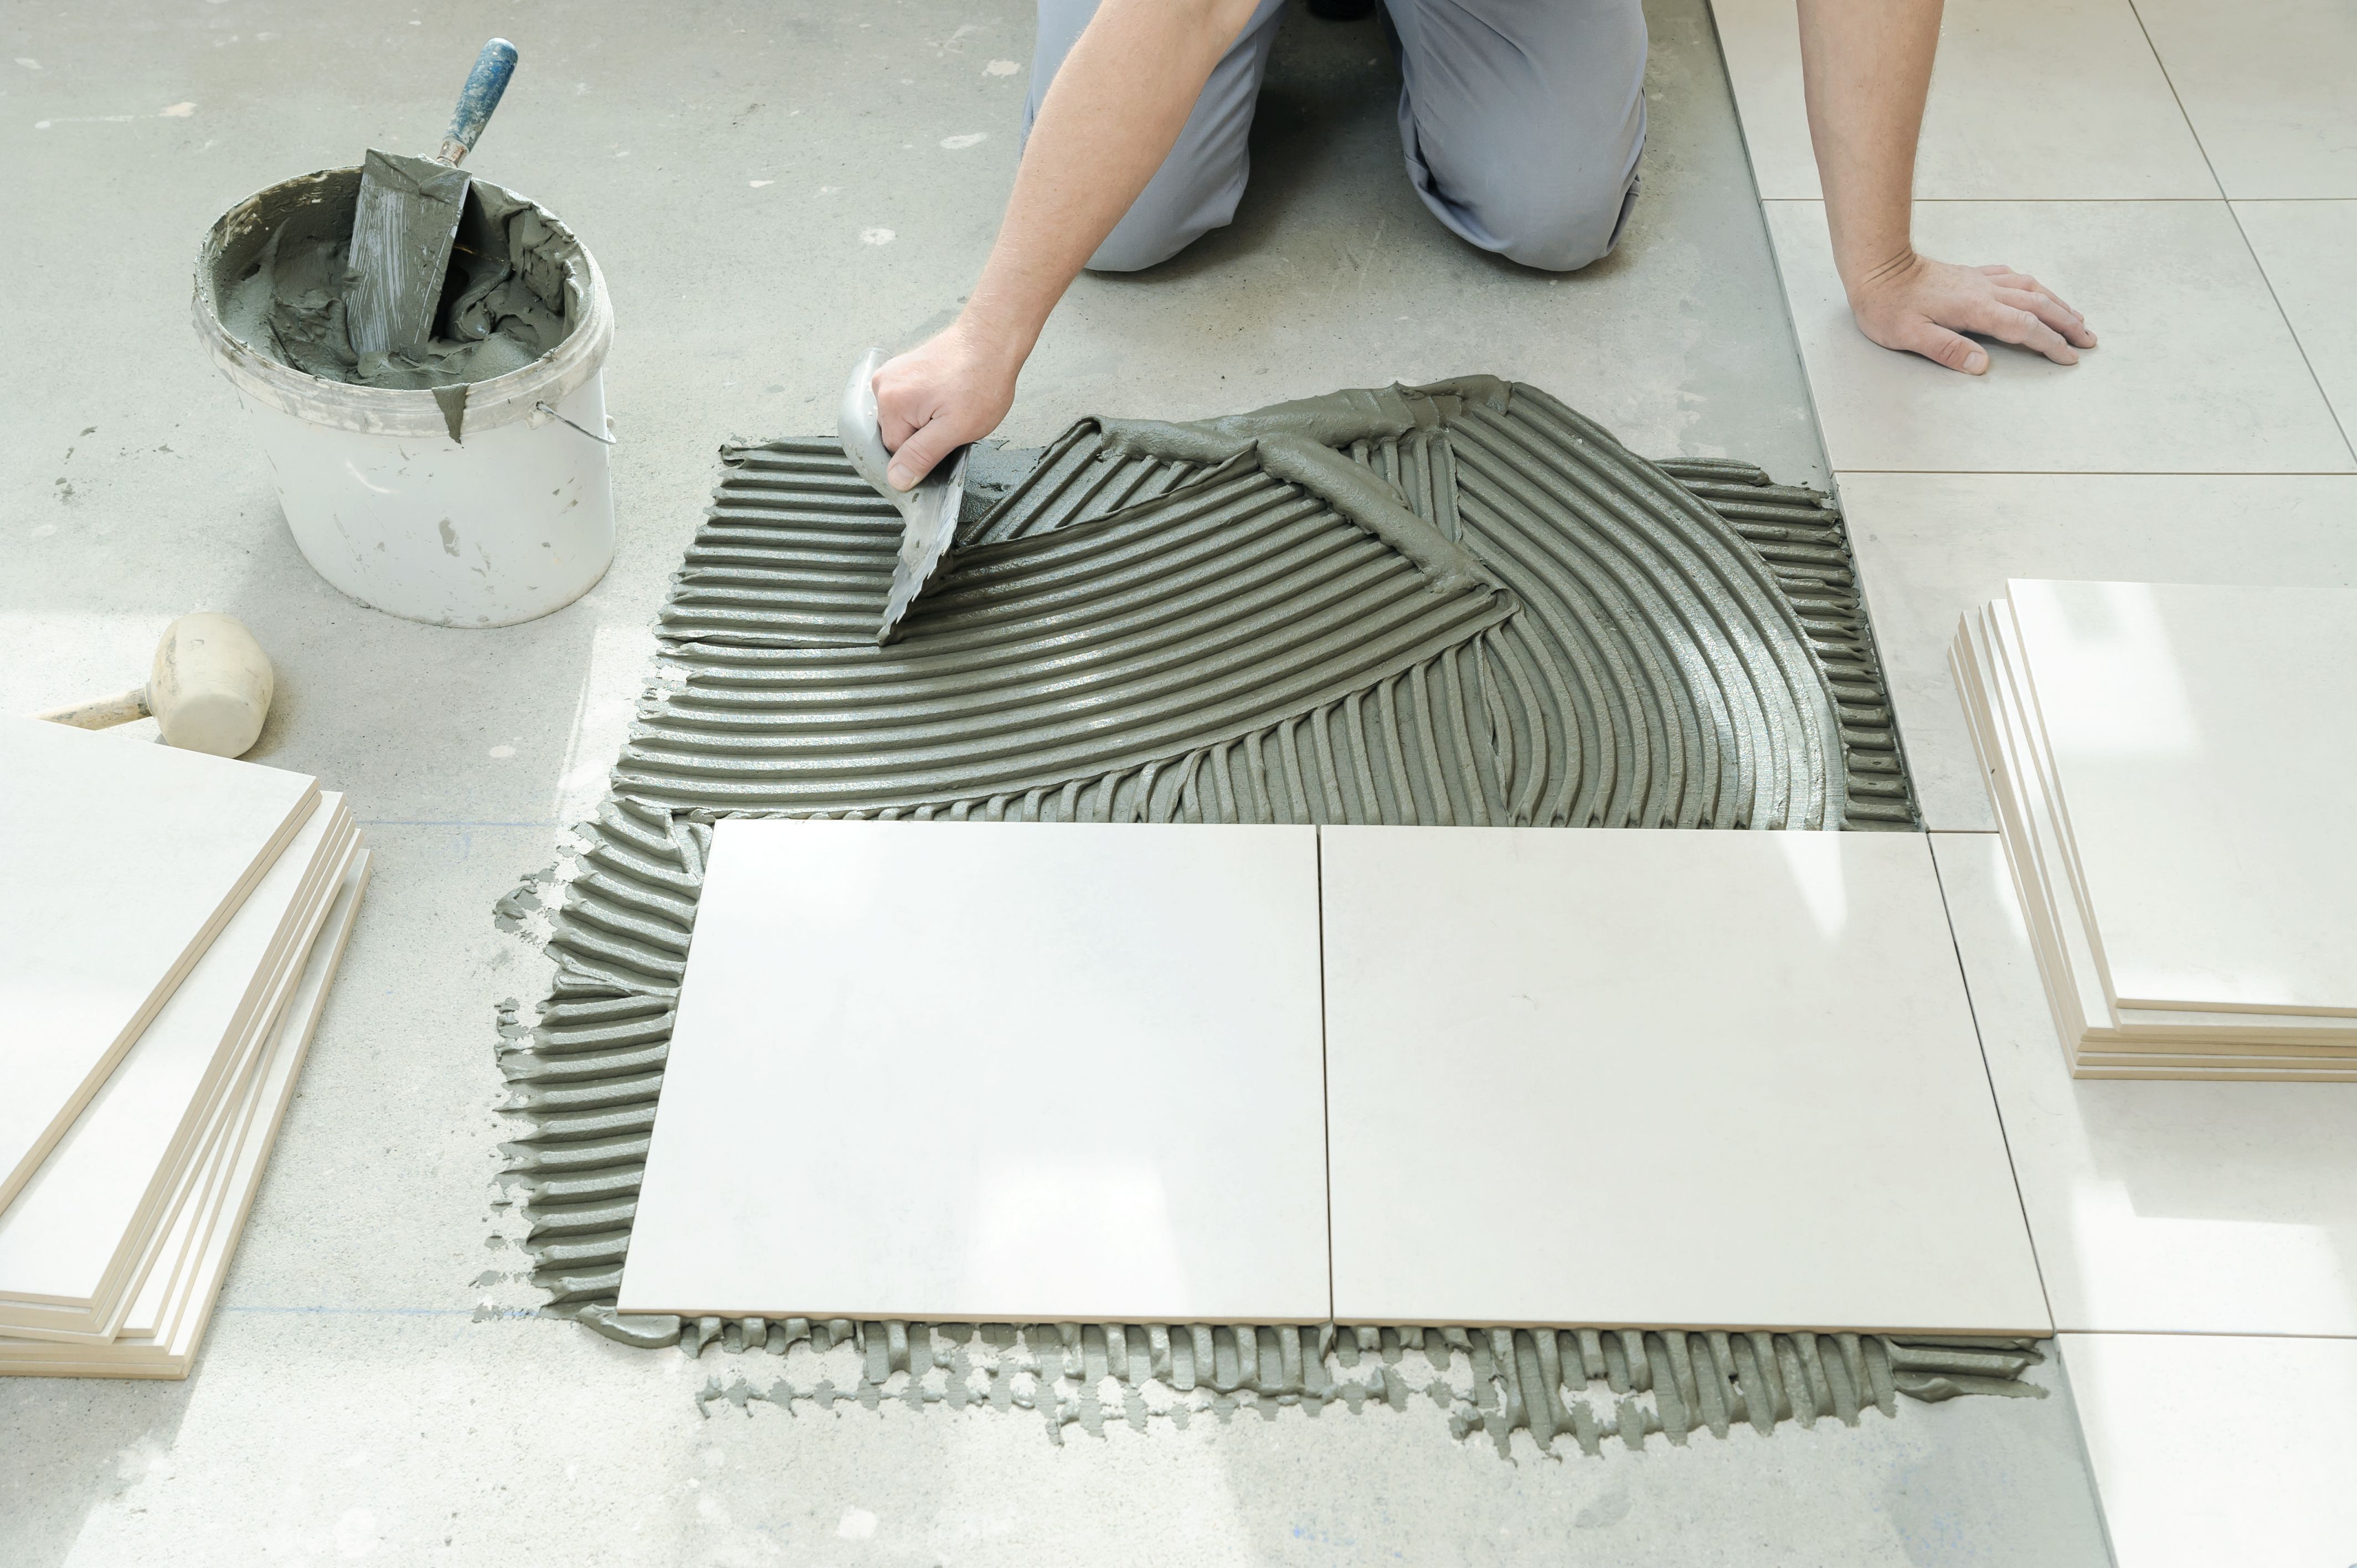
7) Surface prep: flat, clean, and ready
Even great tile can look bad on an uneven or dirty surface. If the wall has grease, texture, or old adhesive, it changes the prep plan. Helpful things to note:
- Is there an existing backsplash that must be removed?
- Are there loose areas, soft drywall, or damaged drywall paper?
- Is the wall heavily textured (tile can telegraph bumps)?
If you are unsure, a few close-up photos of the wall surface help set expectations.
7a) Grease and kitchen residue (a common backsplash issue)
Kitchens often have residue near ranges and cooking areas. Cleaning and prep is not glamorous, but it affects bond and finish. If the wall is heavily soiled or glossy, prep may need to be more involved.
If drywall is damaged behind an old backsplash, it can require repair before tile goes up. These drywall guides can help you understand the options:
8) Grout and sealing basics (high-level)
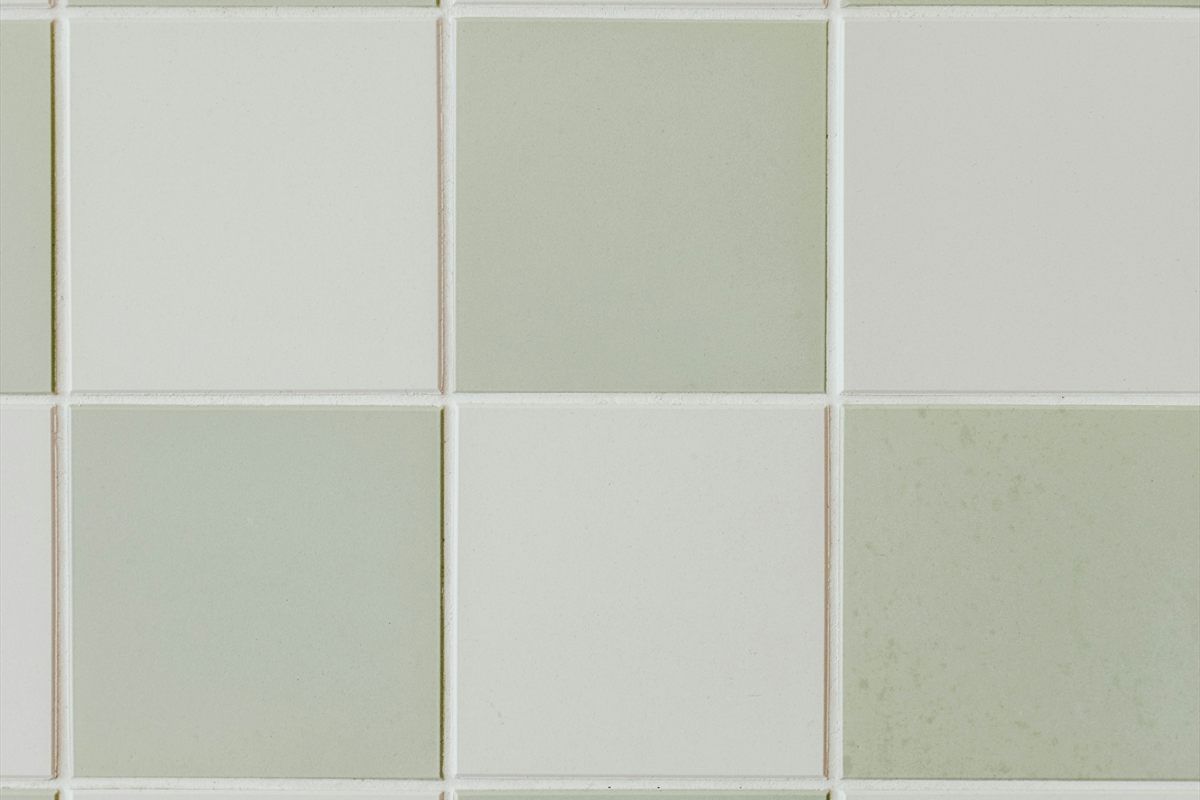
Grout color changes the entire look of the backsplash:
- Matching grout makes the tile read as one surface.
- Contrasting grout highlights the pattern and can make small misalignments more noticeable.
Some tile types and grout choices may require sealing or specific cleaners. If maintenance is a priority, mention it up front so the system fits your goals.
8a) Joint width and grout color are a design decision
Two backsplashes can use the same tile and still feel totally different based on grout decisions. If you want a deeper guide on grout color and joint width, see: Grout color and joint width guide.
8b) Changes of plane: where the finish line matters
Where the backsplash meets the countertop and where walls meet in corners are finish lines you will see every day. Planning those joints helps the result look clean and reduces cracking risk over time.
9) Timing and coordination
Backsplashes are often part of a larger refresh. Mention if your project includes:
- New counters or a sink swap
- Painting (before or after tile)
- Cabinet resets or new cabinets
Even when the tile area is small, sequencing matters for clean edges and smooth scheduling.
9a) A common, practical sequence (high-level)
Many kitchen refreshes follow this general order:
- Cabinet installation or adjustments (if needed)
- Countertops installed (if included in the overall plan)
- Backsplash tile installed
- Final paint touch-ups and detail work
If your project includes multiple finish services, the plan matters as much as the tile: Our process.
10) Common backsplash mistakes (easy to avoid)
- Ordering tile without deciding how edges will be finished.
- Only taking close-up photos and skipping wide shots (context matters).
- Not mentioning outlets and under-cabinet lighting plans until the last minute.
- Picking a high-contrast grout without committing to a careful layout plan.
11) Fast checklist: what to send for a clean plan
If you want a quick start, send:
- Tile link (size, thickness, finish)
- 2-3 wide photos of the full wall
- Close-up photos of outlets and corners
- Approximate wall length (or rough square footage)
- A note on edge preference (metal trim vs bullnose vs unsure)
- Timeline goals
Then send it through the quote request page: Request a quote.
12) Next steps
- Service details: Tile installation
- Edge planning: Tile edges, trims, and transitions
- Start a quote request: Request a quote
Need help planning the next step?
Share photos and rough measurements to get a clear yes/no on fit and the right follow-up.