Vinyl plank flooring is popular because it’s durable, versatile, and can look great in many homes. The best results come from planning the “boring” parts early: room prep, subfloor condition, transitions, and how the product will behave over time.
This guide walks through the key decisions that affect how a vinyl floor looks and feels after installation—especially in real, lived-in homes.
Quick takeaways
- Subfloor prep makes or breaks the finish. Vinyl can telegraph bumps and dips.
- Transitions matter at every doorway. Thickness and height changes need a plan.
- Moisture and temperature affect performance. Installation conditions matter.
- Room layout choices matter. Plank direction changes how the room feels.
1) Confirm what type of vinyl flooring you’re using
“Vinyl” can mean different products. In many homes, “vinyl plank” refers to click-lock plank systems, but there are other options. The exact product type affects:
- Underlayment requirements
- Transition details
- How repairs are handled
If you’re not sure what product you have, a link to the flooring and a few photos of the space usually answer most planning questions quickly.
1a) Click-lock vs. glue-down: the planning differences
Two common vinyl approaches are:
- Click-lock plank: planks lock together and float over the subfloor. Planning focuses heavily on flatness, expansion gaps, and transitions between rooms.
- Glue-down vinyl: the flooring is bonded to the substrate. Planning focuses heavily on substrate prep, adhesive requirements, and getting a clean, stable surface before install.
Neither is automatically “better.” The right choice depends on the space (basement vs. main level), traffic, and what you want for feel and repairability. If you already picked a product, install planning should follow its requirements.
2) Plan plank direction intentionally
Plank direction changes how a room looks:
- Running planks along the long dimension can make a room feel longer.
- Running planks toward a main light source can reduce the visibility of seams and texture patterns.
- Aligning direction across connected rooms can make the home feel cohesive.
Doorways and hallways often determine the best-looking plan. If multiple rooms connect, plan direction before installation day.
2a) Expansion gaps, door jambs, and baseboard details
Many vinyl plank floors (especially floating click-lock systems) need room to expand and contract. That is why installers plan for expansion gaps at the perimeter and plan how the floor terminates at:
- Door jambs and casings (often require undercutting so the floor slides under cleanly)
- Exterior doors and thresholds
- Fireplaces and other fixed objects
This is also where baseboard decisions show up. If baseboards are removed and reinstalled, the finished look is often cleaner because the floor can tuck under the baseboard. If baseboards stay, the project may use shoe molding or quarter round to cover the expansion gap.
The best approach depends on the look you want and how much trim work is included, but planning it early keeps the finish consistent at every room edge.
2b) Stagger and pattern: make the field look intentional
Vinyl planks often have printed patterns and seams. A few planning habits help the finished floor look more natural:
- Stagger end joints intentionally. Avoid obvious repeating stair-step patterns.
- Avoid “H” joints. When end joints line up in adjacent rows, the pattern can look busy and can stress joints in some systems.
- Mix planks from multiple boxes. This reduces the chance of repeating the same print next to itself.
You do not need to micromanage the installer, but it is reasonable to ask how the stagger will be handled and how pattern repeats will be avoided, especially in large open rooms.
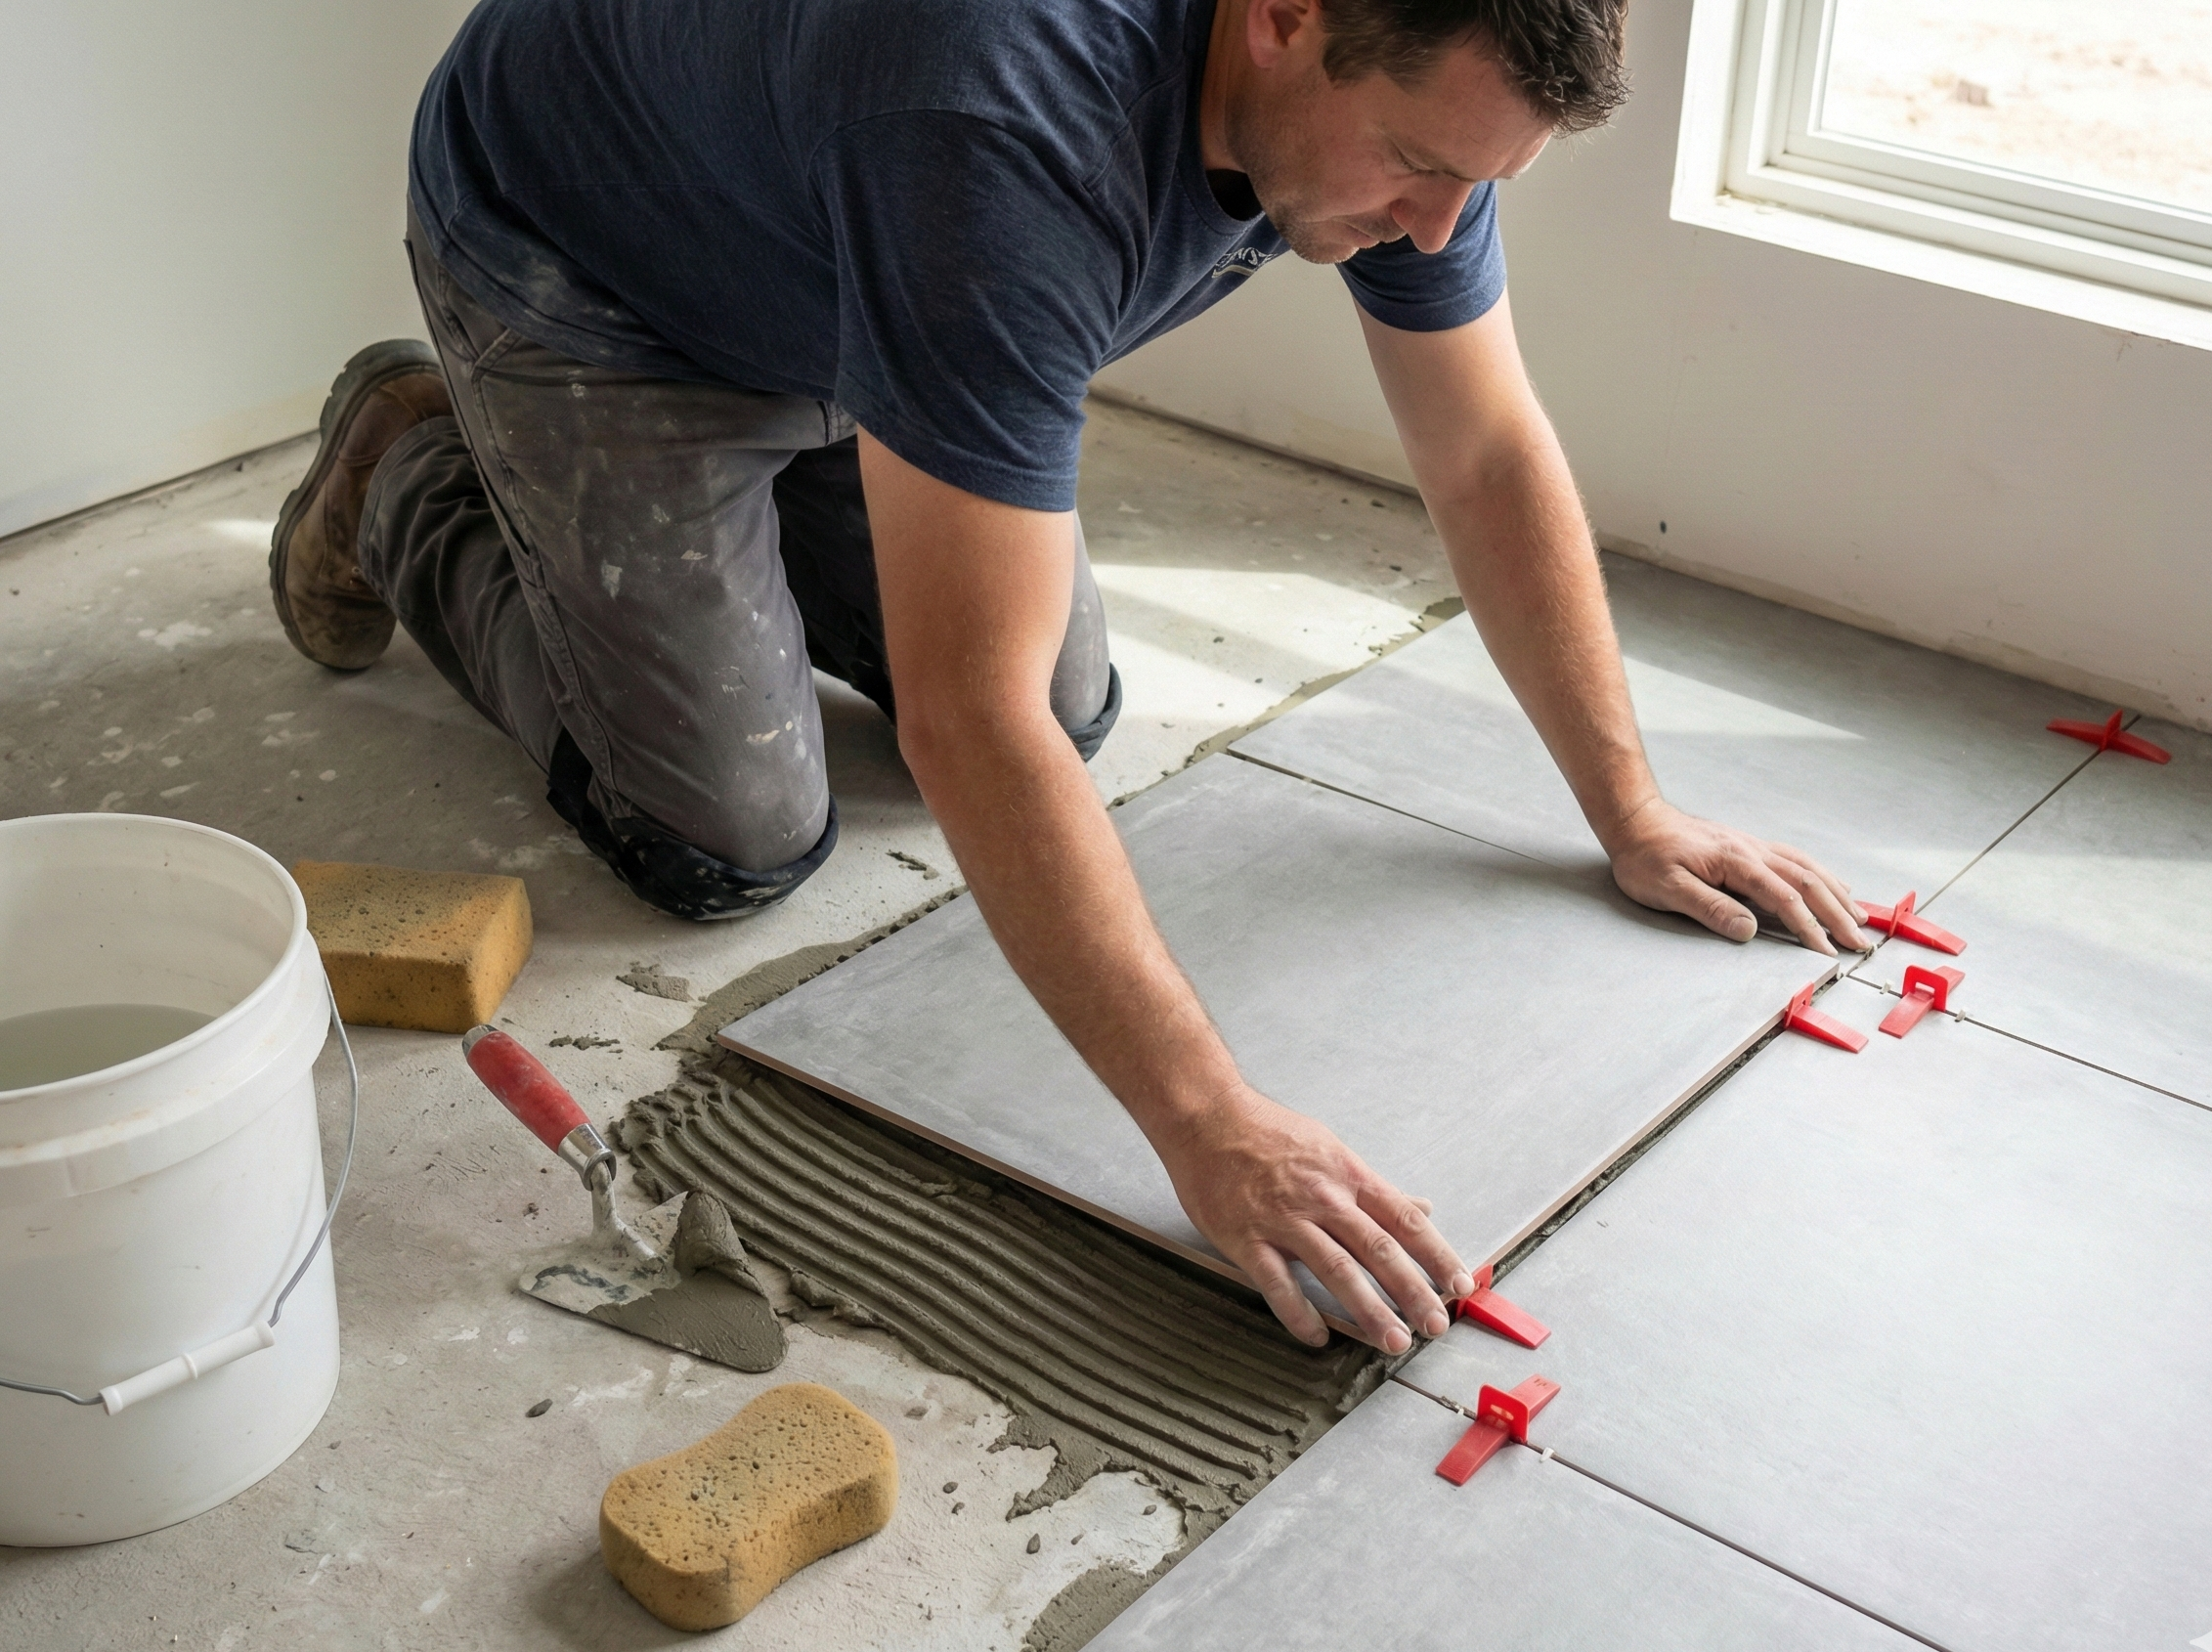
3) Subfloor reality: flatness matters more than people expect
Vinyl is resilient, but it’s not magic. Subfloor issues can show up as:
- Visible telegraphing (ridges, dips)
- Clicking or movement in certain areas
- Uneven transitions at thresholds
Subfloor condition is one of the biggest variables in an estimate. If you want to understand why prep matters, see: Subfloor prep for vinyl plank.
3a) Fix squeaks, soft spots, and “bounce” before the new floor
Flooring can hide a lot, but it cannot fix a moving subfloor. If you have:
- Squeaks in a wood subfloor
- Soft spots
- Noticeable bounce in certain areas
It is worth addressing those before vinyl goes in. Movement underneath a click-lock floor can lead to clicking noises, stressed joints, or separation over time. Even if the floor looks fine on day one, movement often shows up later.
4) Underlayment and sound: what to confirm
Some vinyl plank products include an attached pad; others require underlayment; some prohibit it. The goal is to follow the product’s requirements so performance matches expectations.
If sound control is important (upper levels, condos, home offices), mention it early so the system can be planned accordingly.
5) Height and transitions: the “finished” details
Even great vinyl can look unfinished if transitions are ignored. You’ll likely need a transition plan for:
- Doorways to tile or other floors
- Hallways
- Sliding doors or exterior doors
- Stairs (if applicable)
Flooring thickness and underlayment choices change how transitions work. This guide dives into options: Vinyl floor transitions and trim.
If doors are being replaced, clearances and thresholds should be coordinated: Door installation.
5a) Stairs and landings: confirm the detail before install day
Stairs are a detail area where planning prevents an “almost finished” look. If your project includes stairs, confirm:
- What nosing/edge detail will be used
- How the top landing transitions to the next room
- Whether existing trim will be reused or updated
Stairs also get heavy wear. A clean, durable edge detail is a safety and longevity decision, not just a visual one.
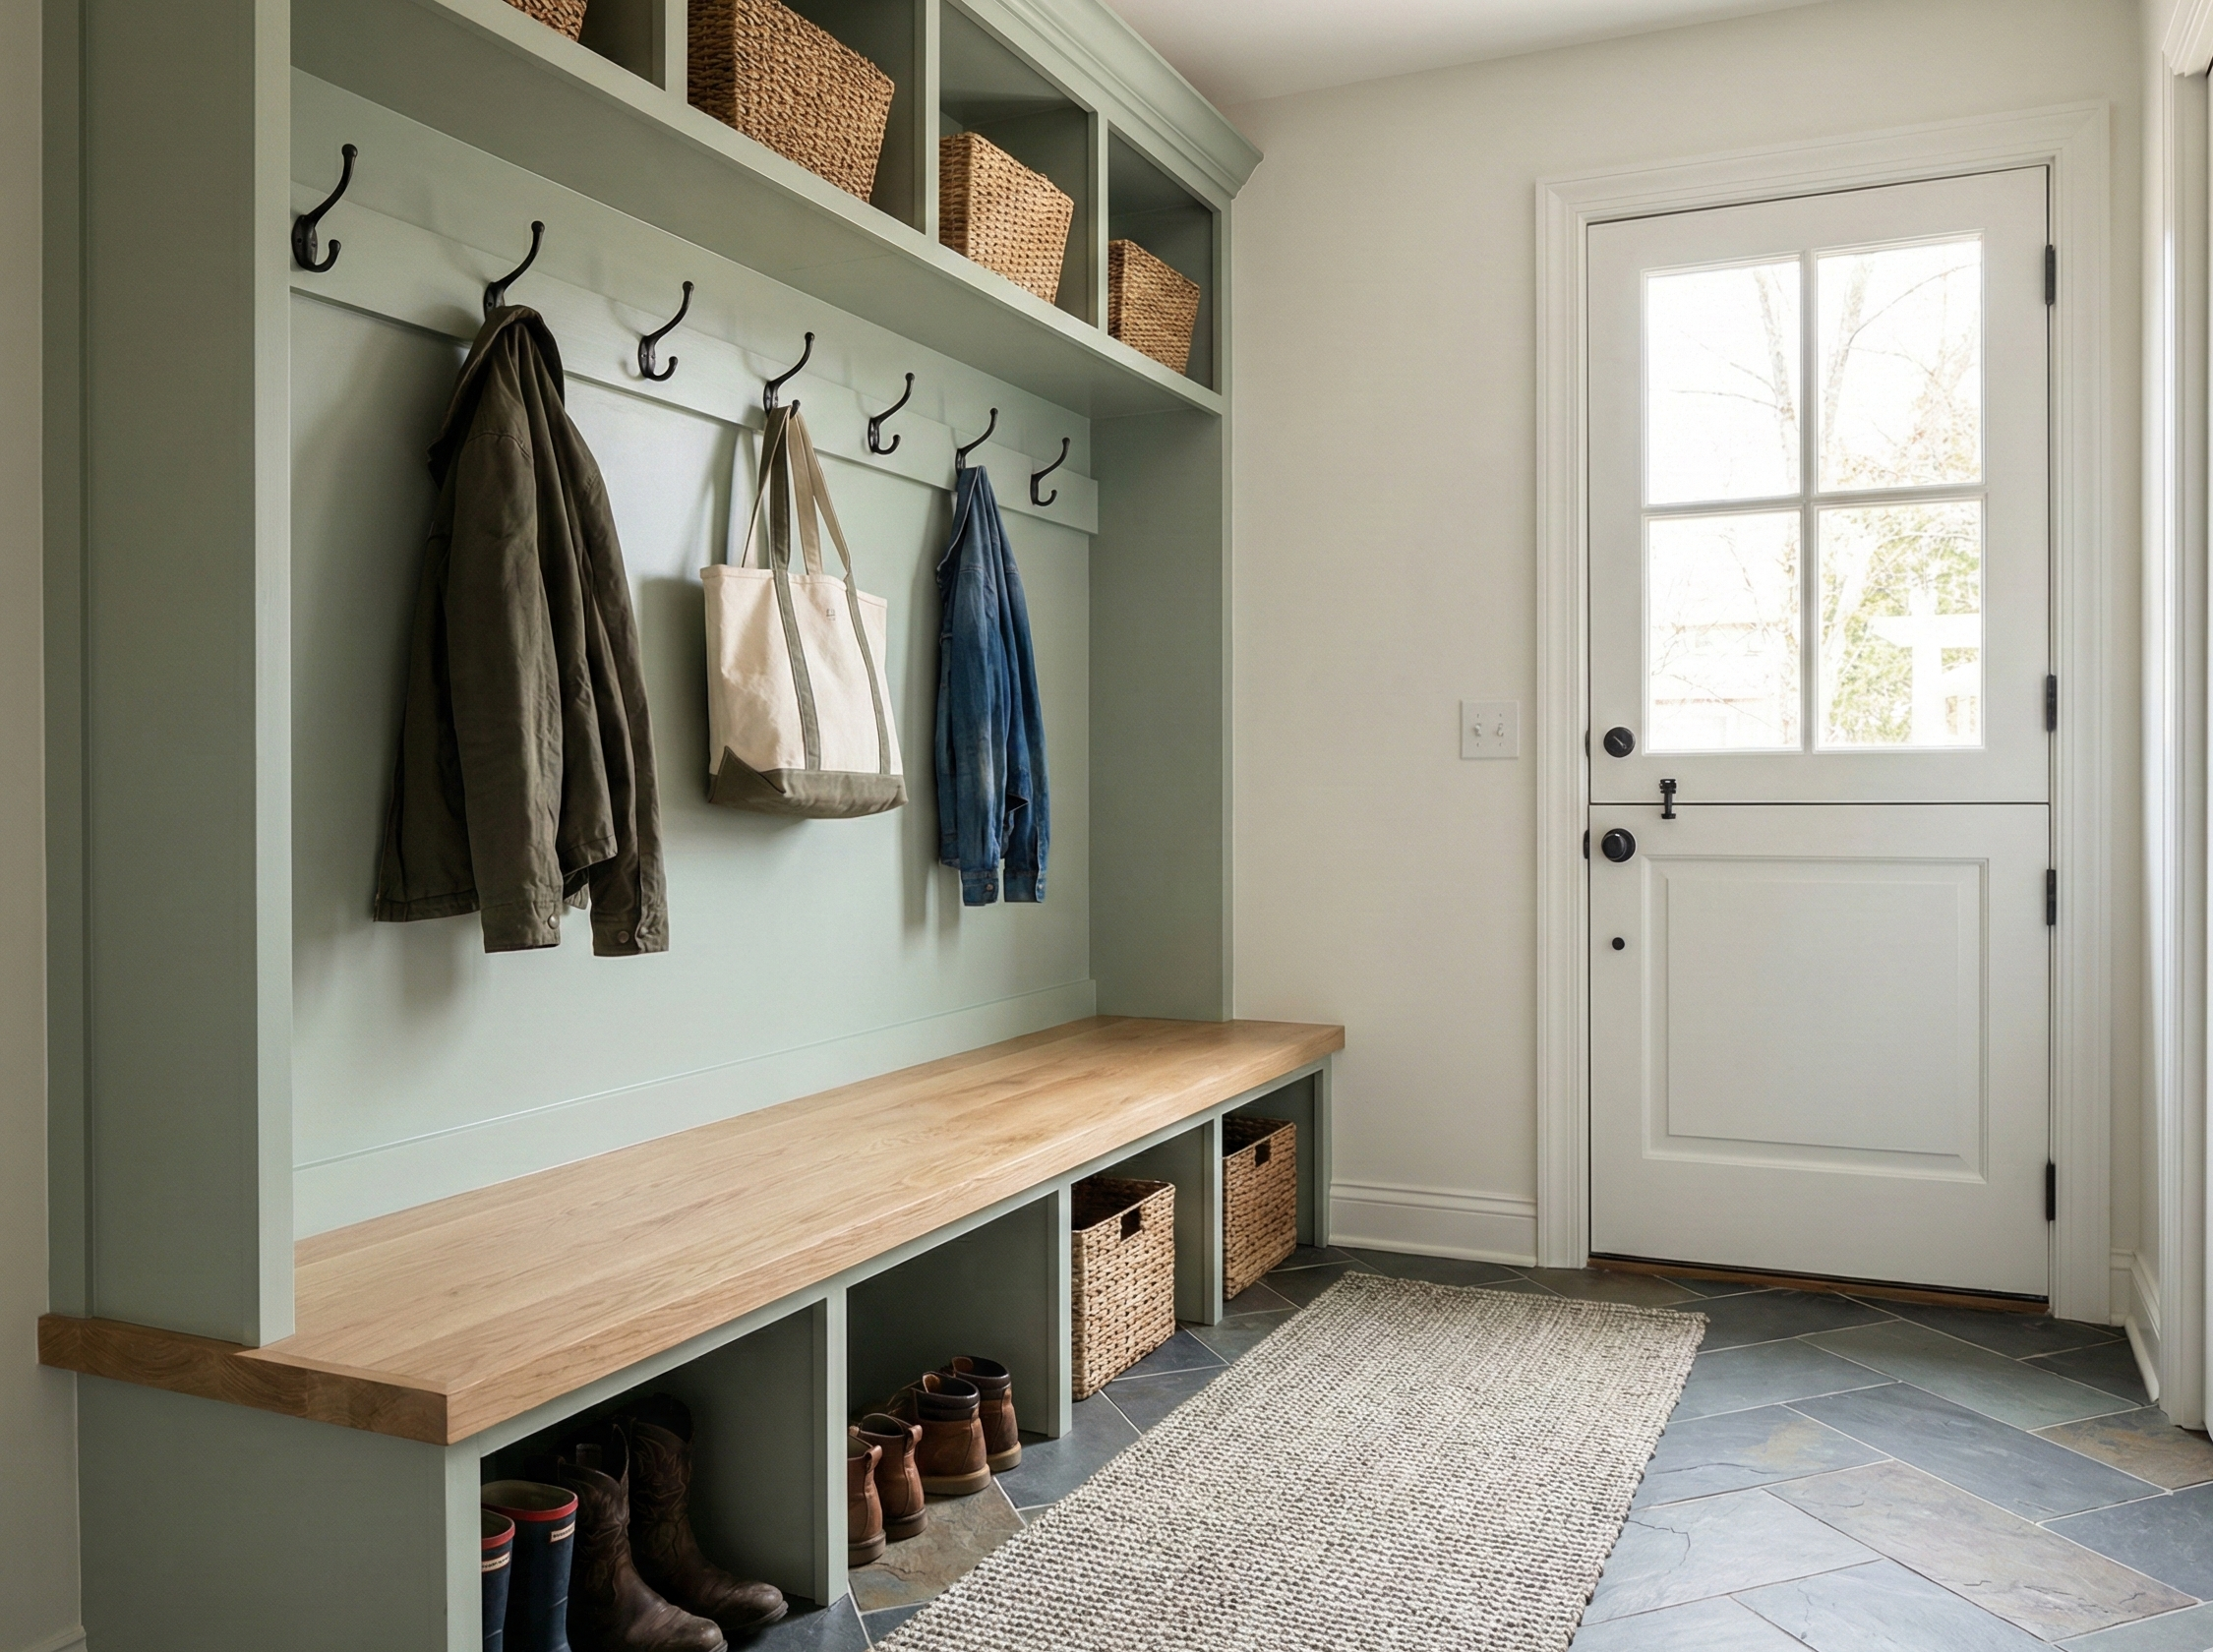
6) Baseboards and trim: remove, reuse, or add quarter round?
Many flooring projects intersect with trim decisions:
- Reinstalling baseboards after flooring can look cleaner.
- Adding quarter round can be quicker but may look less “built-in.”
There’s no one right answer; it depends on the look you want and how much trim work is included in the project.
If painting is also part of the plan, sequencing can keep lines clean: Painting.
7) Moisture and temperature: a practical note
Vinyl products still have performance expectations. Planning should include:
- Installation environment (temperature and humidity)
- Moisture considerations (especially basements or slab-on-grade homes)
- Acclimation requirements (varies by product)
If a space has known moisture issues, it’s best to address them before installing any new floor finish.
7a) Basements and slab floors: plan moisture and comfort
Basements and slab floors can be great candidates for vinyl, but they also raise planning questions:
- Is there a history of moisture or water intrusion?
- Will the space be conditioned (heated/cooled) consistently?
- Do you need a specific underlayment or moisture strategy for the product you chose?
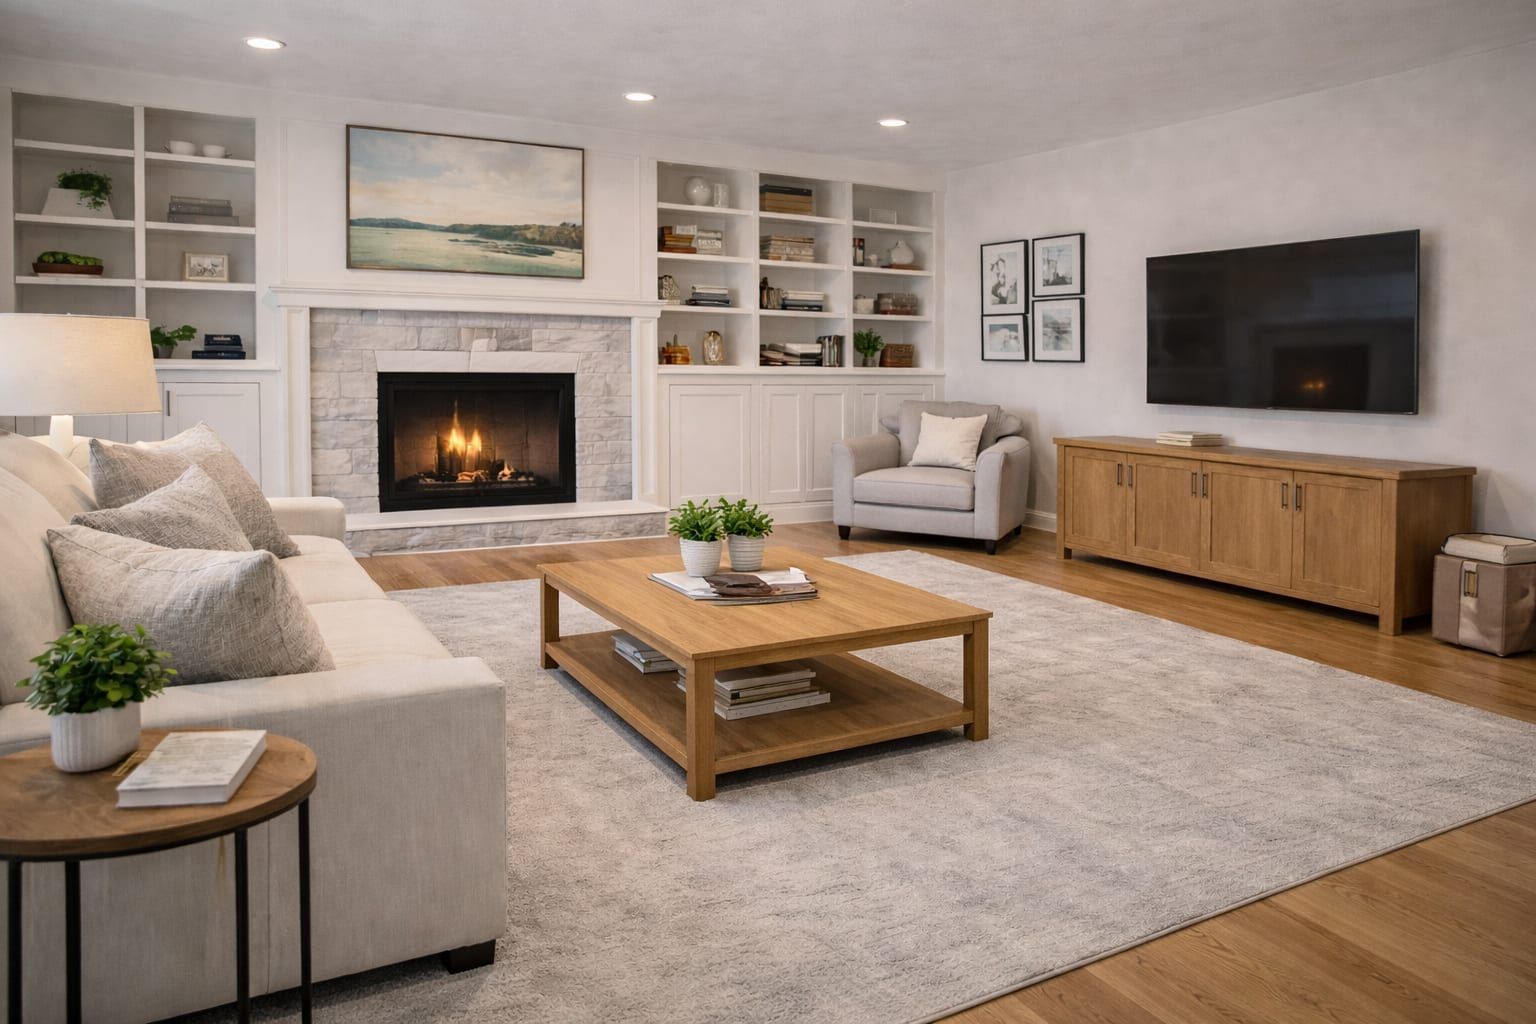
Even when moisture is not a problem, slab floors can feel cooler. Area rugs and entry mats can improve comfort and reduce grit, which helps the floor look better longer.
8) Maintenance planning: how to keep the floor looking good
Vinyl is relatively low maintenance, but habits matter:
- Use felt pads under furniture
- Avoid dragging heavy items
- Use appropriate cleaning products (follow product guidance)
- Manage grit (entry mats) to reduce wear
For detailed care tips, see: Vinyl floor care and maintenance.
9) How to request a quote: what information helps
Vinyl flooring estimates go faster with:
- Room list and rough sizes
- Photos (wide shots + transitions at doors)
- Notes about existing flooring (what’s being removed)
- Link to the product if already selected
This checklist is a good template: Quote request checklist.
10) FAQs
Can vinyl plank go over existing floors?
Sometimes, but it depends on the existing floor, flatness, and product requirements. Prep and manufacturer guidance matter.
What’s the biggest mistake people make with vinyl plank?
Ignoring transitions and subfloor condition. Those two decisions determine whether the floor feels “finished.”
Should vinyl run under cabinets?
That depends on the project and product requirements. It’s a planning decision worth confirming early.
How soon can I move furniture back after installation?
It depends on the product type. Click-lock floors can often handle light foot traffic quickly, but heavy furniture should be moved carefully to avoid scratching or stressing joints. Glue-down systems may have adhesive cure guidance that should be followed. Using felt pads and avoiding dragging heavy items helps protect the finish.
Next steps
Sharing a product link plus doorway photos helps confirm transitions and details quickly before materials are ordered.
- Vinyl service details: Vinyl flooring
- Transition planning: Vinyl floor transitions and trim
- Start a quote request: Request a quote
Need help planning the next step?
Share photos and rough measurements to get a clear yes/no on fit and the right follow-up.