If tile fails, the problem often starts underneath the tile—not on the surface you can see. Many tile issues (cracked grout, cracked tile, lippage, hollow spots) trace back to one root cause: the subfloor and underlayment weren’t prepared for tile.
This guide explains what “flatness” means for tile, why it matters, and what homeowners can do to plan for proper prep before installation day.
Quick takeaways
- Tile needs a stable, flat base. “Looks level” is not the same as “flat enough.”
- Deflection matters. A bouncy floor can crack tile and grout even if it looks fine on day one.
- Large tile demands more prep. Bigger tiles show unevenness more.
- Prep is part of quality. Skipping it often leads to problems later.
0) Think in systems (structure + substrate + underlayment + tile)
Tile is not just tile and grout. A tile floor is a system:
- The structure (joists or slab) has to be stable.
- The subfloor has to be solid and properly attached.
- The underlayment has to be appropriate for tile and for the room conditions.
- The tile assembly has to be installed with consistent coverage and movement accommodation.
If one layer is weak, the finished surface has a higher chance of cracking, sounding hollow, or looking uneven over time.
1) Flat vs. level: what tile actually needs
These terms get mixed up:
- Level means the surface is horizontal relative to gravity.
- Flat means the surface doesn’t have waves, humps, or dips.
Tile cares more about flatness than perfect level. A floor can be slightly out of level and still take tile well if it’s flat. A floor can be “level enough” and still be a problem if it has humps and dips.
1a) Flatness shows up most in two places: edges and light
Even small waves in a floor can show up in:
- Lippage at tile edges (one tile edge higher than the next)
- Shadow lines when light rakes across the surface
- Grout line inconsistency (some joints look wider or narrower because the plane changes)
If a space has strong window light or glossy tile, prep becomes even more important because the floor “tells on itself.”
2) Why flatness affects the finished look
When a floor has uneven spots, tile edges can sit higher or lower than adjacent tiles (lippage). Even small lippage can:
- Catch feet and chair legs
- Create visible shadow lines in raking light
- Make grout lines look inconsistent
The larger the tile, the easier it is to see.
2a) How to check flatness (simple homeowner method)
You do not need specialized tools to get a useful baseline. A simple method is:
- Use a long straightedge (or a very straight board).
- Set it on the floor in multiple directions (lengthwise, widthwise, diagonals).
- Look for gaps under the straightedge (dips) and for rocking (humps).
- Mark problem spots with painter’s tape so you can photograph them and discuss the plan.
Pay special attention to:
- Seams between subfloor sheets
- Transitions between rooms
- Areas near doorways (often have humps from old thresholds)
- High-traffic paths (where movement and squeaks show up)
This is not a precision spec check. It is a practical way to identify where flattening work is needed before tile goes down.
3) Deflection: movement under load
Deflection is how much the floor structure bends when loaded (people, furniture, appliances). Tile is rigid. Too much flex can lead to:
- Cracked grout lines
- Cracked tile
- Hollow-sounding spots over time
If your floor feels bouncy or squeaks, it’s worth planning for assessment and reinforcement before tile goes down.
3a) Movement sources that tile does not forgive
Tile and grout do not like repeated movement. A few common movement sources to consider before tile:
- Loose subflooring: fasteners that have backed out or areas that flex between joists.
- Squeaks: often a sign of movement, not just noise.
- Transitions between materials: where an older patch meets a newer patch, or where plywood meets a different underlayment.
The goal is not “perfect silence.” The goal is a stable base so the tile assembly is not being flexed every time someone walks across it.
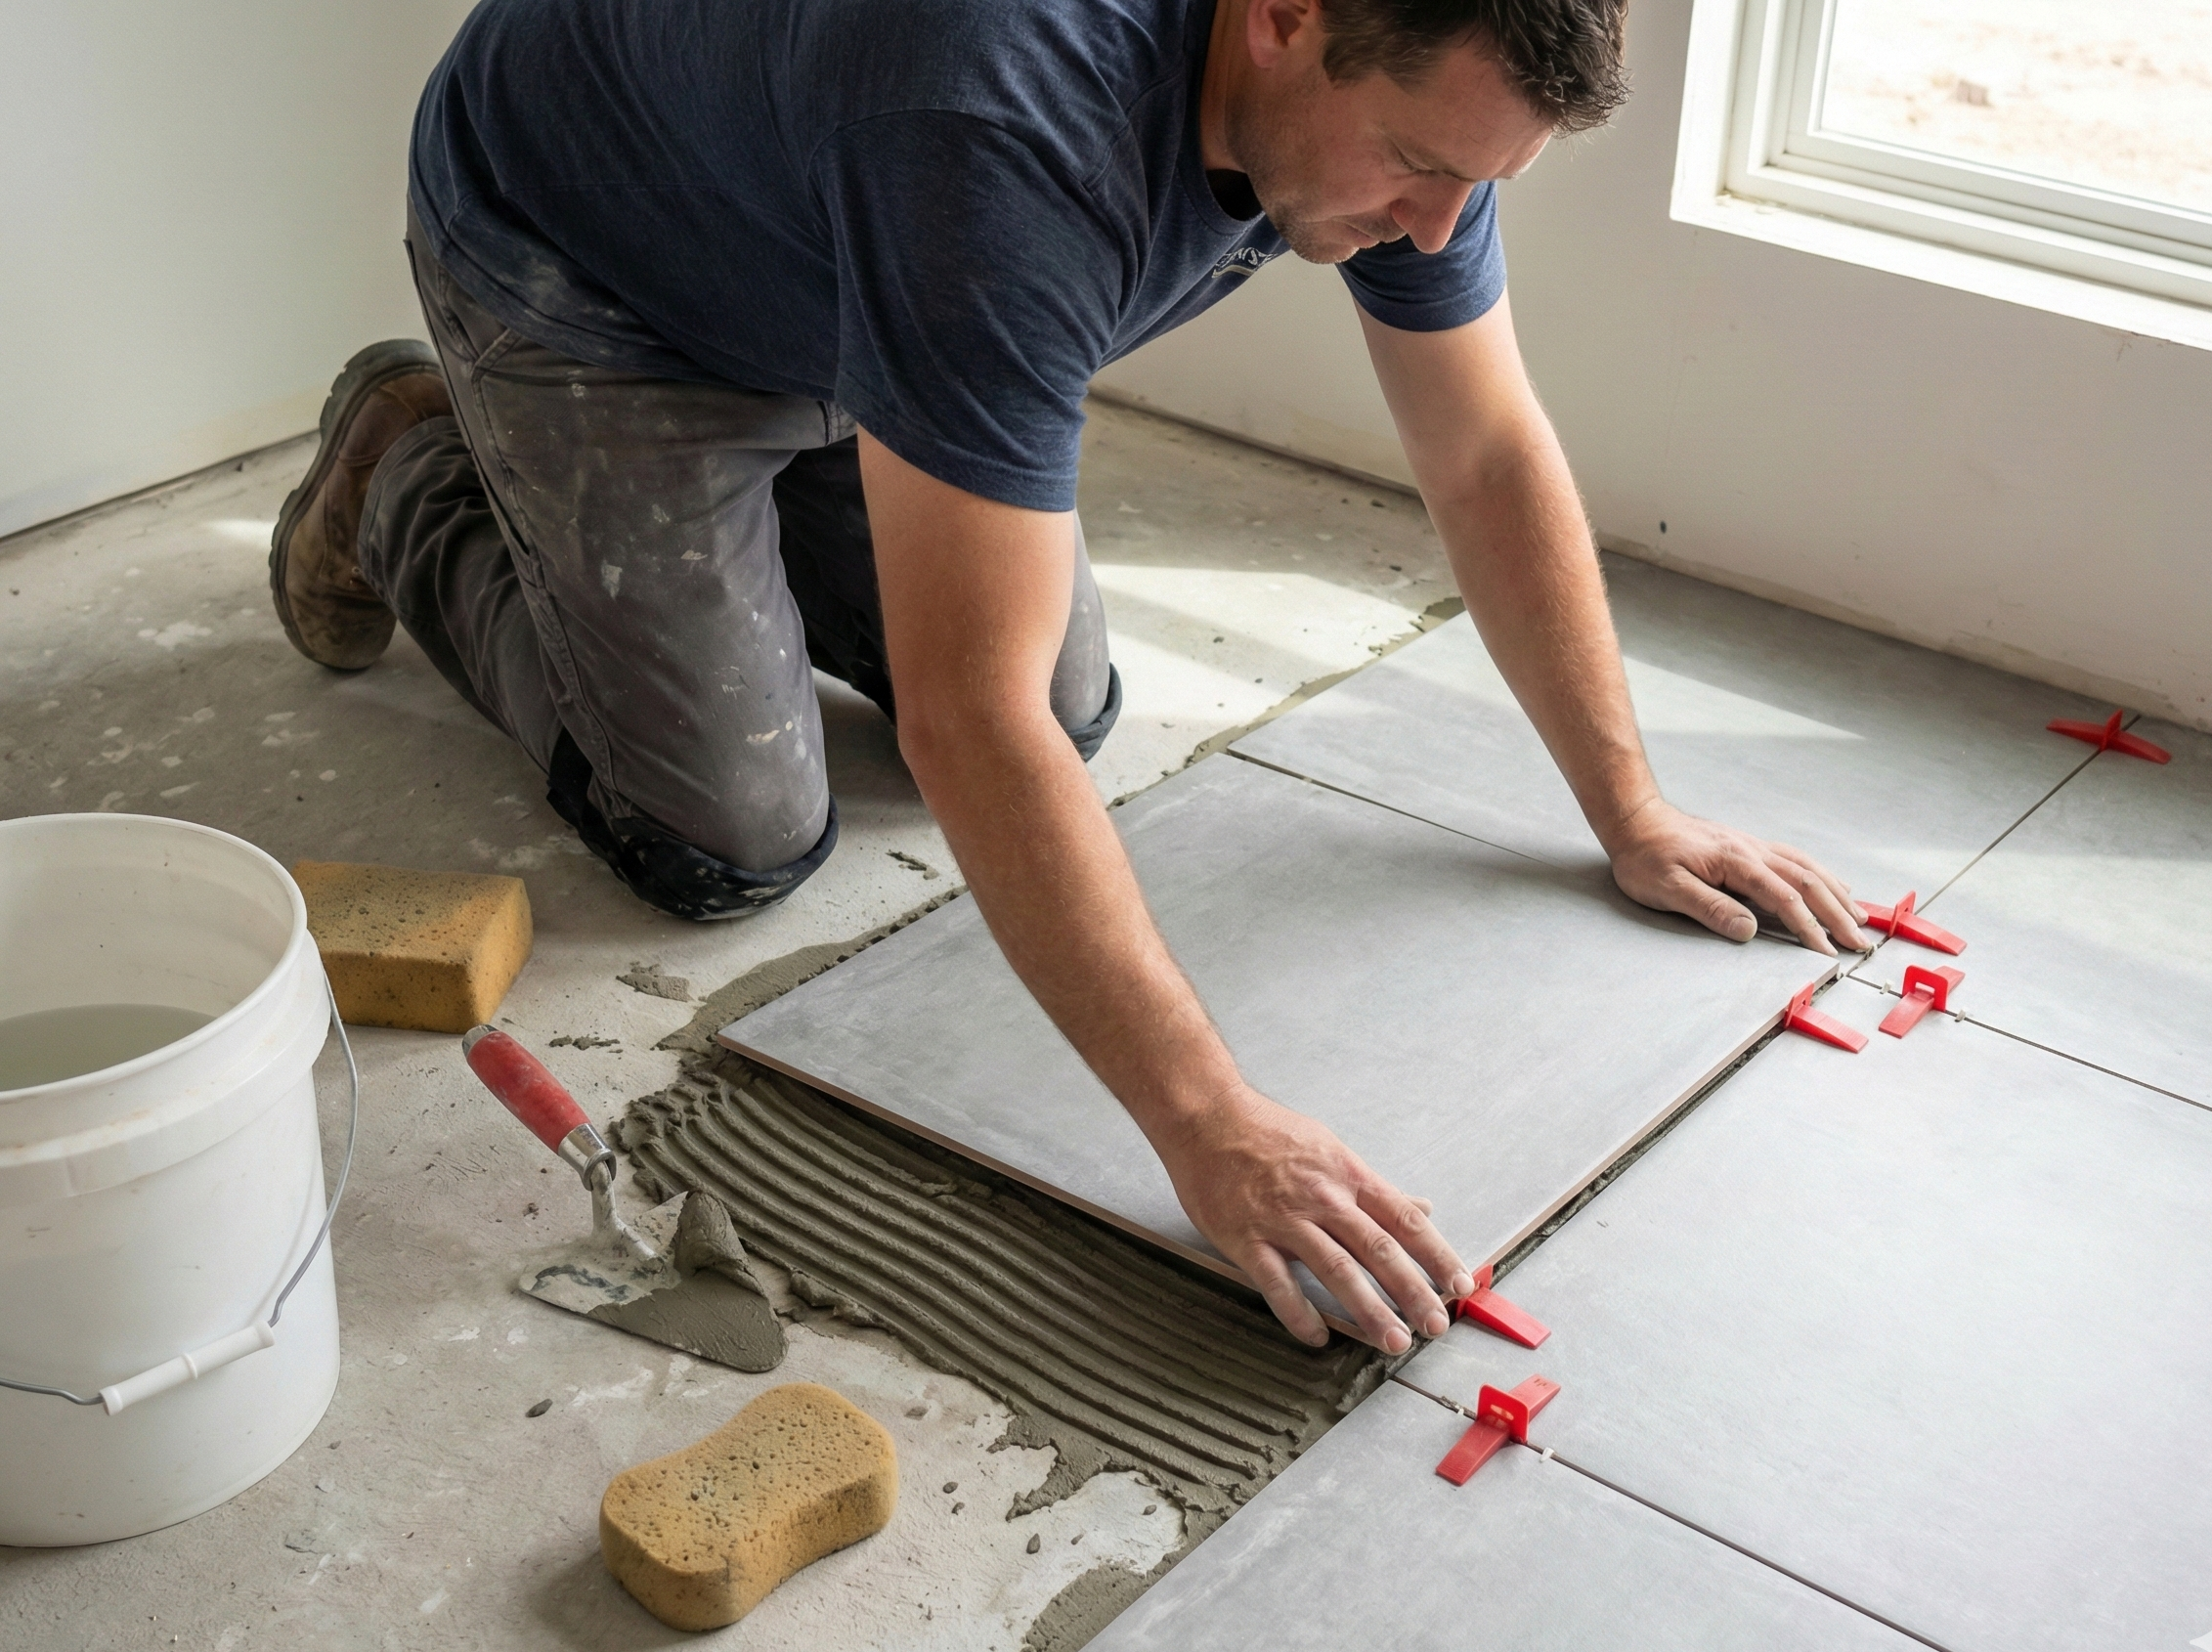
4) Underlayment: what tile is bonded to
Tile is installed as a system. Depending on conditions, that system can include:
- Cement backer board
- Uncoupling membranes
- Leveling products (when needed)
The right choice depends on the subfloor, the tile size, and the room’s needs.
Underlayment also affects finished height and transitions to adjacent floors. If you’re planning vinyl in an adjacent room, plan transitions early: Vinyl flooring.
4a) Height planning: tile thickness is not the only thickness
Finished height is determined by the whole assembly:
- Existing subfloor thickness and condition
- Underlayment choice
- Thinset and trowel technique (affects build)
- Tile thickness
This matters at doorways and adjacent rooms. If a room transitions from tile to vinyl, planning for a clean reducer or transition profile up front prevents last-minute surprises.
If doors are being replaced or adjusted, floor height is part of that planning too: How to measure for door replacement.
5) Common “prep drivers” that change the estimate
These conditions often add prep work:
- Soft spots
- Subfloor damage
- Humps at seams
- Noticeable dips
- Squeaks or movement
They don’t automatically mean a project can’t happen. They mean prep should be planned into the timeline and budget so quality doesn’t get compromised.
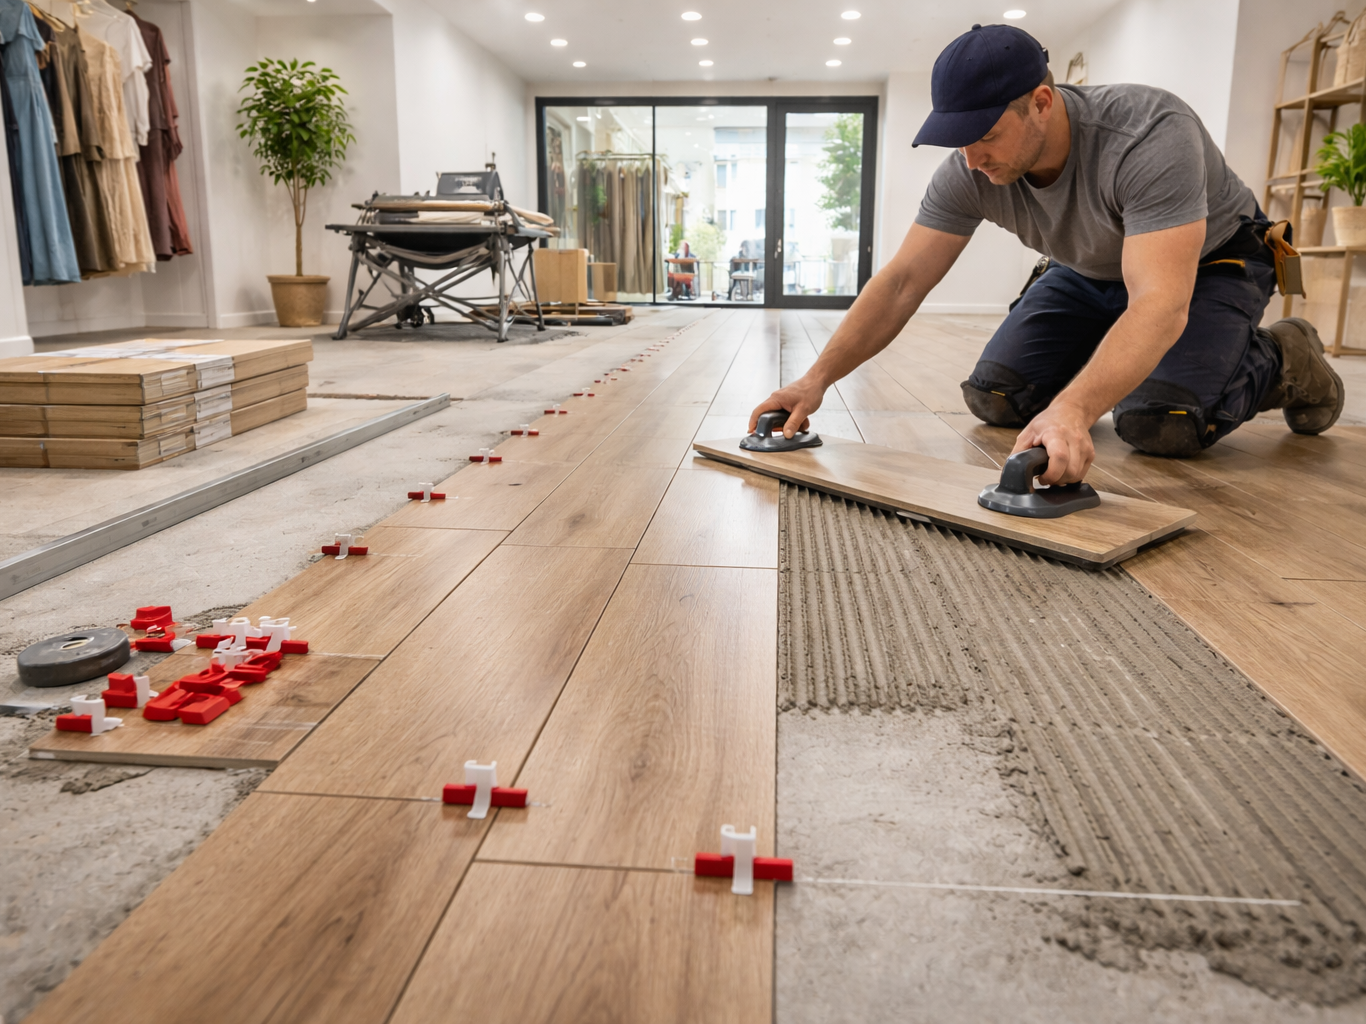
6) Tile size matters: why large tile needs tighter flatness
Small tile can sometimes follow minor contour changes without obvious issues. Large tile spans more surface, so it bridges humps and dips and makes unevenness more noticeable.
If you’re selecting tile size, match your choice to the room’s realities (and the prep you’re willing to do).
7) Prep affects schedule (build it into timelines)
People often plan for “tile install day” but forget that prep can include:
- Repairs and reinforcement
- Flattening work
- Underlayment installation
- Cure time for leveling products
If you have a deadline (move-in, listing photos, guests), include prep time in your schedule.
7a) Do not forget drying and cure windows
Flattening and underlayment steps can include products that need time:
- Patch and leveling materials that need to set before tile goes down
- Waterproofing or membranes that need correct cure windows in wet areas
Rushing these steps can create failure risk. If you are on a deadline, a staged plan is often safer than compressing every step into one day.
8) What to send for a fast assessment
To speed up subfloor assessment and planning, send:
- Photos of the room (wide shots)
- Notes about bounce, squeaks, or soft spots
- Tile link (size and type)
- A note about existing flooring (vinyl, carpet, hardwood, tile)
If you want a simple format, use: Quote request checklist.
9) FAQs
If my floor isn’t perfectly level, can I still install tile?
Often, yes. Tile cares more about flatness than perfect level. The best approach depends on how out of level and how uneven the surface is.
Why do some tile floors crack later?
Movement and prep issues are common causes. Seasonal expansion and subfloor movement can stress a rigid tile assembly.
What’s the easiest way to reduce tile risk?
Address movement and flatness before tile goes down. It’s the hidden work that protects the visible finish.
Do I need leveling compound for tile?
Sometimes. If the floor has dips that would create lippage or uneven tile edges, flattening can include patching or leveling products. The right approach depends on how uneven the floor is, what underlayment system is planned, and the tile size.
Can tile be installed over existing flooring?
Sometimes, but it depends on what the existing floor is, whether it is well bonded, and whether the surface is appropriate for a tile system. In many cases, removing old flooring and building a proper tile-ready underlayment is the more predictable path. The right answer depends on the specific room and the condition underneath.
Next steps
If you want a fast assessment, share tile size, photos of the floor, and any notes about bounce or squeaks. A straightedge photo over a dip or hump is especially helpful. If the straightedge rocks or shows gaps, note where. These details help confirm prep needs before install day and reduce surprises. It also helps set timeline and budget expectations for prep work early.
- Service overview: Tile installation
- Edge planning: Tile edges, trims, and transitions
- Start a quote request: Request a quote


Need help planning the next step?
Share photos and rough measurements to get a clear yes/no on fit and the right follow-up.