Vinyl plank flooring is resilient, but it still needs a stable, flat base. Many problems homeowners notice after installation—clicking sounds, visible ridges, “soft” feeling areas, uneven transitions—start with subfloor conditions that weren’t addressed.
This guide explains what subfloor prep means for vinyl plank, why flatness matters, and what information helps plan accurately.
Quick takeaways
- Flatness matters more than level. A floor can be slightly out of level and still work if it’s flat.
- Squeaks and movement should be addressed early. Vinyl won’t fix a loose subfloor.
- Prep affects transitions. Leveling and underlayment decisions change finished height.
- Good prep protects the warranty and the feel. Follow product requirements.
1) Flat vs. level (and what vinyl actually needs)
These terms are often confused:
- Level: horizontal relative to gravity.
- Flat: free of waves, humps, and dips.
Vinyl plank is sensitive to flatness because planks connect together. If the surface has a dip or hump, planks can:
- Rock or flex
- Separate at joints over time
- Create a visible telegraph line
2) Common subfloor issues that show up after installation
Here are frequent “after” symptoms and what they often mean:
- Clicking sound in one area: movement or unevenness under planks.
- Visible ridge line: seam or hump in subfloor.
- Gaps at ends: movement, product acclimation issues, or uneven base.
- Soft spot feel: subfloor damage or unsupported area.
These issues are much easier to address before new flooring goes down.
3) Subfloor type matters
Your prep plan depends on what’s underneath:
- Plywood/OSB subfloor
- Concrete slab
- Existing underlayment layers
Two homes can buy the same vinyl plank and get very different results because the subfloor conditions are different. When you’re requesting a quote (or planning a DIY timeline), identifying your subfloor type upfront helps set realistic expectations.
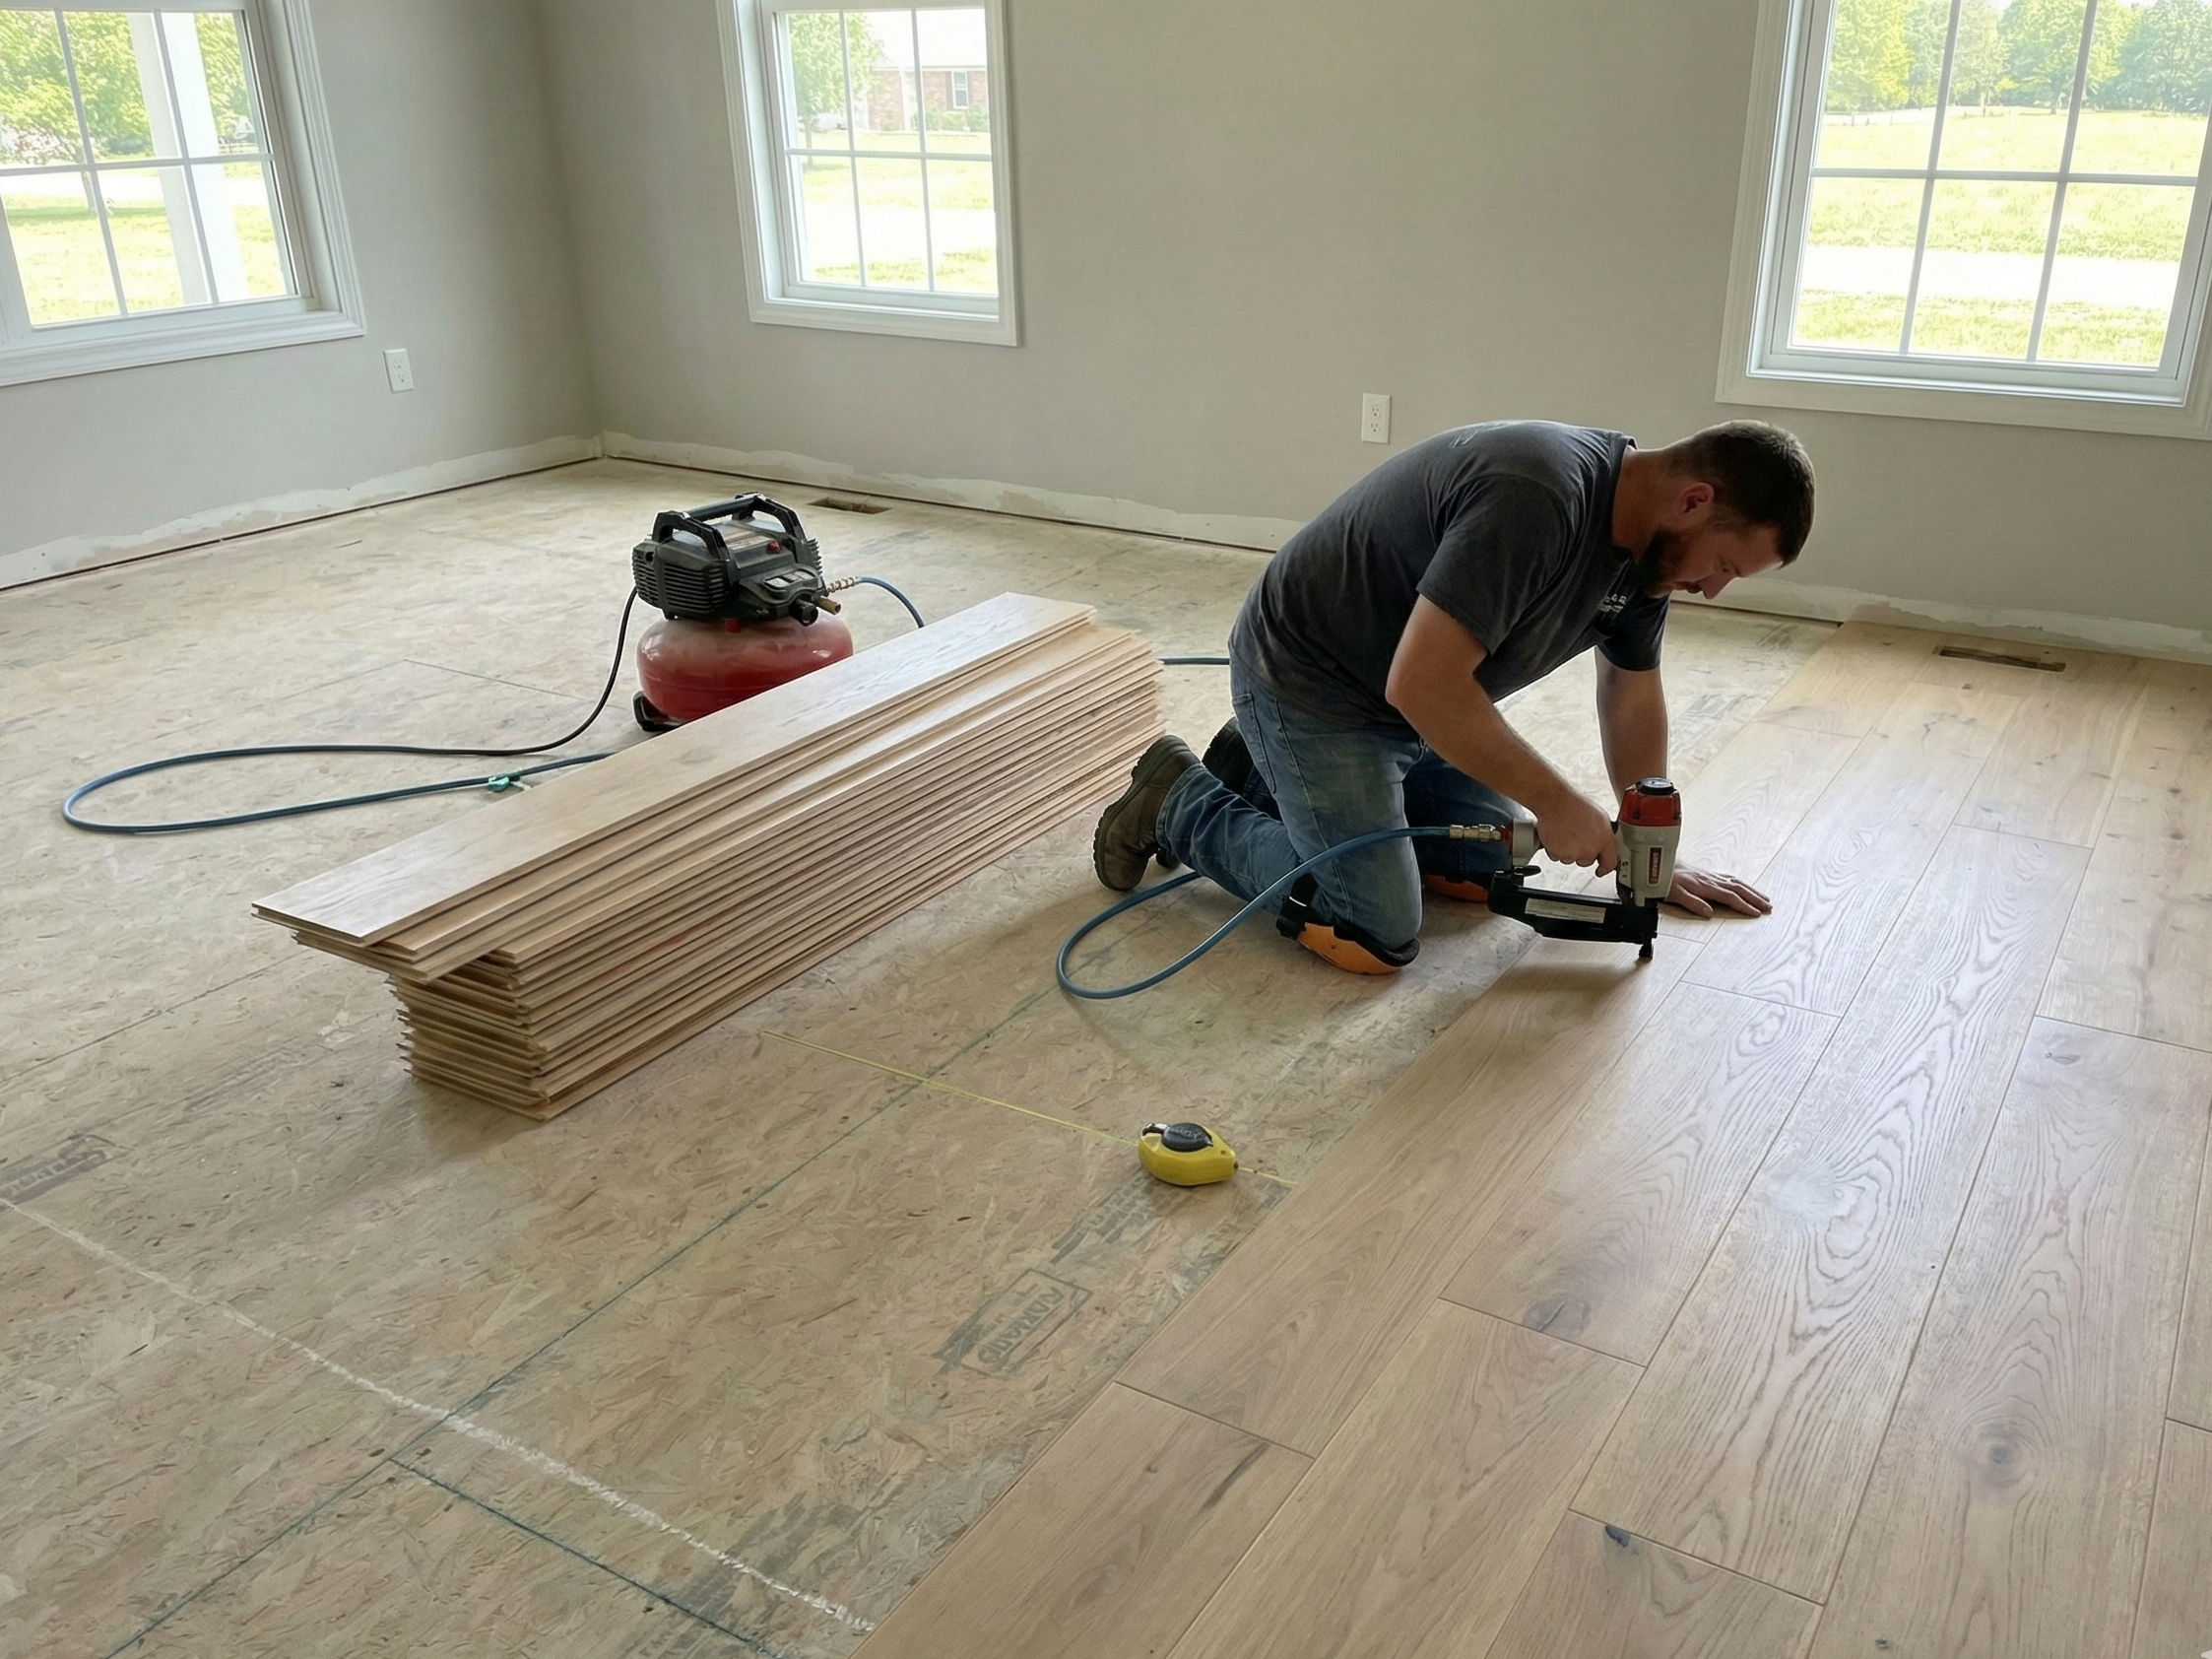
4) Wood subfloors (plywood/OSB): squeaks, seams, and movement
With wood subfloors, the most common “feel” problems come from movement:
- Squeaks (fasteners or panels moving against framing)
- Soft spots (damaged panels or unsupported areas)
- Seam ridges (panel edges telegraphing)
Good prep usually focuses on getting the structure stable and the surface smooth. If the floor has noticeable bounce, repeated squeaks, or visibly damaged areas, those issues are worth addressing before new planks go down. Vinyl can hide a lot visually, but it won’t remove movement.
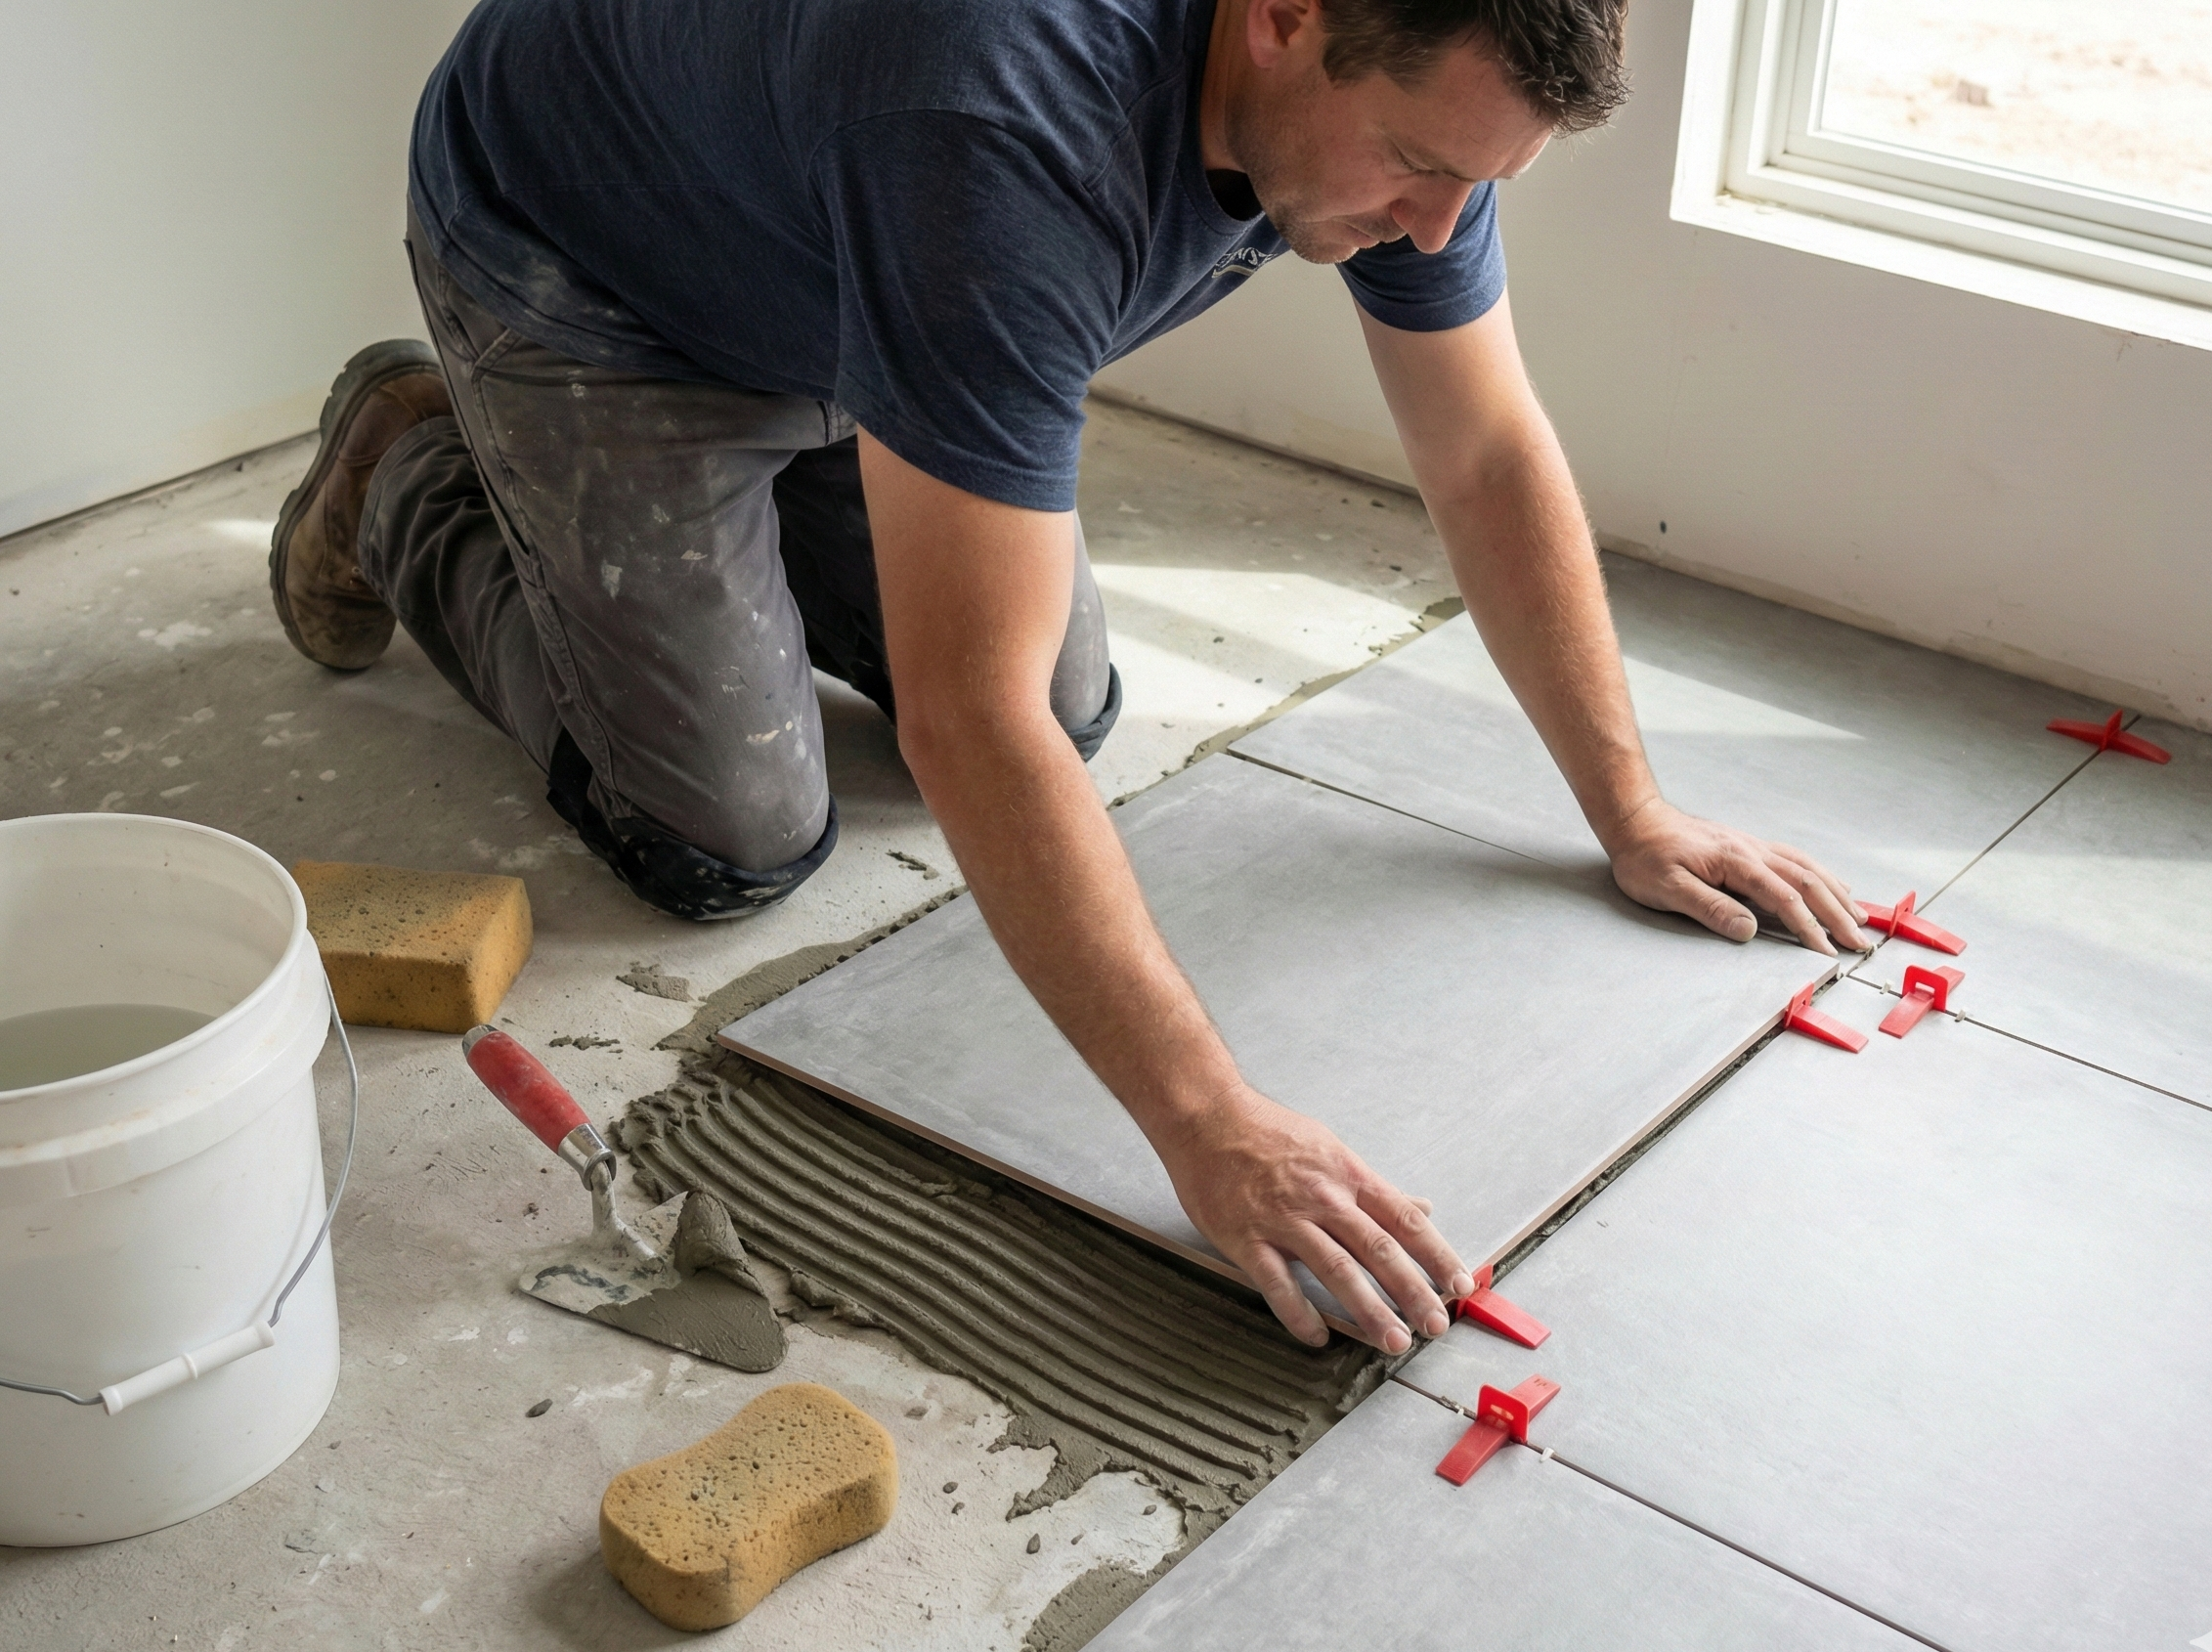
If you also have a tile project planned elsewhere, it helps to know that tile is even more sensitive to movement: Tile subfloor prep and flatness.
5) Concrete slabs: moisture and flatness are the big variables
Concrete brings a different set of questions:
- Is the slab flat enough for the click-lock system?
- Is moisture present (especially in basements or lower levels)?
- Are there old adhesive residues that need to be addressed?
Moisture is the most important “stop and assess” topic on slabs. Different products have different requirements, and the right approach is to follow the flooring manufacturer’s installation guide and any required moisture testing method. If a slab has known moisture issues, addressing those issues first helps protect the finished floor.
6) How to check flatness (simple homeowner checks)
You don’t need special tools to start understanding the floor. A practical approach:
- Use a long straightedge or level (the longer, the better).
- Check multiple directions (front-to-back and side-to-side).
- Look for humps (high spots) and dips (low spots), especially:
- At seams and doorways
- Near the center of rooms
- Along exterior walls
- Mark problem areas so you can discuss them.
You don’t need to perfectly quantify every dip to request a quote. The goal is to identify whether the floor is generally smooth or whether it likely needs leveling work.
7) What “leveling” usually means in practice
Leveling (or flattening) is a broad term. In real projects it can include:
- Filling low spots
- Grinding or addressing high spots (when appropriate)
- Feathering transitions so you don’t create new ridges
- Allowing cure time before installing flooring
Leveling work is one reason flooring timelines can vary. It’s not always a big job, but when it’s needed, it should be planned into both budget and schedule.
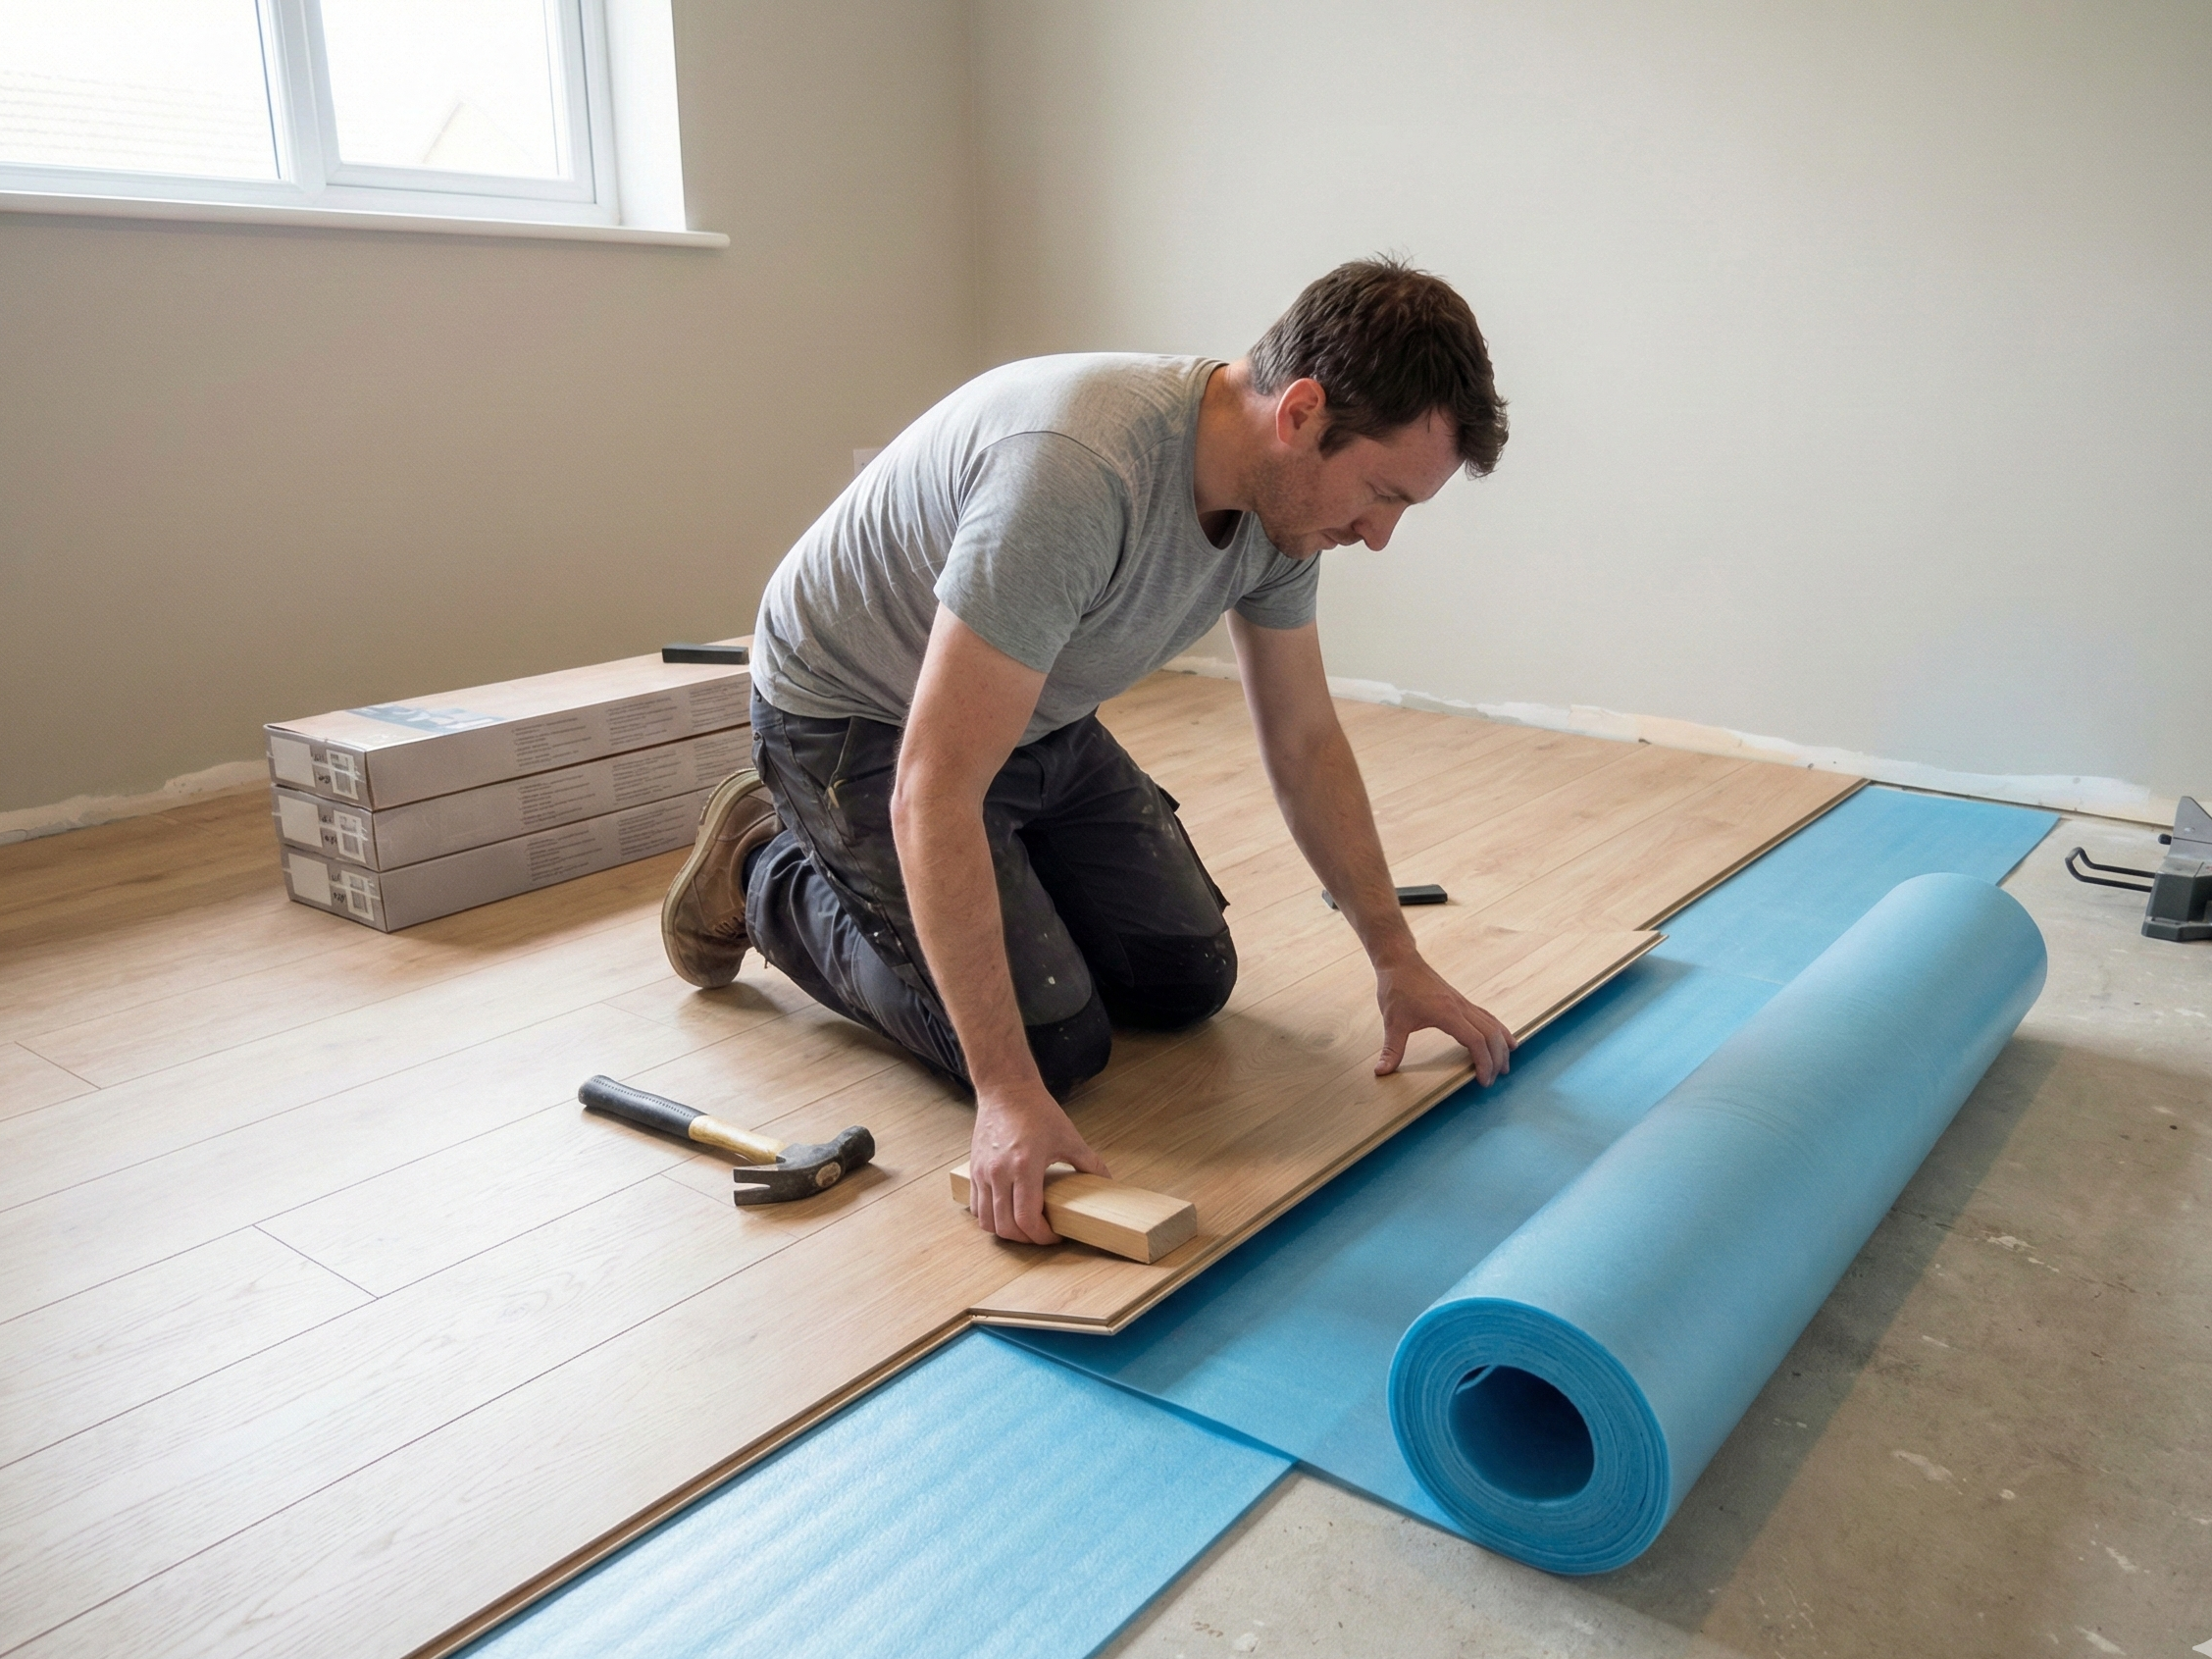
8) Underlayment and pad decisions (follow the product rules)
Some vinyl plank products have an attached pad. Some require underlayment. Some specifically prohibit additional underlayment because it can make the floor feel “spongy” and stress the locking system.
Practical checklist:
- Confirm whether the product includes an attached pad.
- Confirm whether additional underlayment is allowed or required.
- Confirm whether sound control is a goal (upstairs rooms often need different planning).
If you don’t know yet, send the product link or name. That usually answers the underlayment question quickly.
9) Transitions and finished height: plan it before the first plank
Subfloor prep and underlayment choices change finished height. That matters at:
- Doorways and thresholds
- Tile-to-vinyl transitions
- Sliding doors and exterior doors
- Baseboard and trim lines
If you want transitions that feel safe and intentional, plan them early: Vinyl floor transitions and trim.
Door clearance can also become a surprise when floor height changes. If doors are part of the project, coordinate early: Door installation.
10) Environment and acclimation: why install-day conditions matter
Vinyl products can behave differently based on:
- Temperature
- Humidity
- How long the product has been stored in the space
The right approach is to follow the manufacturer’s acclimation and install guidance. From a planning standpoint, it helps to:
- Keep the home at a normal living temperature before and during install (when possible).
- Avoid installing immediately after major HVAC changes or a prolonged vacancy without conditioning.
11) Quote checklist: what to send for a fast, accurate estimate
If you’re requesting an estimate, these details help most:
- Room list and rough sizes
- Photos of each room (wide shots)
- Photos of doorways and transitions
- Notes about squeaks, bounce, or soft spots
- What flooring is there now and whether it will be removed
- Product link or product name (if selected)
- Timeline goals
If you want a simple copy/paste format, use: Quote request checklist.
12) FAQs
Does vinyl plank need a perfectly level floor?
Usually the bigger concern is flatness, not perfect level. The floor should be flat enough to support the locking system and prevent rocking or stress points.
Why is my floor clicking after vinyl plank was installed?
Clicking can indicate movement under the planks (uneven spots, subfloor movement, or a stressed locking joint). Identifying where it happens helps determine the cause.
Can vinyl plank go over existing vinyl or tile?
Sometimes, depending on flatness, product requirements, and the condition of the existing surface. It’s important to follow the product’s installation guidance.
Do I need to remove baseboards for vinyl installation?
Not always. Removing and reinstalling baseboards can look cleaner, but some projects use shoe molding or quarter round. It’s a finish decision worth making early.
What is the easiest way to avoid “surprises” on install day?
Share photos of transitions, note any squeaks or soft spots, and confirm the product type. Most delays come from unknown subfloor conditions or transition decisions made late.
Is subfloor prep “optional” if the floor looks fine?
It can look fine today and still need attention. Subfloor issues often show up only after the floor is installed and you start living on it:
- A seam ridge becomes visible in certain light.
- A slight dip becomes noticeable when furniture sits on it.
- A soft spot becomes a noisy spot.
Prep is less about perfection and more about removing the issues that cause long-term annoyance.
What should I do if I’m worried about basement moisture?
Start by noting any signs of moisture (musty smell, visible staining, dampness after rain) and share that early. The correct path depends on the flooring product requirements and may involve moisture testing. The safest planning approach is to treat moisture concerns as a real planning item, not a cosmetic detail.
13) A simple “day before install” checklist
If you’re preparing the home for flooring work, these small steps help the day go smoother:
- Clear the floor area and remove fragile decor.
- Make sure pathways are open for material staging.
- Decide where furniture will go while the floor is installed.
- Identify any rooms that must stay accessible (bathrooms, pet areas).
Good prep doesn’t just protect the floor — it protects the schedule and reduces stress during the project.
Next steps
- Service overview: Vinyl flooring
- Transition planning: Vinyl floor transitions and trim
- Start a project conversation: Request a quote

Need help planning the next step?
Share photos and rough measurements to get a clear yes/no on fit and the right follow-up.