Ordering tile feels like a simple math problem: measure the area, buy that many square feet, and you’re done. In real projects, tile quantity depends on cuts, pattern, room shape, and edge details. Ordering too little can delay a project (especially with special order tile). Ordering too much can be expensive and wasteful.
This guide gives you a practical method for estimating tile quantity for floors and walls, including how to think about waste and spares without defaulting to “just buy a bunch extra.”
Quick takeaways
- Measure the actual tiled area and list what’s included (niches, returns, full-height walls).
- Waste is not one-size-fits-all. Simple rooms waste less; complex patterns and diagonal layouts waste more.
- Box quantities matter. Tile is often sold by the box; round up strategically.
- Plan a few spares. Tile lines change, and matching later can be difficult.
1) Define what’s being tiled
Before measuring, decide boundaries:
Floors
- Main room only, or include closets?
- Does tile run under appliances (or stop at them)?
- Where will tile stop at doorways?
Walls
- Counter-to-cabinet height, or full height?
- One wall, multiple walls, or a full surround?
- Any tiled returns around windows or outside corners?
If you’re still deciding what the project includes, start with the service overview: Tile installation.
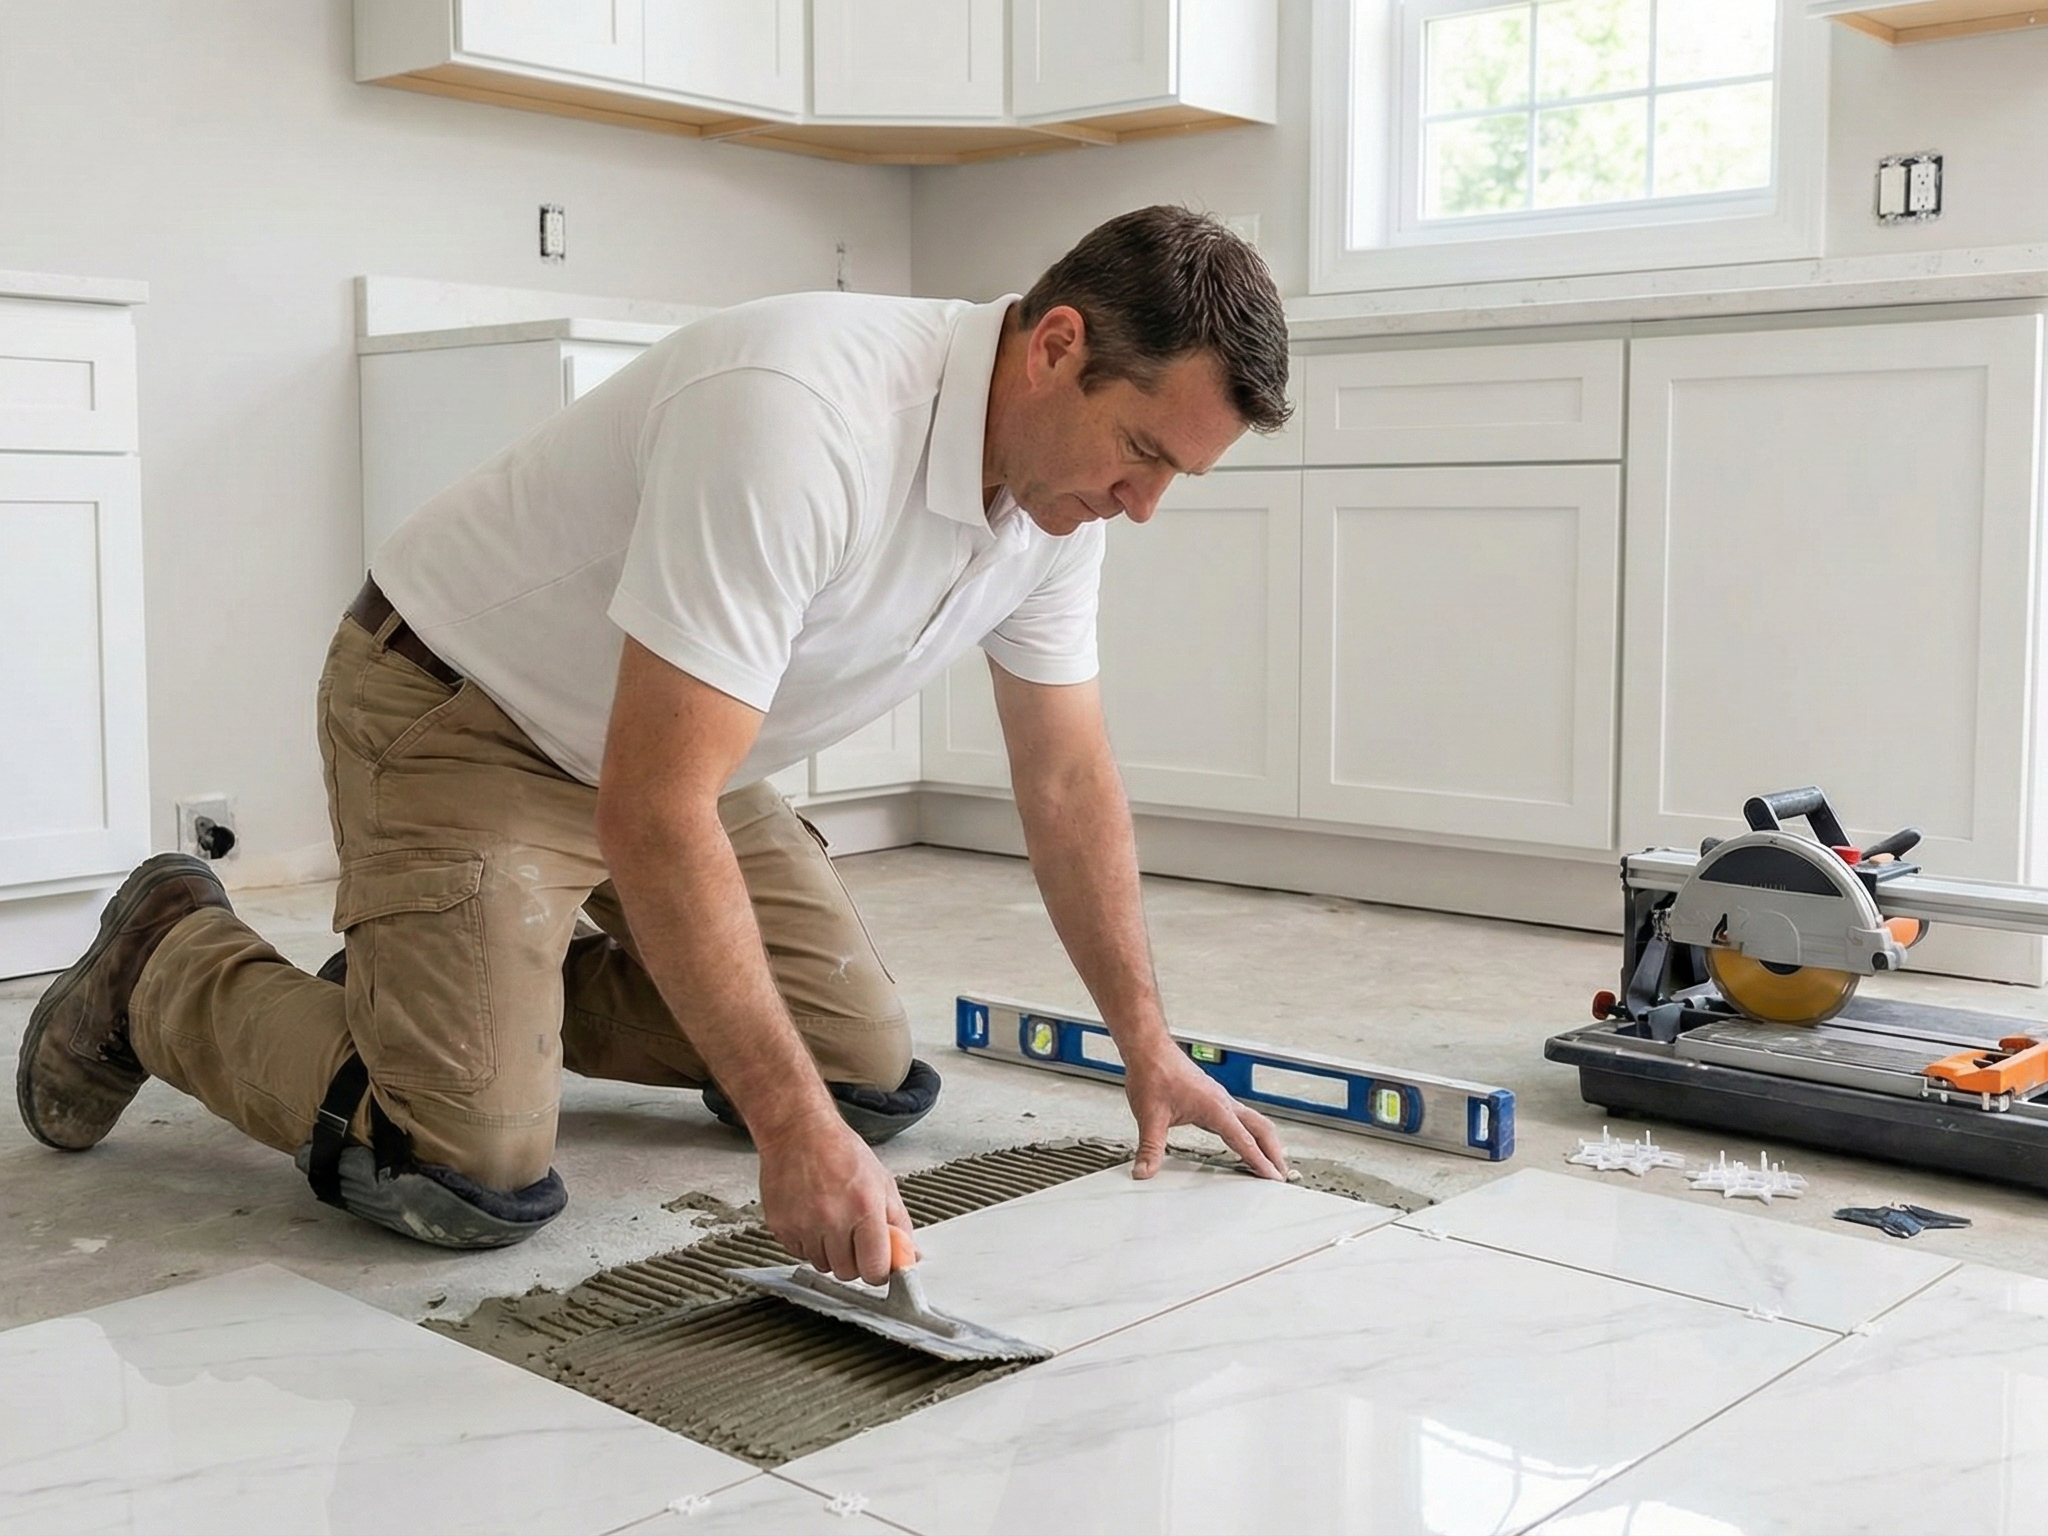
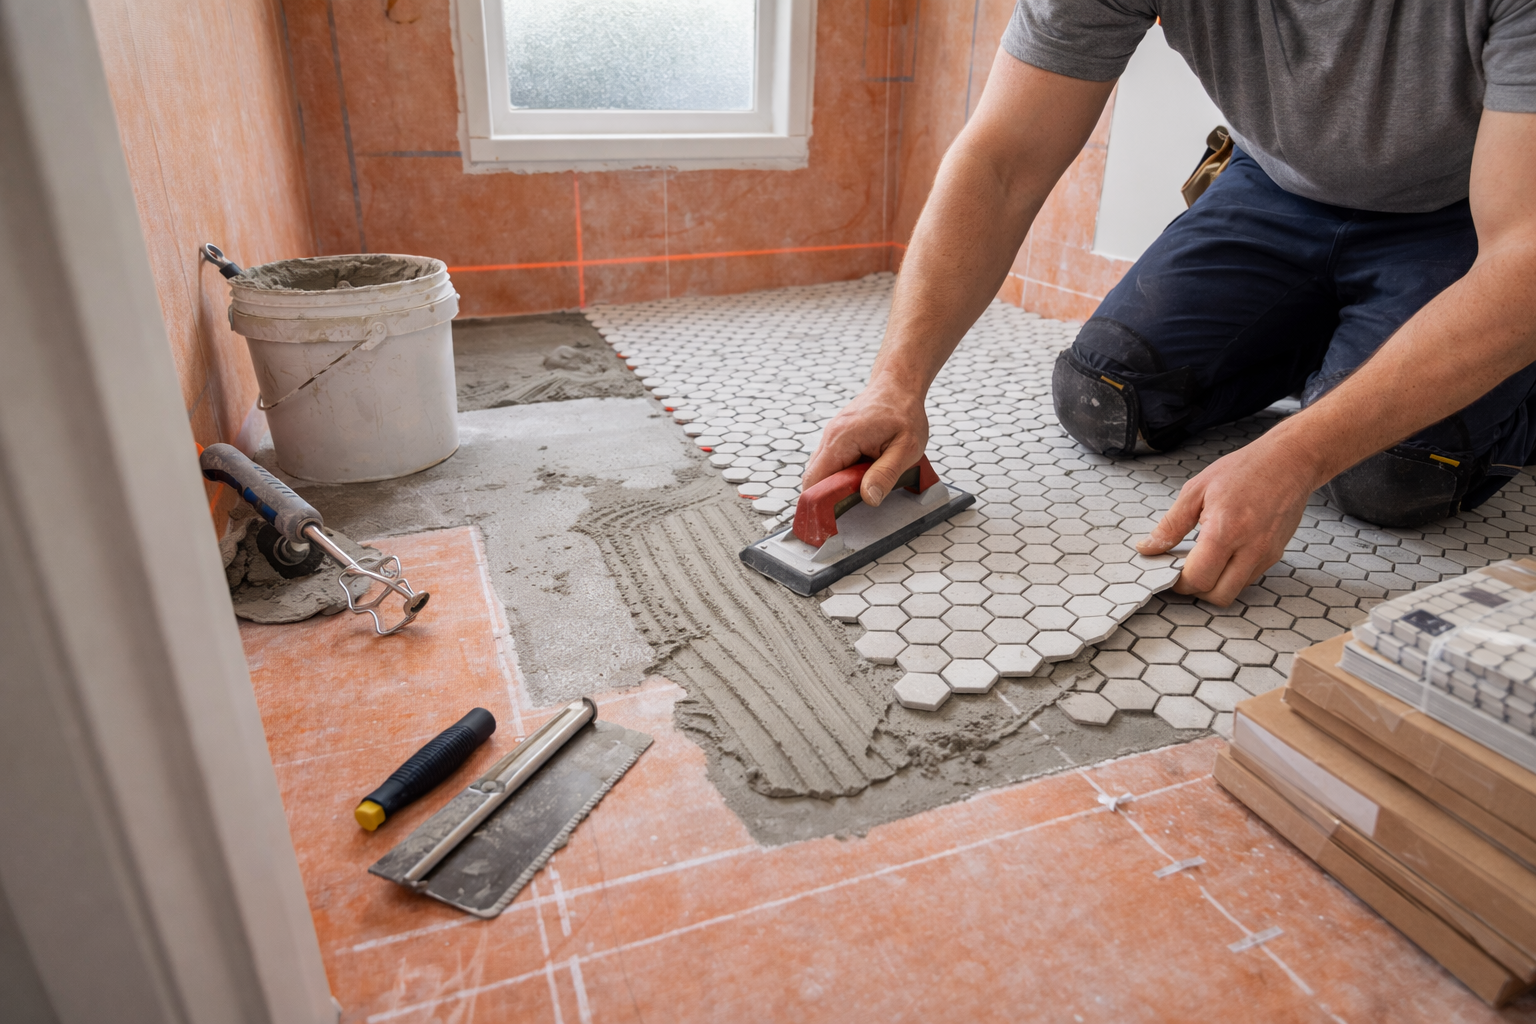
2) Measure the tiled area (and segment it)
Instead of measuring a whole space as one rectangle, segment it:
- Measure each section (length x width).
- Convert to square footage per section.
- Add sections together.
This helps you account for:
- Alcoves
- Closets
- Narrow runs
- Toe-kicks or returns
2a) Measurement tips that prevent ordering mistakes
A few simple measurement habits reduce surprises:
- Measure the smallest dimension too. A room can be “about 10 feet wide,” but a half-inch matters when you are laying full tiles plus grout joints across the space.
- Note obstacles and bump-outs. Pantries, fireplaces, and tub decks can change both square footage and waste.
- For walls, measure height and width per wall. Then subtract large openings (windows) only if you are sure tile will not return around them.
- Count special features. Niches, shower benches, and window returns increase tile needs and usually increase waste because of cuts.
When in doubt, take photos and a quick sketch. Visual context helps confirm boundaries and edge conditions.
2b) Walls and backsplashes: account for returns and cutouts
Wall tile estimates often go wrong because the square footage seems small, but the cuts add up:
- Outlets and switches: each cutout adds time and usually adds waste.
- Outside corners and returns: tile that wraps an edge or returns into a window opening increases coverage.
- Full-height walls: a “small backsplash” is very different from a full-height tile wall.
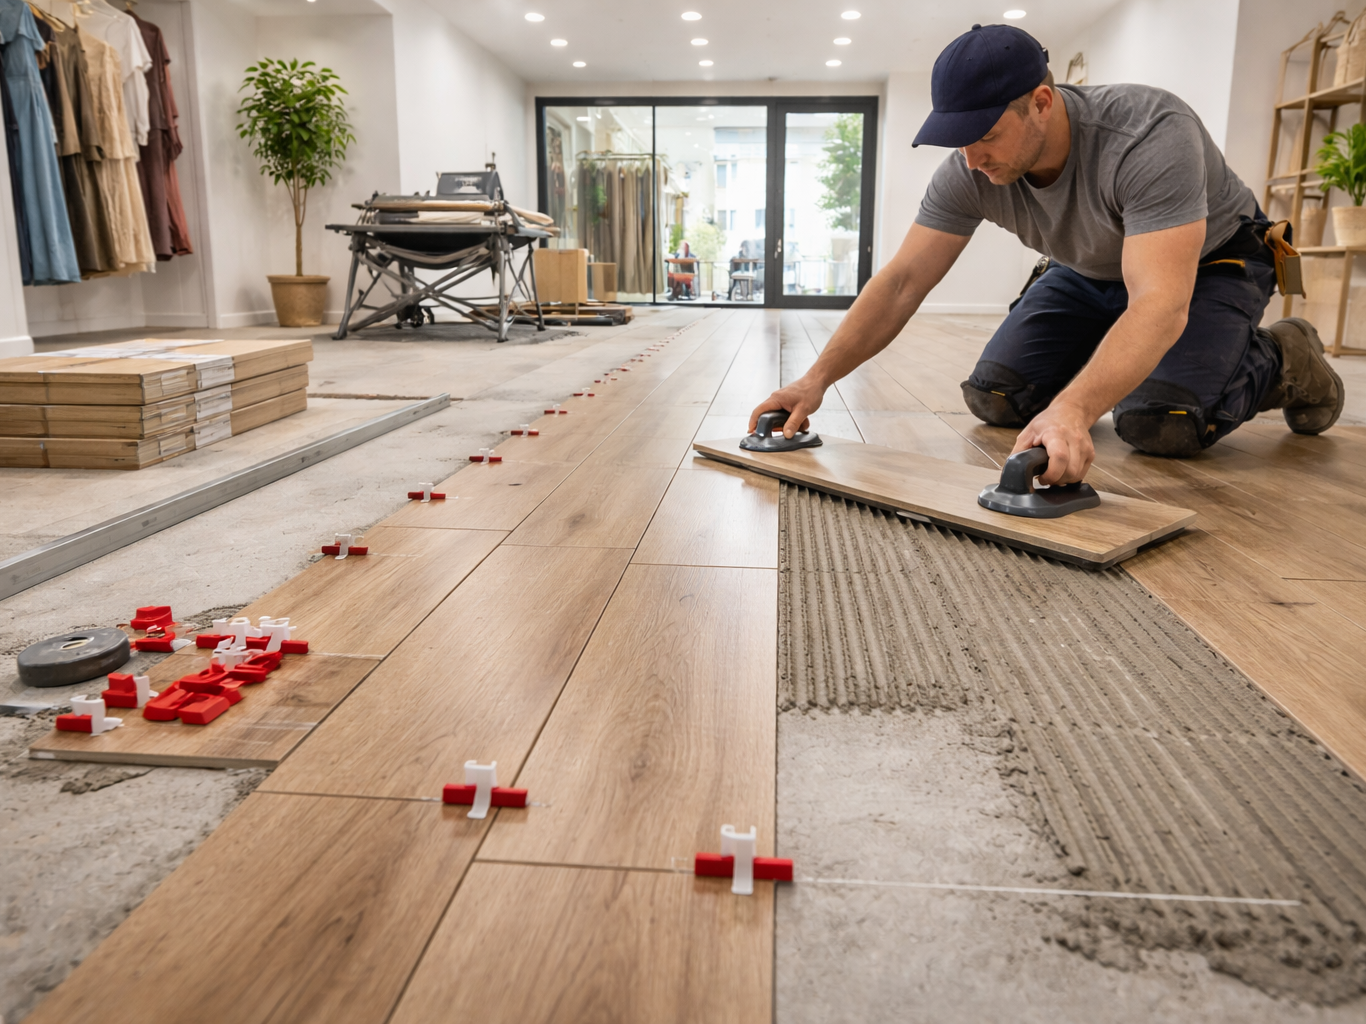
If you are tiling a shower or tub surround, niches and benches also increase tile needs. The best approach is to sketch each wall and treat it like its own rectangle, then add the rectangles together. That method keeps your estimate honest and helps you plan layout symmetry.
3) Choose a waste factor that matches the layout
Waste comes from:
- Cuts at edges
- Off-cuts that can’t be reused
- Pattern requirements (alignment and symmetry)
A helpful way to choose waste is to ask: “How many edges and obstacles do we have?”
Typical drivers of higher waste:
- Diagonal layout
- Irregular room shapes
- Many doorways or penetrations
- Highly centered layout requirements (symmetry)
If you’re planning a backsplash, layout symmetry and outlets can change waste more than people expect: Tile backsplash planning.
3a) A simple example (how the math works)
Here is a simple example for a floor:
- Main room: 12 ft x 10 ft = 120 sq ft
- Closet: 4 ft x 3 ft = 12 sq ft
- Total tiled area = 132 sq ft
Now add waste. If you choose 10% waste for a straightforward layout:
- 132 sq ft x 1.10 = 145.2 sq ft
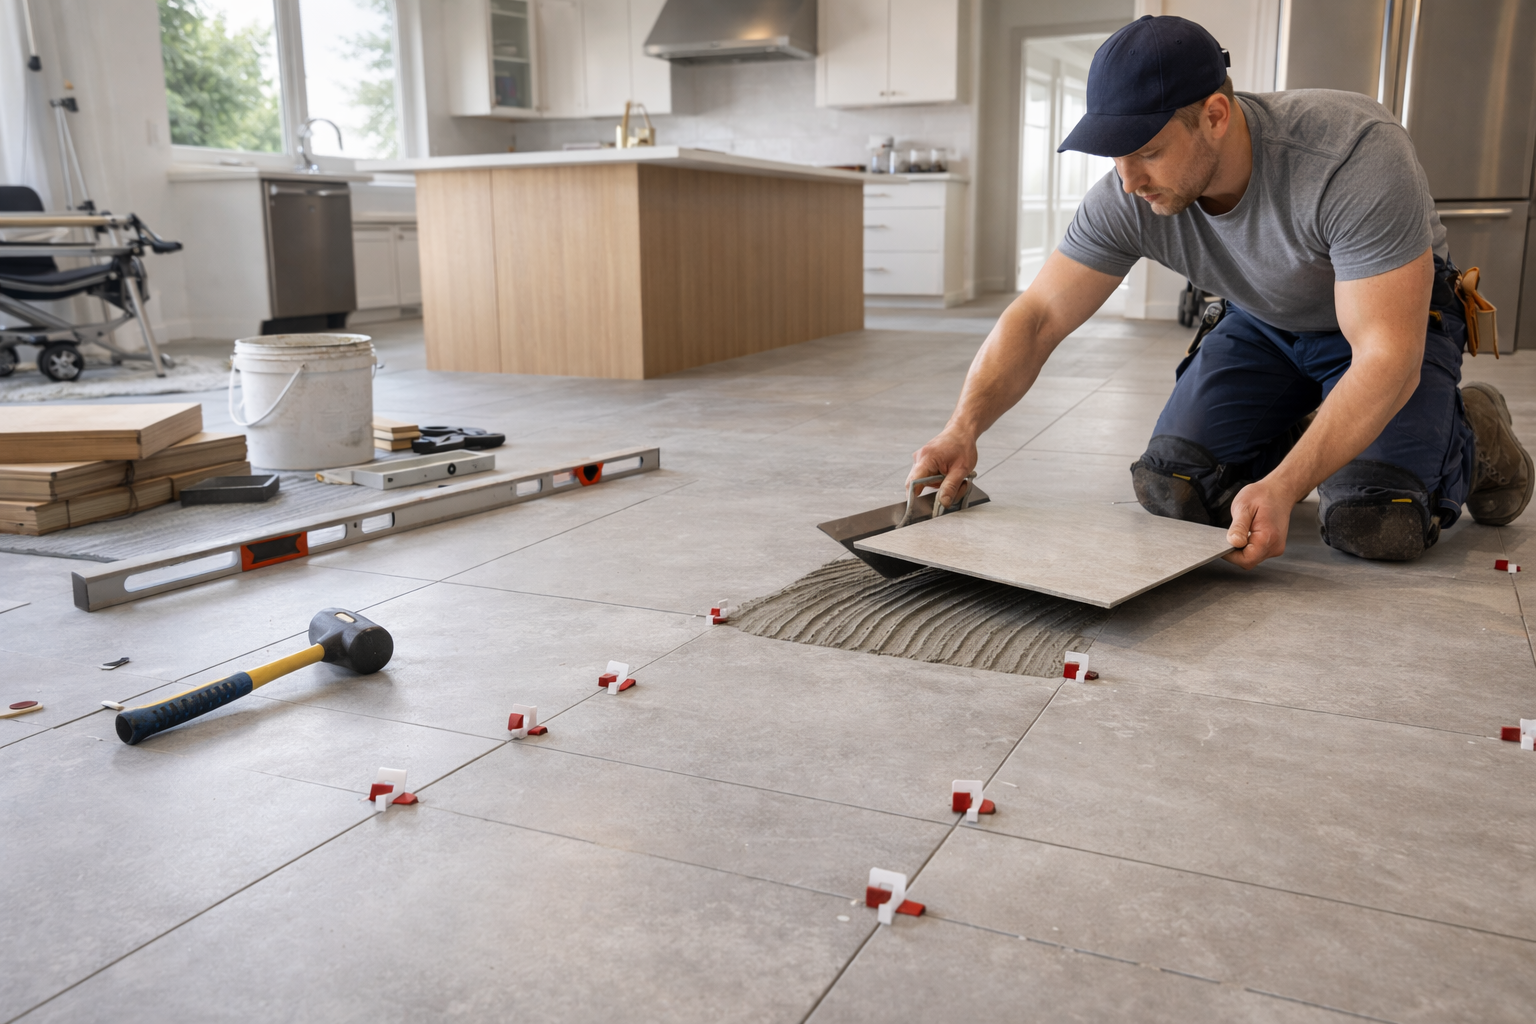
You would then round up based on how the tile is sold (by the box). If a box covers 15 sq ft, you would need 10 boxes (150 sq ft). This is why box coverage matters: the math rarely lands on an exact box count.
For diagonal layouts, complex patterns, or lots of obstacles, waste can be higher. The principle is the same: measure, add waste that matches the layout, then round up by box coverage.
3b) Layout choices that can increase waste
Two rooms with the same square footage can require different amounts of tile because layout changes what is reusable:
- Diagonal layout: produces more triangular off-cuts that cannot be reused easily.
- Centered layouts: if you are centering a pattern on a focal point, the cuts at edges can become less efficient.
- Herringbone and complex patterns: require more cutting and more tile to maintain consistent pattern flow.
- Many obstacles: floor vents, doorways, and odd angles create more off-cuts.
If you are still deciding between a simple layout and a complex layout, ask about waste and labor at the same time. The pattern is part of the project.
4) Tile size changes the math (especially in small rooms)
Large tile can reduce grout lines, but it can also:
- Create larger off-cuts that aren’t reusable
- Increase sensitivity to surface flatness
- Increase the impact of a layout shift by a small amount
If you’re considering larger format tile, confirm that the floor/wall is flat enough for it. Floor flatness is a frequent hidden driver: Tile subfloor prep and flatness.
5) Don’t forget trims, edges, and transition pieces
Tile quantity isn’t only about field tile. You may also need:
- Edge trim profiles (for exposed edges)
- Bullnose or finished-edge pieces (if available)
- Transition pieces (tile meeting vinyl or another floor)
Edge decisions affect layout and can change how many full tiles you use at the ends. This guide helps you plan those details: Tile edges, trims, and transitions.
6) Ordering strategy: “enough to finish” + “enough to repair”
A smart order plan includes:
- Enough tile to complete the job with the chosen layout and waste factor
- A small number of spare tiles (or one box, depending on cost and availability)
Spares matter because:
- Product lines change
- Dye lots can vary
- Repairs are much easier if you have matching tile
6a) Spares: what to keep after the project
If you are deciding how much extra to keep, think about realistic future repairs:
- A few full tiles (for a cracked tile replacement)
- A few edge/trim pieces if your project has exposed edges or transitions
- A note of the tile name, color, size, and purchase details for future matching
Keeping spares is usually cheaper than trying to match discontinued tile later, and it keeps small repairs from turning into large rework.
7) What information helps confirm quantities quickly
If you want an installer to confirm quantity and waste quickly, provide:
- Tile product link (size, finish, thickness)
- Room dimensions or rough square footage
- Photos (wide shots + close-ups of edges and transitions)
- Pattern preference (straight lay, offset, etc.)
- Edge/trim plan if known
This quote checklist makes it easy: Quote request checklist.
8) FAQs
Is “10% extra” always enough?
Not always. Simple layouts may need less; complex patterns and irregular rooms may need more. Waste should match the layout.
Should I buy tile before getting a quote?
You can, but edge and transition decisions can change what you need. It’s often best to confirm layout and edges early.
What if the tile is special order?
Confirming quantities up front becomes more important. Keeping a few spares is also smart because matching later can be difficult.
Do I need extra tile for future repairs?
It is usually worth keeping a small set of spares, even if you do not order a full extra box. Tile lines change and dye lots can vary, so matching later is not always possible. A few full tiles and any unique trim pieces are the most useful to save.
Next steps
If tile is special order, confirm quantities early and consider ordering all boxes at once so color and calibration are consistent. When you receive the tile, inspect a few boxes for damage and verify the box coverage number so your rounding math matches what arrives. A quick sketch with doorway locations, edges, and pattern preference also helps confirm waste and trim needs.
- Service overview: Tile installation
- Edge decisions: Tile edges, trims, and transitions
- Start a quote request: Request a quote
Need help planning the next step?
Share photos and rough measurements to get a clear yes/no on fit and the right follow-up.