Board-and-Batten Accent Wall Installation Guide
Board-and-batten accent walls add depth, texture, and visual interest to any room. Modern versions use simple vertical battens (strips) over a flat wall, creating clean lines and shadows. This guide covers planning, materials, and installation for a professional-looking feature wall.
Quick takeaways
- Modern board-and-batten = vertical battens on a flat wall; simpler than traditional and DIY-friendly.
- Measure in three places (top, middle, bottom); walls are rarely plumb; use the smallest dimension.
- Spacing and batten width drive the look; plan the layout before cutting.
- Prime and paint after install for a clean, lasting finish.
What is Board-and-Batten?
Traditional board-and-batten:
- Wide boards with narrow battens covering seams
- Exterior siding application
- Rustic, farmhouse look
Modern board-and-batten (accent walls):
- Flat wall with vertical battens applied
- Creates grid or vertical stripe pattern
- Contemporary, clean-lined aesthetic
- Easier installation than traditional
Why it’s popular:
- Adds texture without busy patterns
- Works in any room (bedrooms, dining, living, hallways)
- Inexpensive compared to wallpaper or paneling
- DIY-friendly project
- Timeless design (won’t date quickly)
Planning Your Design
Full wall vs. partial:
- Full wall: baseboard to ceiling, wall to wall
- Partial: chair-rail height or picture-frame style
- Horizontal divide: wainscoting height (32-36”)
Batten spacing:
- Narrow spacing (12-16”): more traditional, busy
- Medium spacing (18-24”): most popular, balanced
- Wide spacing (30-36”): modern, minimalist
- No right answer: depends on room size and style
Calculating batten placement:
- Measure wall width
- Decide approximate spacing
- Divide wall by spacing to get number of sections
- Adjust spacing to distribute evenly
- Plan for vertical battens at edges (frame the wall)
Example:
- Wall: 144” wide
- Desired spacing: ~20”
- 144 ÷ 20 = 7.2 sections
- Try 7 sections: 144 ÷ 7 = 20.5” spacing
- Or 8 sections: 144 ÷ 8 = 18” spacing
- Both work—choose based on preference
Materials and Tools
Battens (most common options):
1x2 boards:
- Actual size: 3/4” x 1-1/2”
- Most popular choice
- Good shadow line
- Cost: $1-2 per linear foot
1x3 boards:
- Actual size: 3/4” x 2-1/2”
- Wider, more substantial look
- Better for large walls
- Cost: $2-3 per linear foot
1x4 boards:
- Actual size: 3/4” x 3-1/2”
- Bold, dramatic look
- Best for high ceilings
- Cost: $2.50-4 per linear foot
Material choices:
- Pine: affordable, paintable, common
- Poplar: smooth, premium, less knots
- MDF: primed, consistent, no grain
- PVC/composite: moisture-resistant for bathrooms
Other materials:
- Baseboards (if adding new)
- Crown molding (if adding at top)
- Wood glue
- Brad nails (1-1/4” to 2”)
- Caulk (paintable)
- Primer and paint
Tools needed:
- Miter saw or circular saw
- Brad nailer or hammer
- Level (2-foot and 4-foot)
- Tape measure
- Pencil
- Stud finder
- Caulk gun
- Sandpaper
- Paint supplies
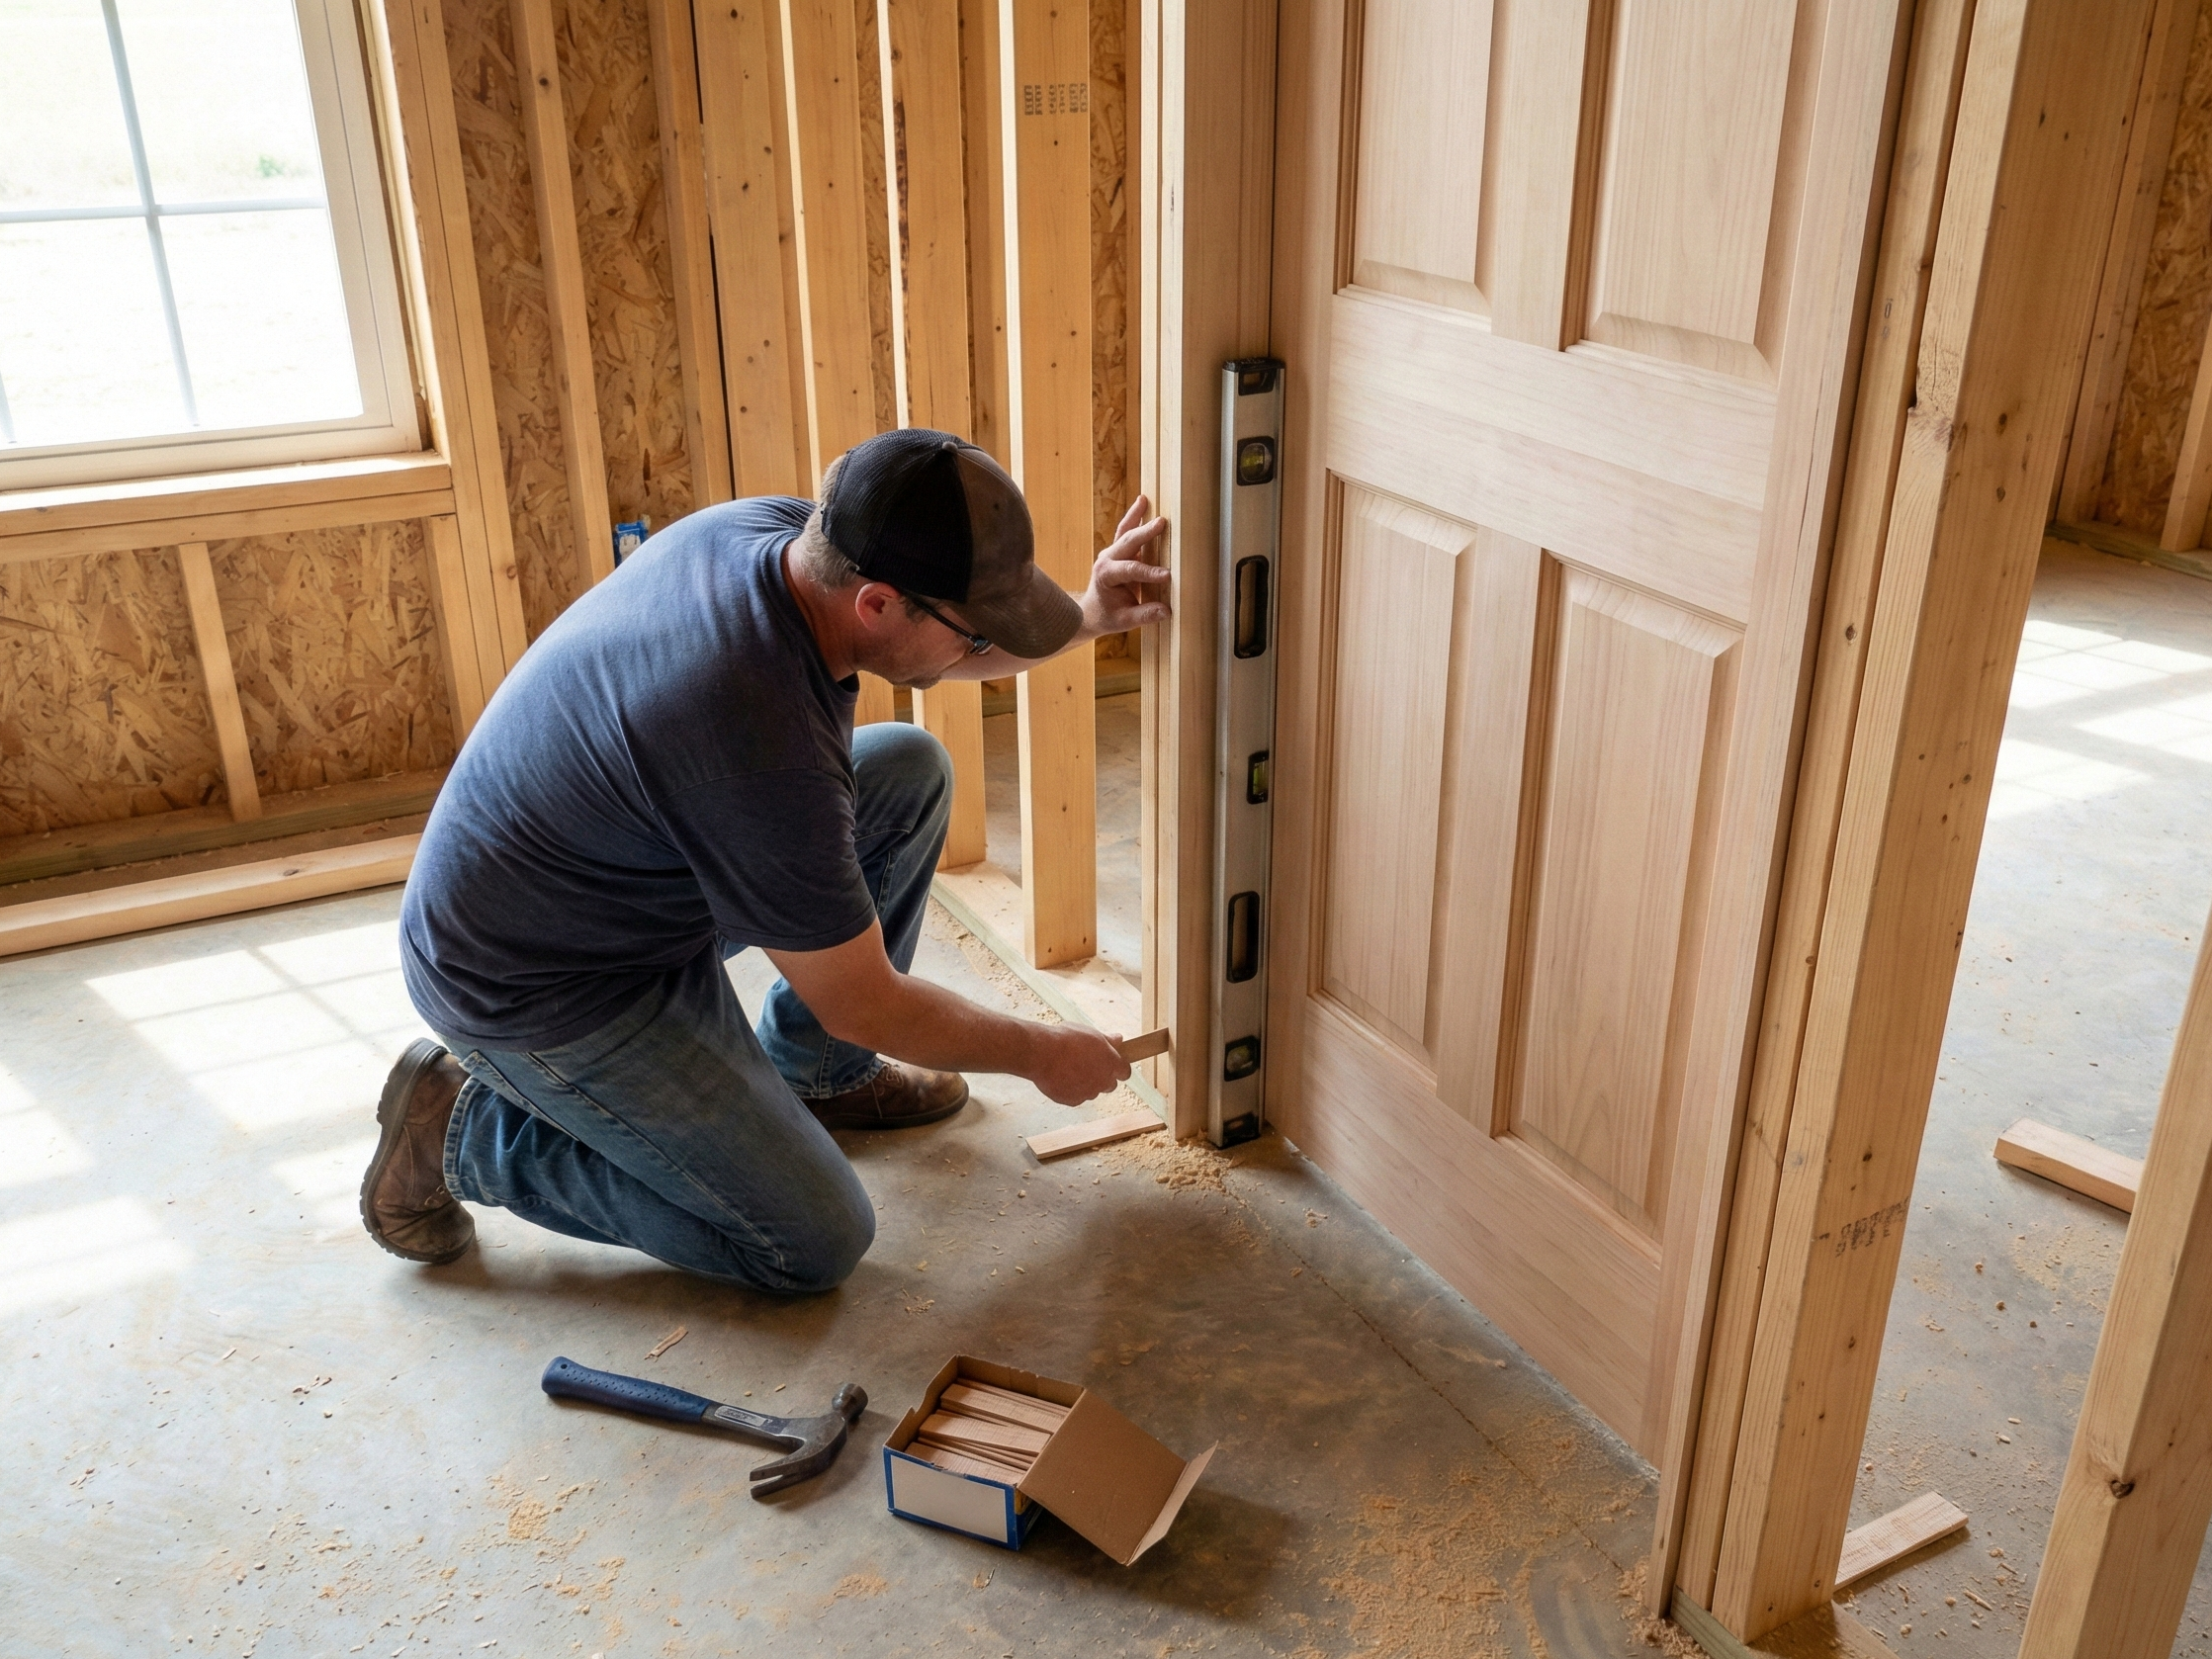
Installation Process
Step 1: Prep the wall
- Remove outlet covers
- Fill any holes or damage
- Sand rough spots
- Prime wall if raw drywall
- Paint base coat (same color as battens or contrasting)
Step 2: Install new baseboard (if needed)
- Remove old baseboard or plan to keep
- Install new baseboard level
- Caulk and paint before battens
- Tip: Taller baseboard (5-7”) looks better with battens
Step 3: Mark batten locations
- Measure and mark ceiling at batten centers
- Measure and mark baseboard at same locations
- Use level to draw vertical lines
- Double-check spacing before cutting
Step 4: Cut battens to length
- Measure floor to ceiling at each location (heights vary!)
- Cut each batten to exact length
- Test fit before applying glue/nails
- Sand cut ends smooth
Step 5: Install battens
- Apply wood glue to back of batten (thin bead)
- Position on marked line
- Check plumb with level
- Brad nail at top, middle, bottom
- Nail into studs when possible (use stud finder)
- Repeat for all battens
Step 6: Add top trim (optional)
- Install horizontal trim board at ceiling
- Or add crown molding for finished look
- Ties battens together visually
- Not required but elevates the look
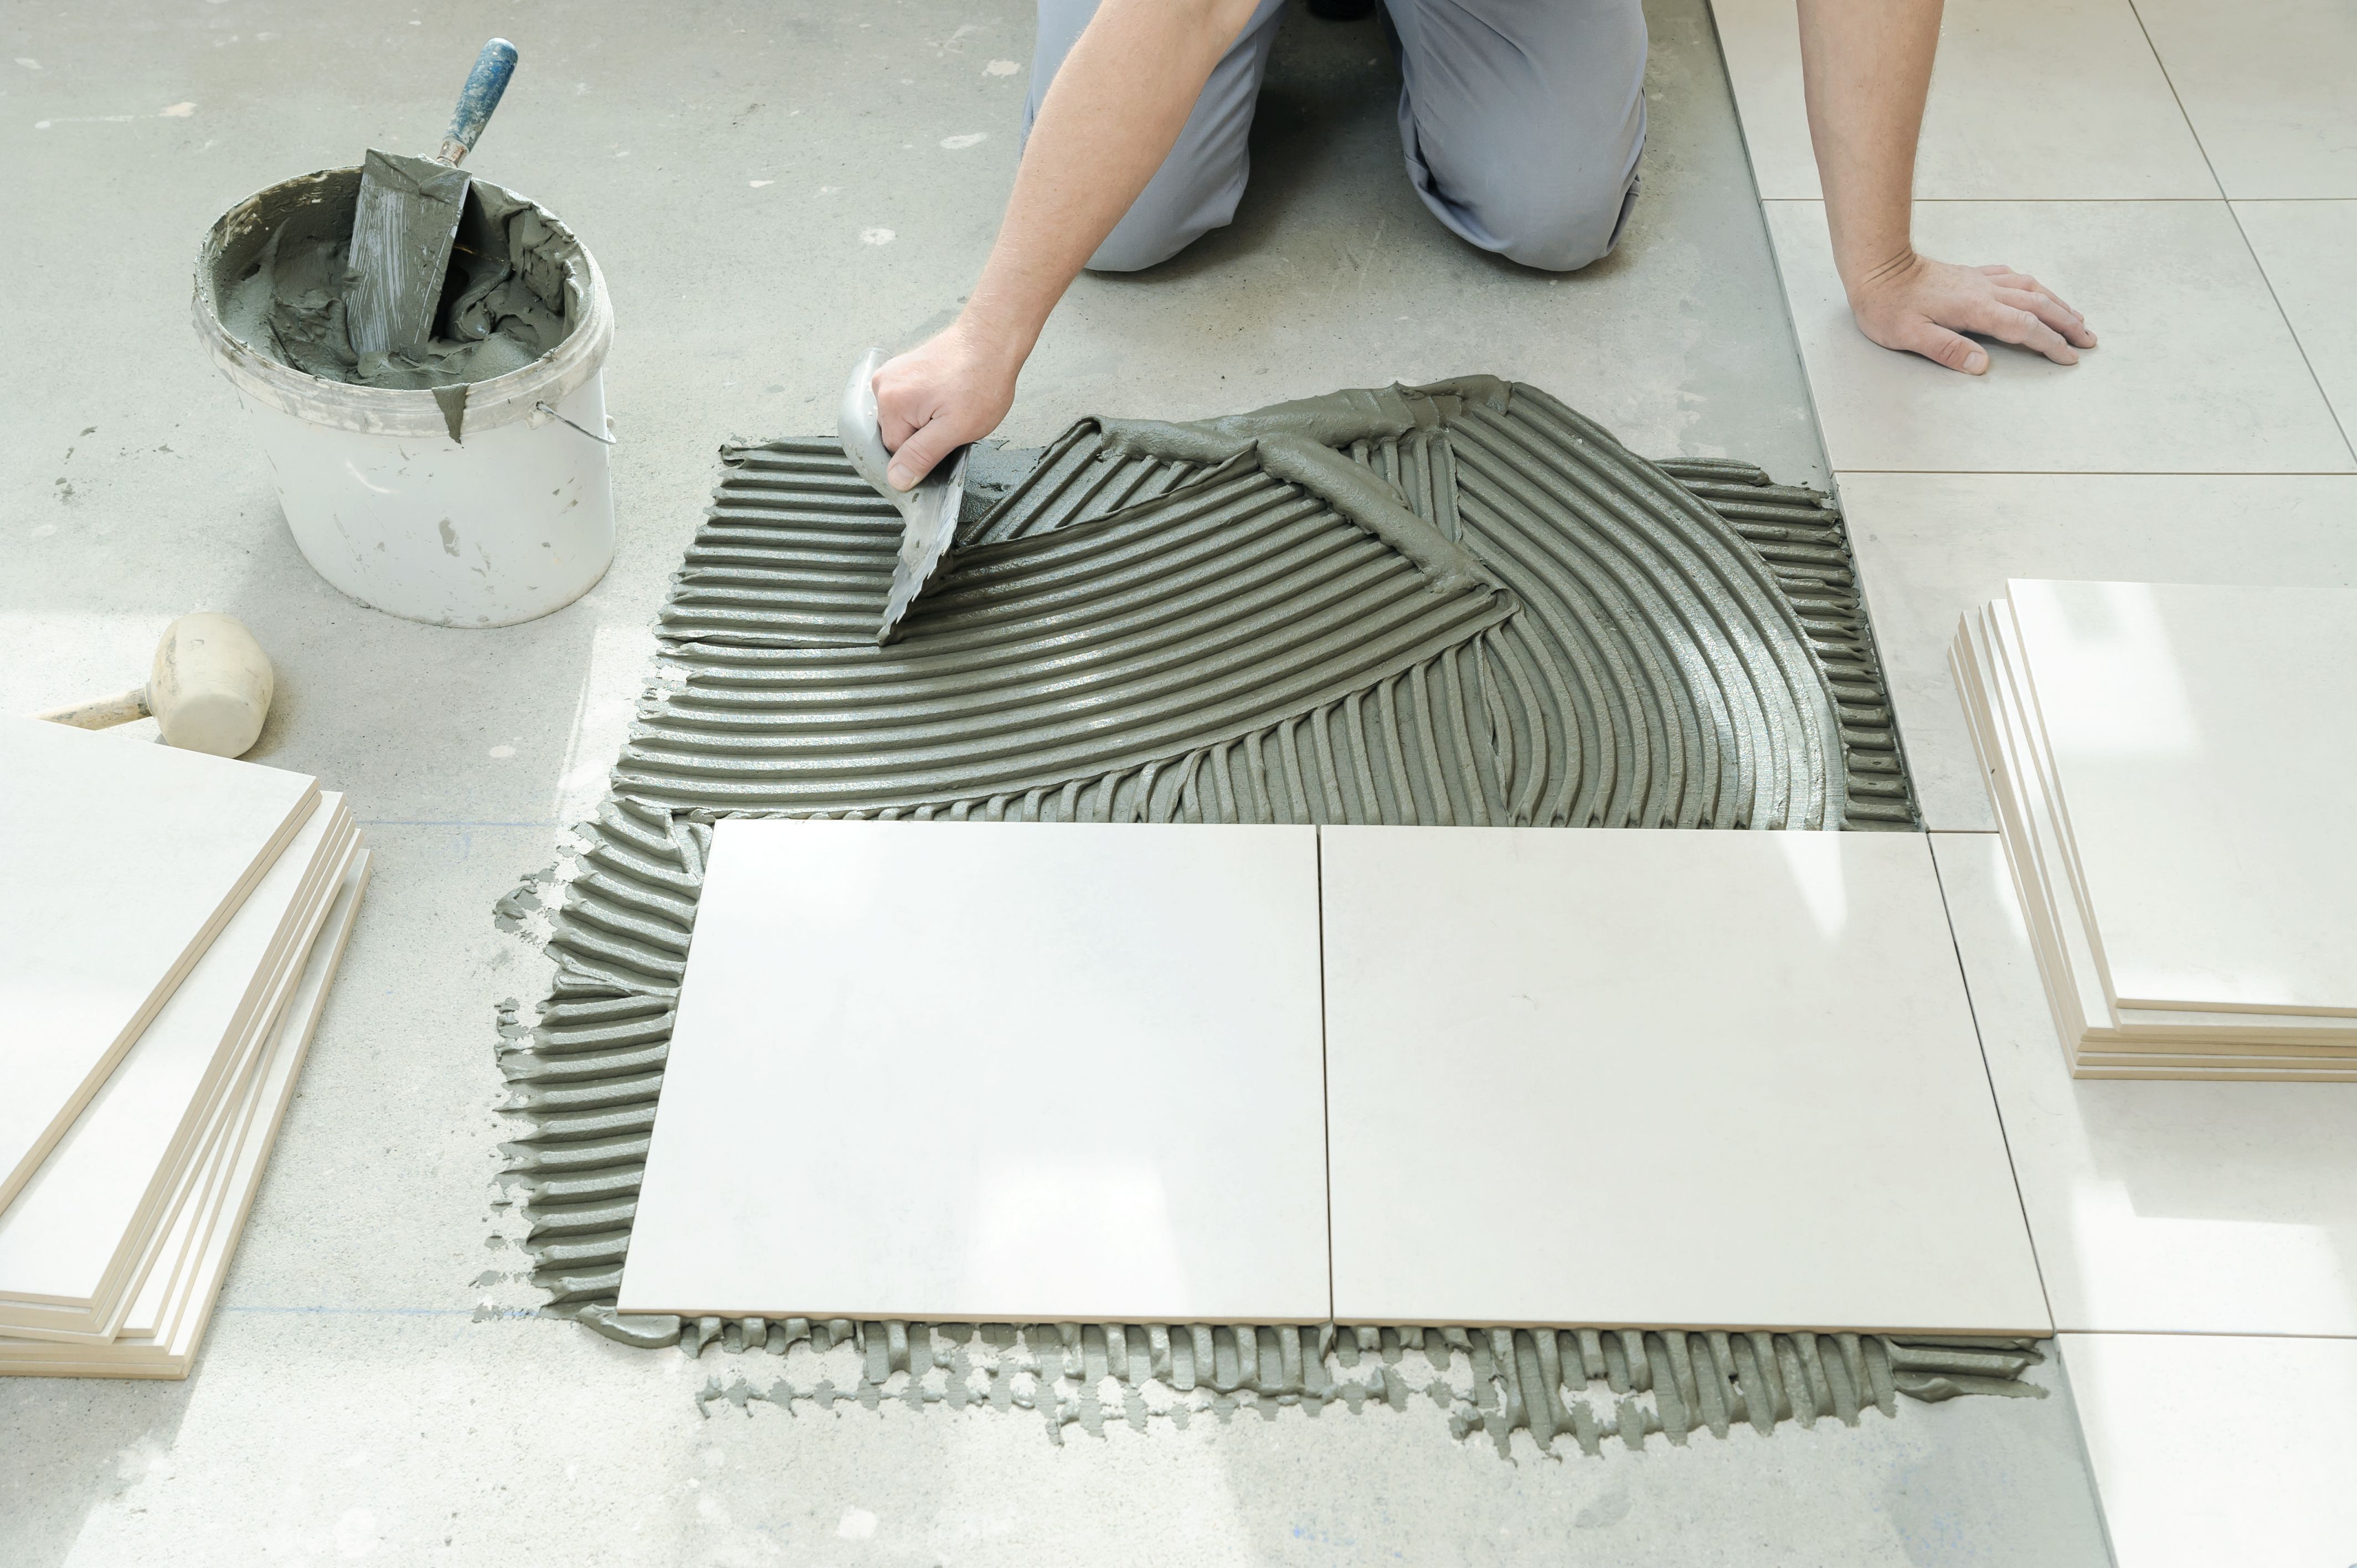
Step 7: Caulk and fill
- Caulk seams where battens meet wall
- Fill nail holes with wood filler
- Caulk where battens meet baseboard/ceiling
- Let dry per product instructions
- Sand smooth
Step 8: Prime and paint
- Prime all new wood
- Two coats of finish paint
- Same color as wall = subtle texture
- Contrasting color = bold statement
- Use semi-gloss for battens (easier to clean)
Design Variations
Vertical stripes only:
- Simplest pattern
- Modern, clean look
- Evenly-spaced vertical battens
- No horizontal elements
Grid pattern:
- Horizontal battens create rectangles
- More traditional look
- Plan horizontal spacing (often at chair-rail height)
- More material and labor
Picture frame (wainscoting style):
- Battens frame rectangular panels
- Classic, formal appearance
- Usually lower third of wall
- Top rail caps the design
Full wall grid (box molding):
- Multiple rows of rectangles
- Formal, traditional style
- Common in dining rooms
- Most material-intensive
Paint Strategies
Monochromatic (wall + battens same color):
- Pros: Subtle texture, light shadows, any color works
- Cons: Less dramatic impact
- Best for: Bedrooms, calming spaces
Contrasting colors:
- Pros: Bold statement, defines space
- Cons: Busier look, harder to change later
- Best for: Dining rooms, accent walls
Two-tone (wall one color, battens another):
- Pros: Visual interest, defines architectural elements
- Cons: More painting work, color coordination needed
- Best for: Living rooms, entryways
Popular color combos:
- White battens on gray wall
- Black battens on white wall (dramatic)
- Same color, different sheens (subtle)
- Navy wall with white battens (classic)
Common Mistakes to Avoid
Mistake 1: Not planning spacing
- Random spacing looks amateur
- Measure and calculate before buying materials
Mistake 2: Skipping wall prep
- Battens highlight wall imperfections
- Fill holes, sand, prime before installation
Mistake 3: Not checking plumb
- Crooked battens are obvious
- Use level for every batten
- Houses settle—don’t assume anything is plumb
Mistake 4: Nailing only into drywall
- Battens can pull away over time
- Hit studs when possible (every 16” typically)
- Use construction adhesive for areas between studs
Mistake 5: Inadequate caulking
- Gaps show, especially with paint
- Caulk all seams before painting
- Creates seamless, built-in look
Mistake 6: Using wrong paint sheen
- Flat paint shows every touch
- Semi-gloss on battens resists wear and cleans easily
- Eggshell or satin on wall sections
Cost Estimates
Materials (8-foot wall, 8-foot ceiling, 18” spacing):
- Battens (1x2 pine, 5 pieces x 8’): $40-60
- Baseboard (if needed): $15-30
- Wood glue: $5
- Brad nails: $8
- Caulk: $5
- Paint/primer: $40-60
- Total: $115-170
Time investment:
- Planning and measuring: 1-2 hours
- Cutting: 1 hour
- Installation: 3-4 hours
- Caulking and filling: 1 hour
- Painting: 3-4 hours (with drying time)
- Total: 2-3 days (with drying time between steps)
Professional installation:
- Labor: $500-1,200 per wall
- Includes: Materials, installation, painting
- Timeline: 2-3 days
Room-Specific Considerations
Bedrooms:
- Behind bed = focal point
- Calming colors recommended
- Consider lighting (shadows create interest)
Dining rooms:
- Full-wall or wainscoting height
- Pair with chair rail
- Traditional grid patterns work well
Living rooms:
- Fireplace wall common choice
- Avoid wall with TV (wiring complications)
- Works great with built-in shelving
Entryways:
- Strong first impression
- Consider continuing up stairs
- Durable paint essential (high traffic)
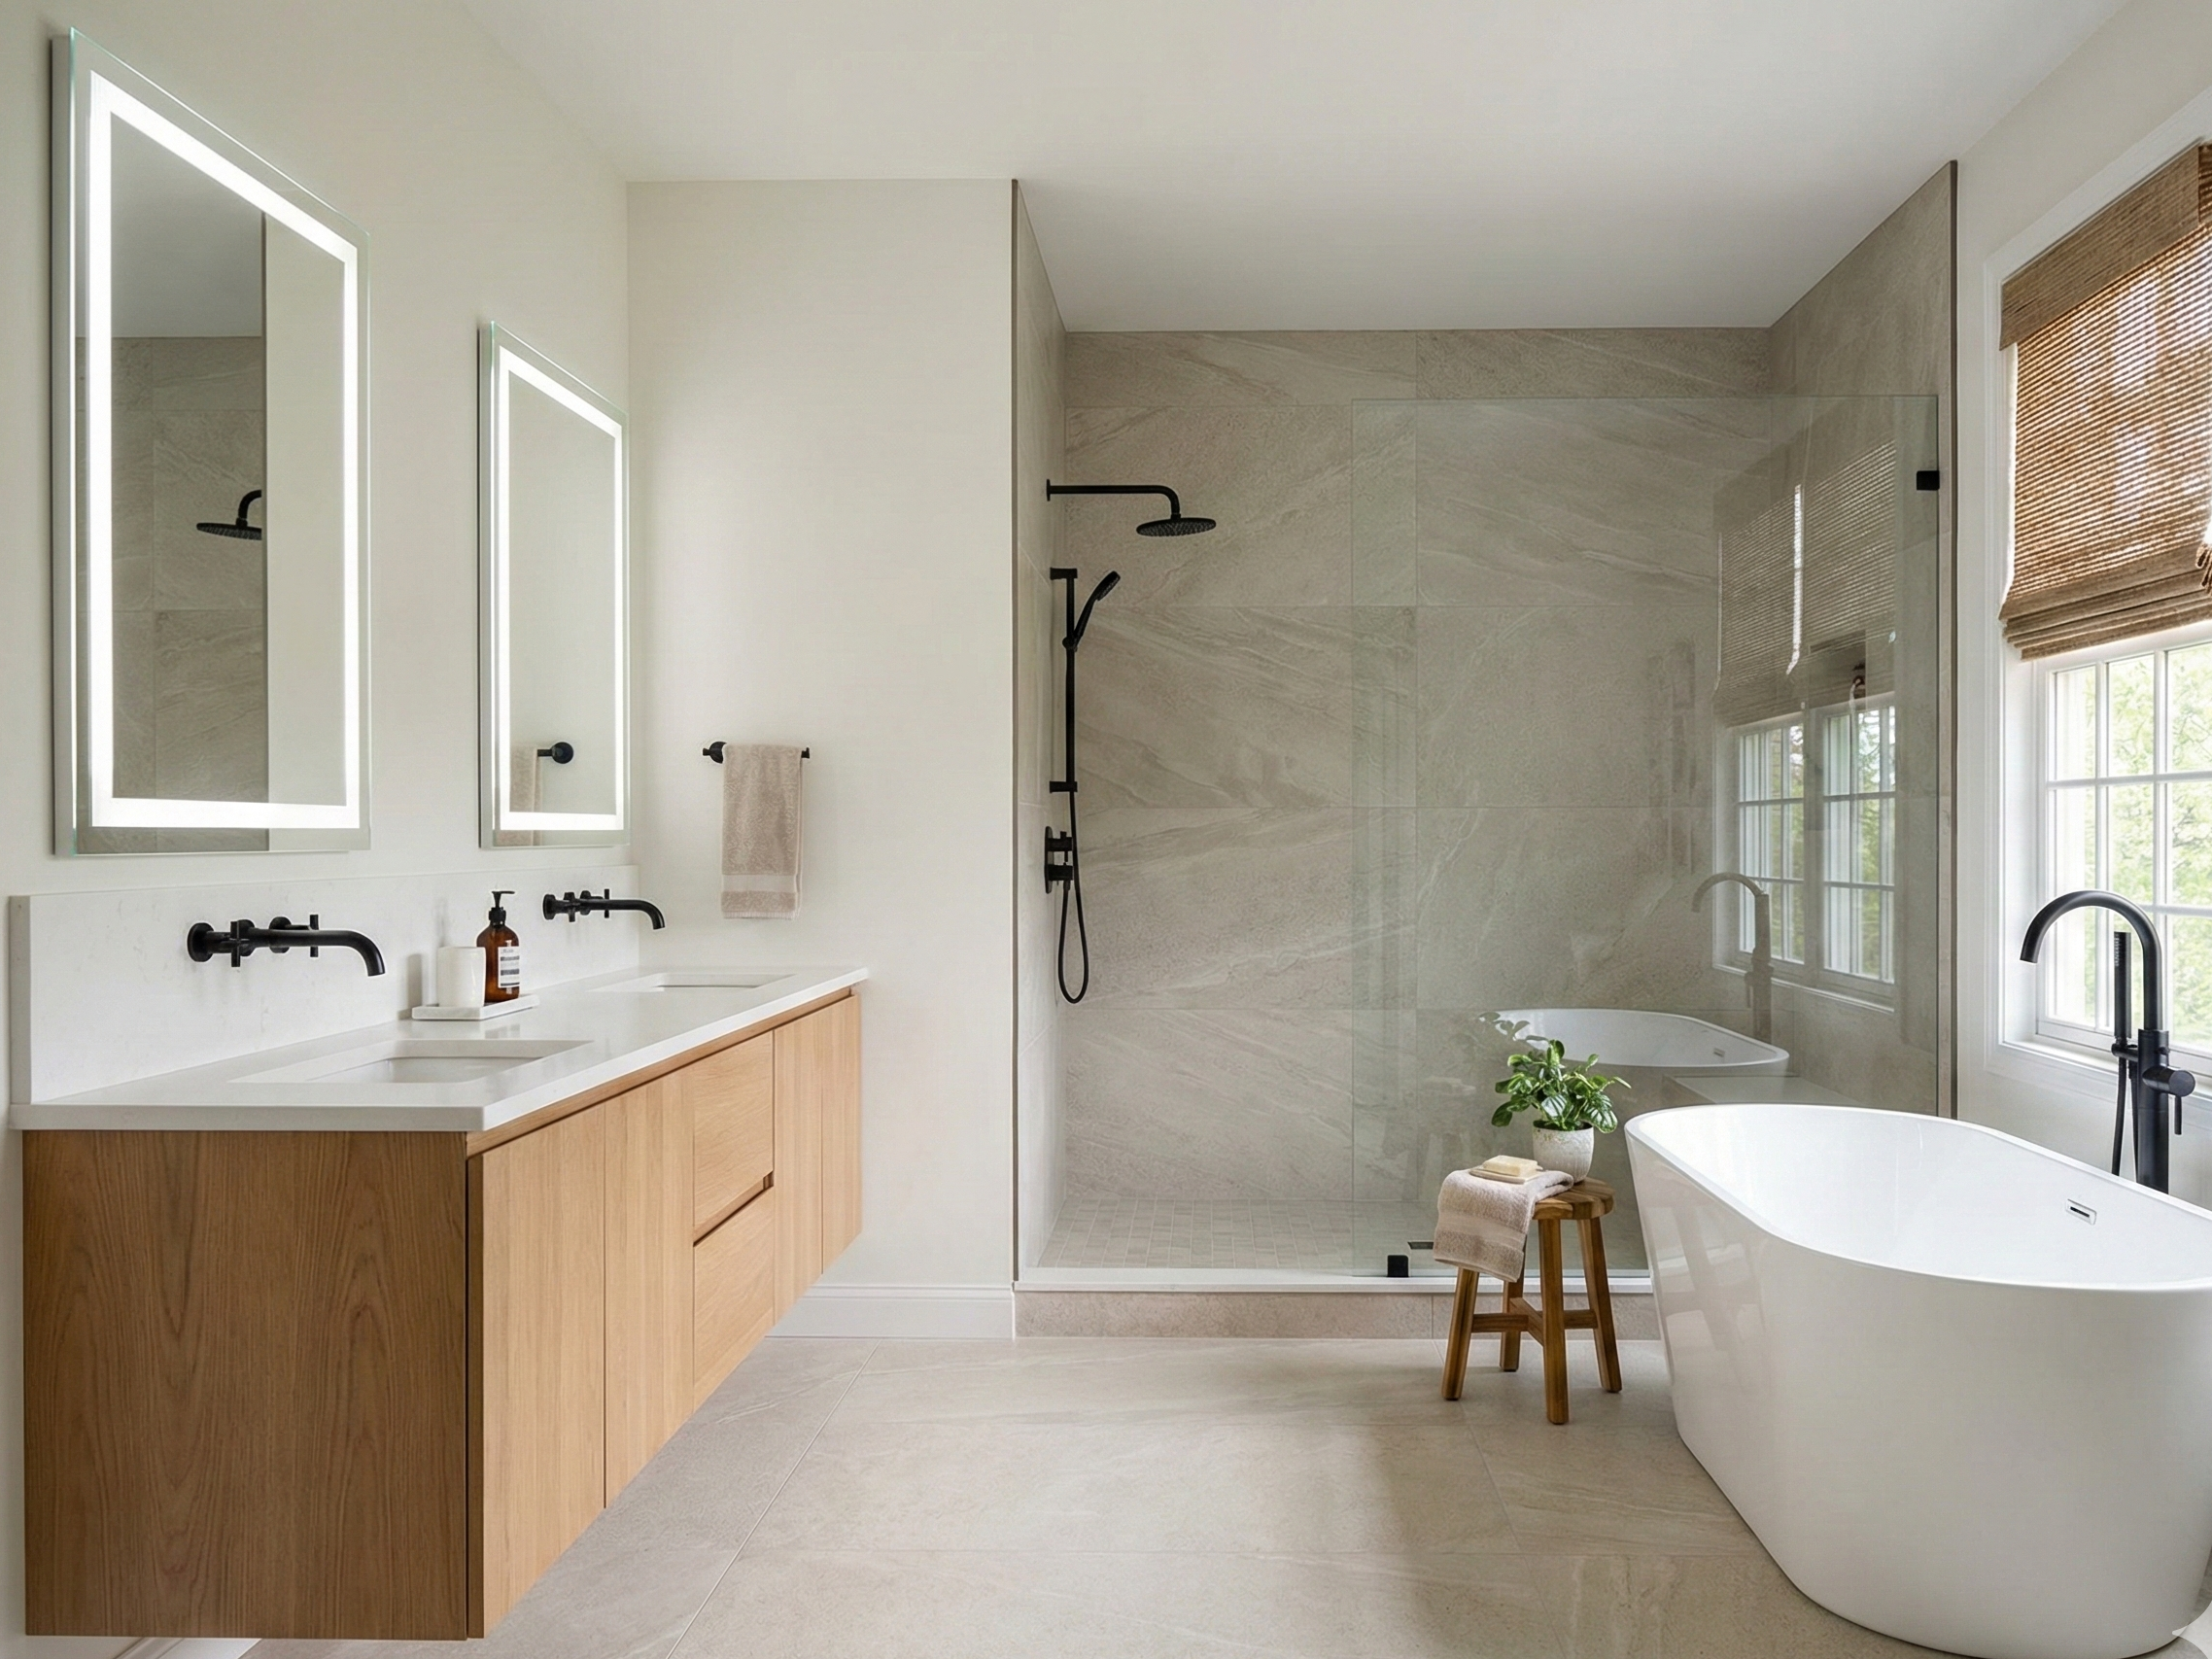
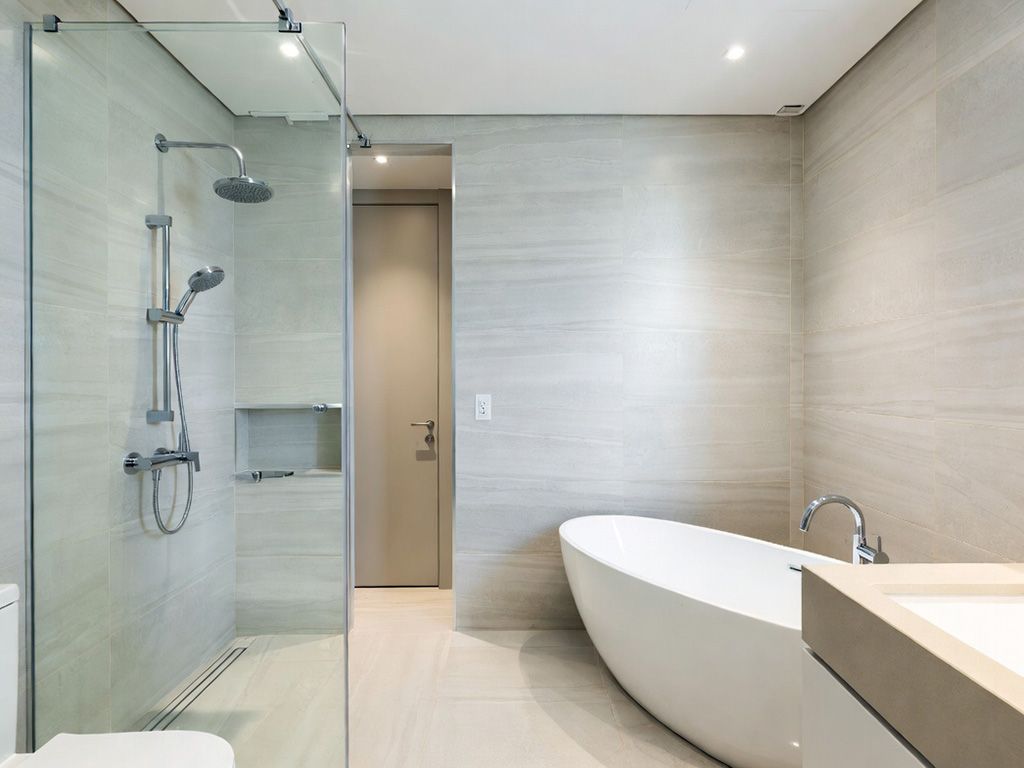
Bathrooms:
- Use MDF (primed) or PVC (moisture-resistant)
- Caulk thoroughly
- Semi-gloss or satin paint (wipes clean)
Modifications and Upgrades
Add lighting:
- LED strip lights behind battens
- Creates glow effect at edges
- Plan wiring before drywall/battens
Add shelves:
- Float shelves between battens
- Creates display niches
- Plan spacing for shelves during layout
Extend to ceiling:
- Crown molding at top
- More formal, finished look
- Covers ceiling gaps and imperfections
Add beadboard backing:
- Install beadboard between battens
- Extra texture and depth
- More traditional look
Maintenance
Regular cleaning:
- Dust with microfiber cloth
- Damp cloth for spots
- Semi-gloss paint wipes clean easily
Touch-ups:
- Keep extra paint for scratches
- Caulk may crack over time at seams
- Easy to spot-repair
Longevity:
- Properly installed battens last indefinitely
- Paint refresh every 5-10 years
- Remove is straightforward (pry off, patch holes)
Board-and-batten accent walls add character, depth, and visual interest to any room. With careful planning, quality materials, and attention to detail during installation, you’ll create a custom architectural feature that looks like it was always there. Whether DIY or professional installation, the result is a timeless design element that enhances your home’s style and value.
Need help planning the next step?
Share photos and rough measurements to get a clear yes/no on fit and the right follow-up.