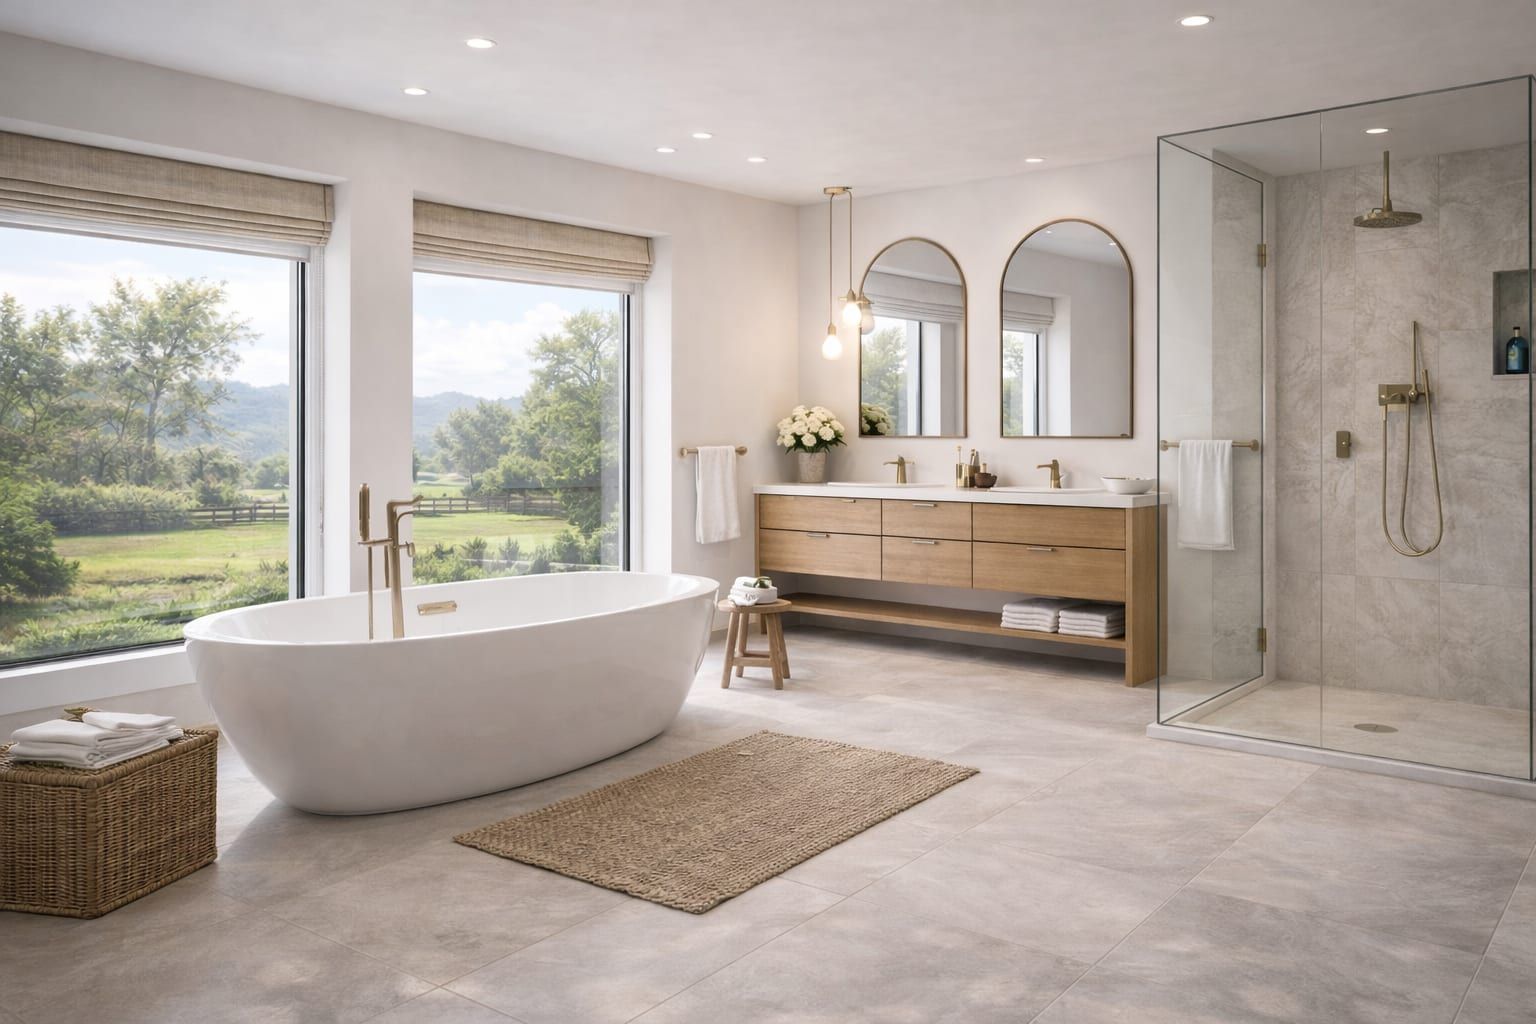
Remodels often feel “almost done” long after the big pieces are finished. The missing 10% is usually finish work: edges, touch-ups, transitions, and small alignment fixes that make the space feel intentional.
This checklist breaks down the finish-stage items that most often get missed. It also explains the order that keeps rework low and the final look consistent.
Quick takeaways
- Finish work is a sequence, not a single task. Plan edges, transitions, and touch-ups together.
- Details live at boundaries. Where two materials meet is where the eye notices the work.
- A clear punch list speeds everything up. Photos, measurements, and material notes reduce back-and-forth.
1) Define the finish goal (so everyone plans the same target)
Before you list tasks, define the standard:
- What surfaces should look brand new vs. “clean and consistent”?
- Are you aiming for move-in ready, listing photos, or just closing out a remodel?
- Are the finish standards the same in every room, or only the main areas?
Write one sentence that describes the outcome. It keeps decisions aligned.
2) Build the punch list by room
A simple room-by-room list works best. Include:
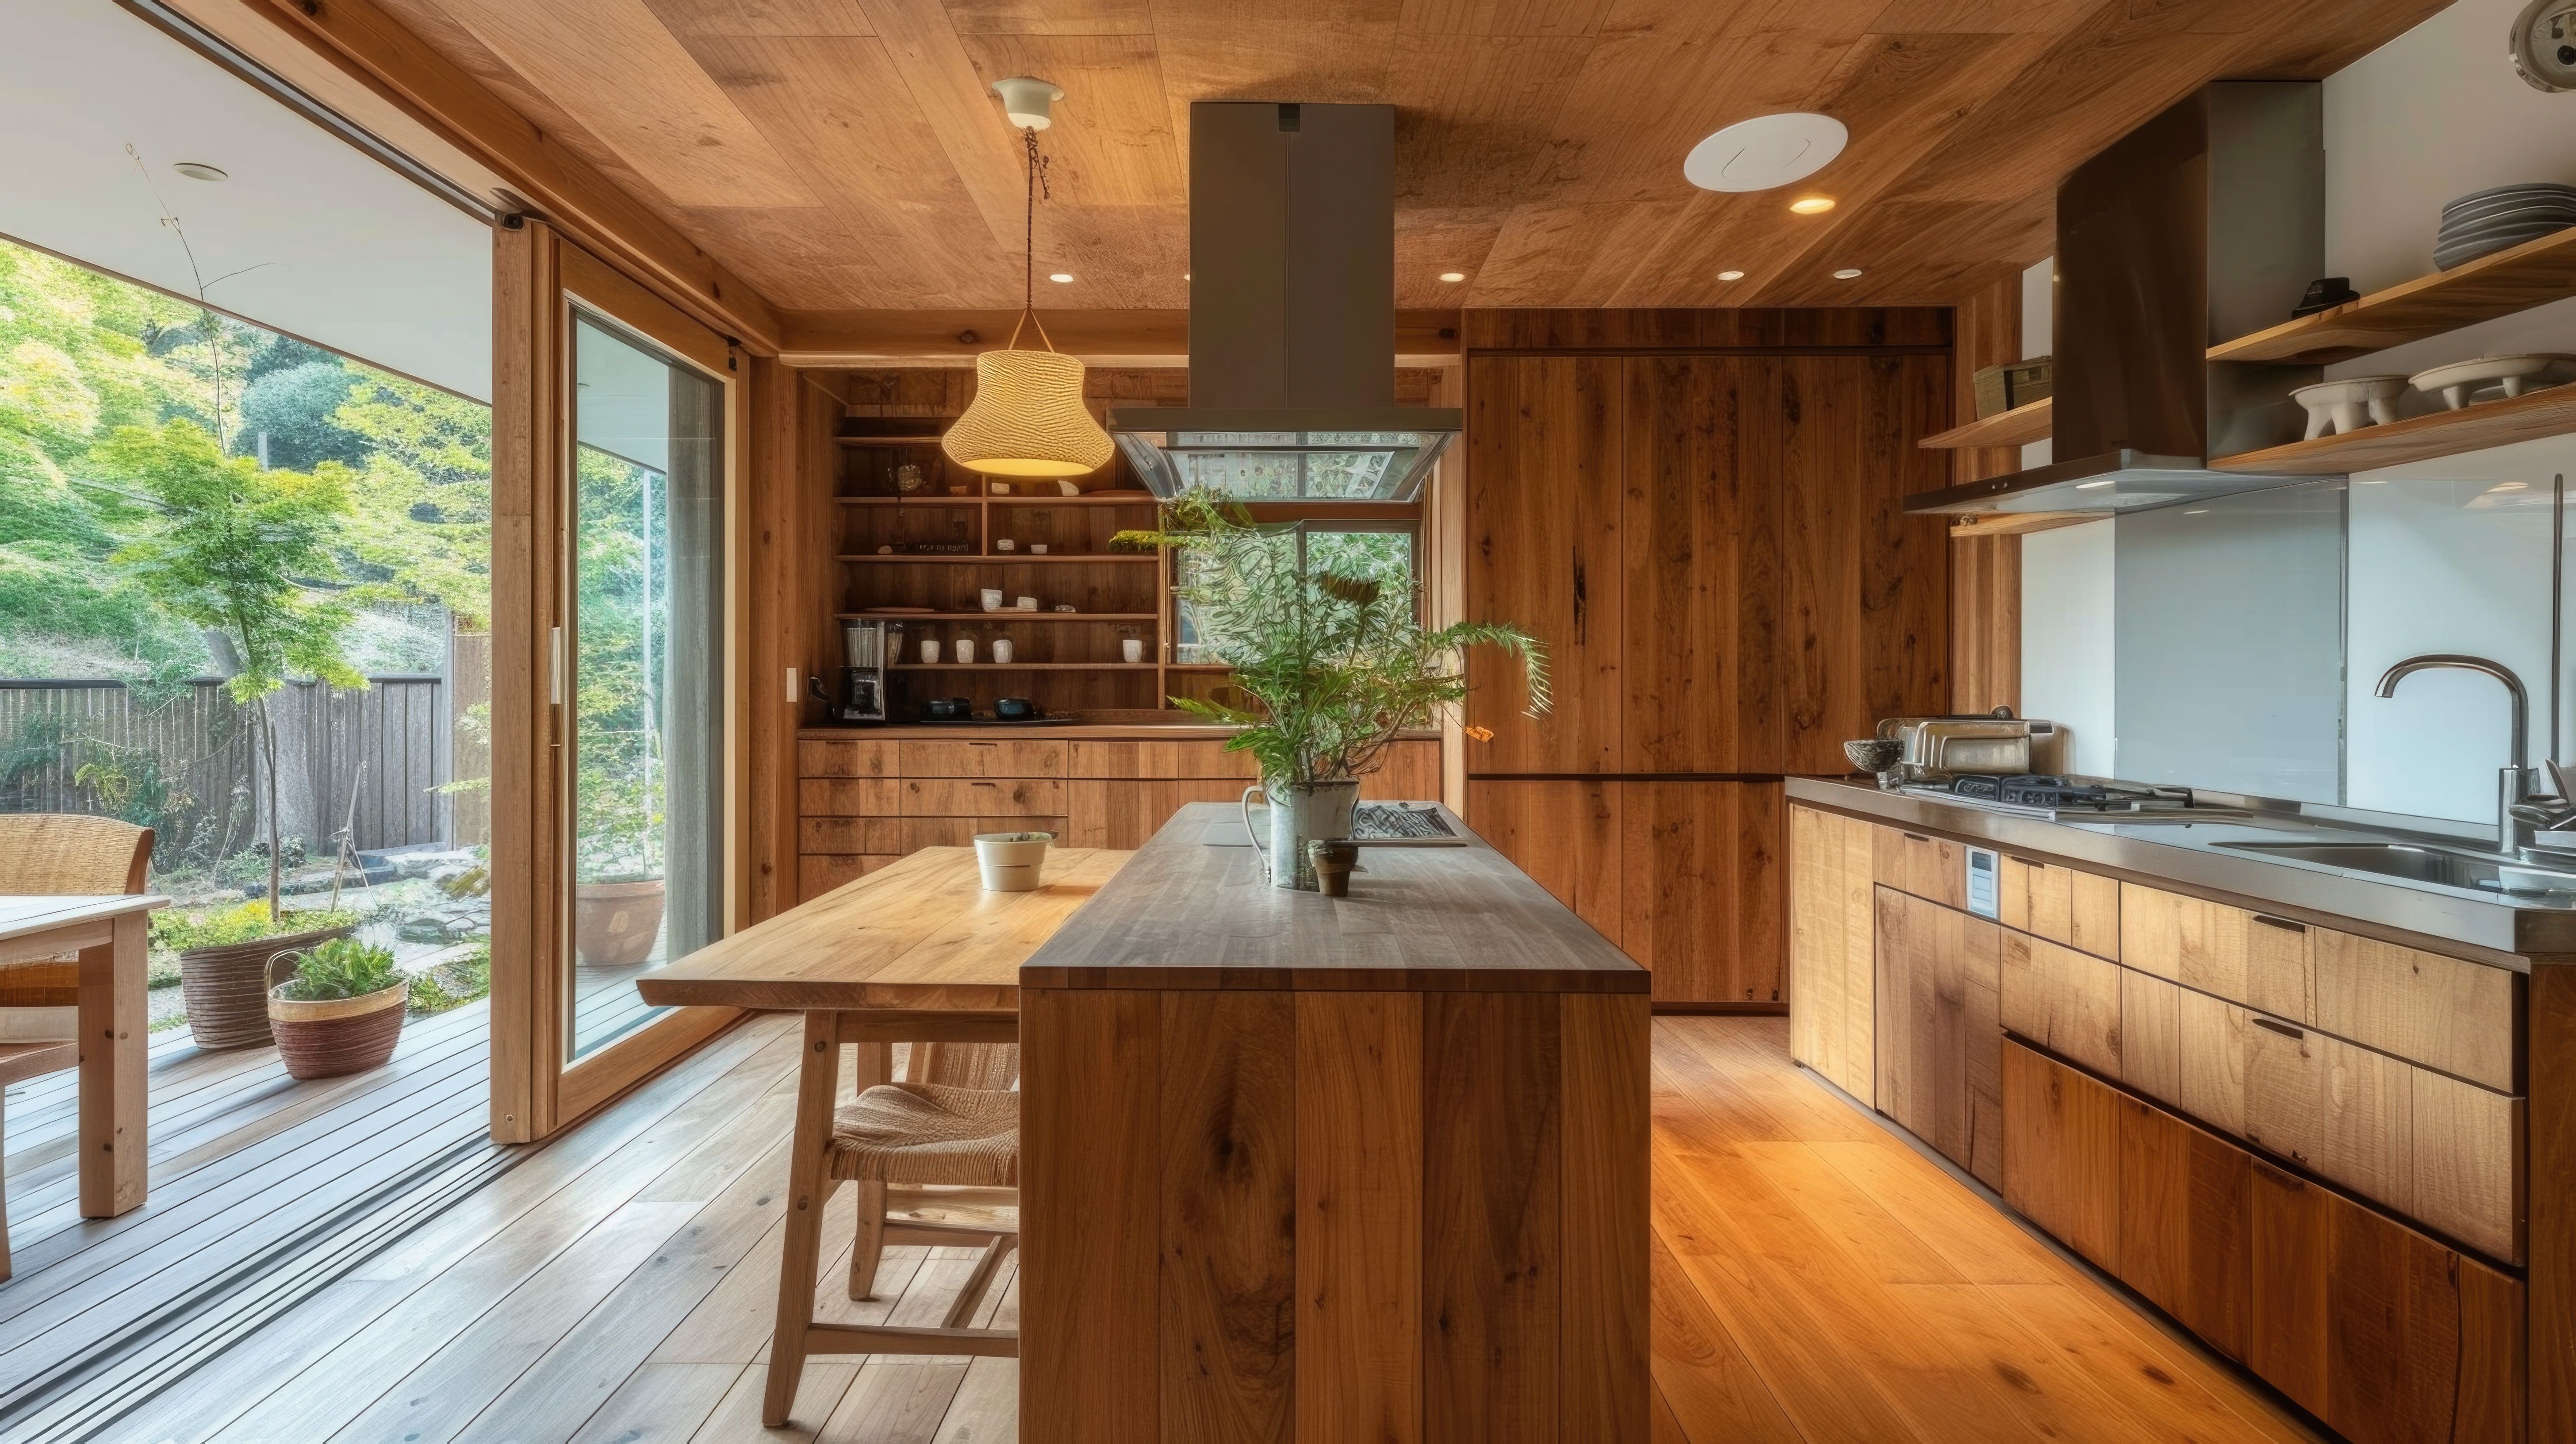
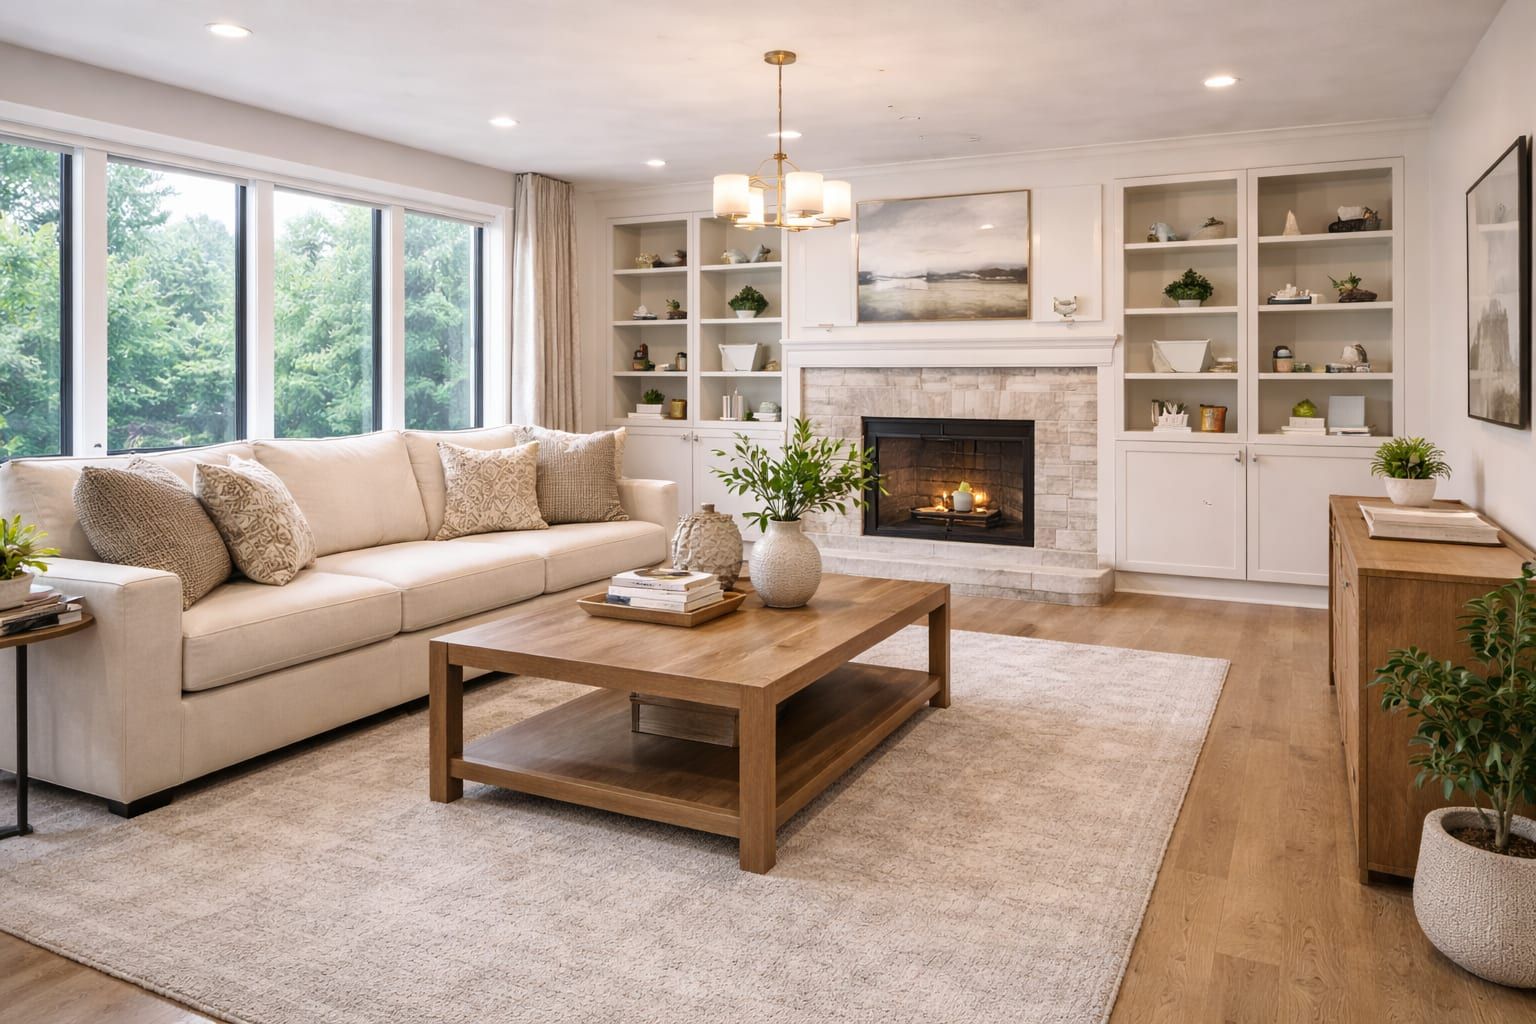
- Walls/ceilings: patches, paint touch-ups, flashing spots
- Trim/doors: gaps, caulk lines, uneven reveals, hardware adjustments
- Cabinets: alignment, soft-close tuning, drawer gaps
- Tile: edge profiles, grout touch-ups, caulk lines at transitions
- Floors: thresholds, reducers, stair noses, squeaks or soft spots
Add photos next to each item so there is no guessing later.
3) Confirm edge and transition decisions early
Finish work looks best when edges are decided before the last work day. Confirm:
- Tile edges (profile, bullnose, or clean termination)
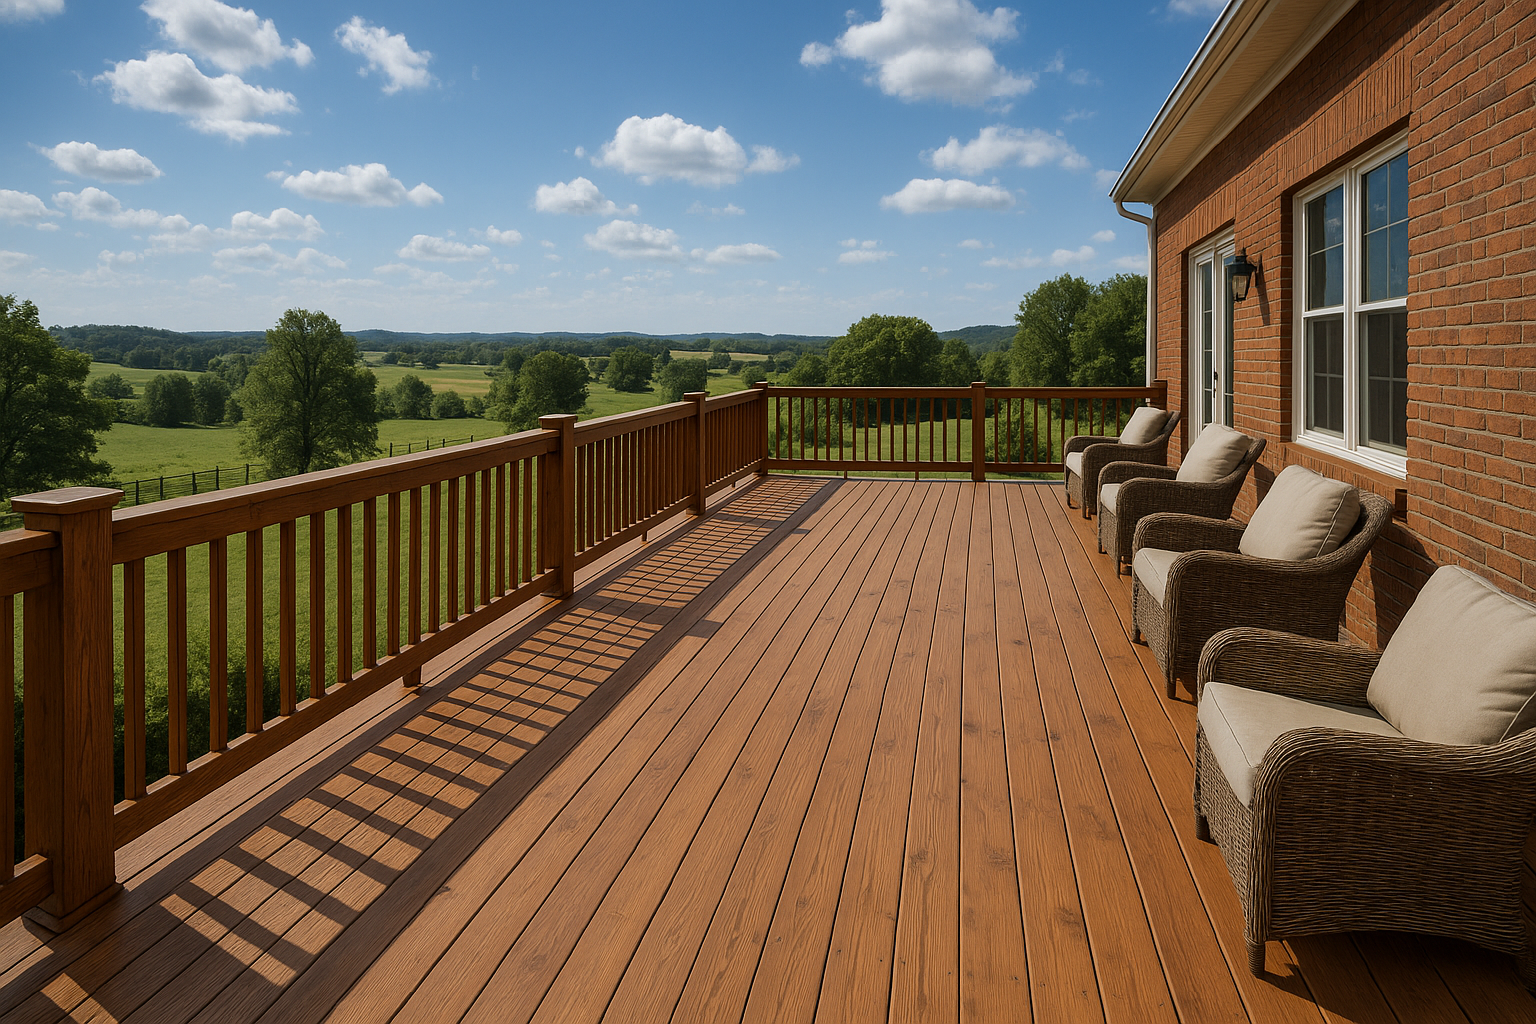
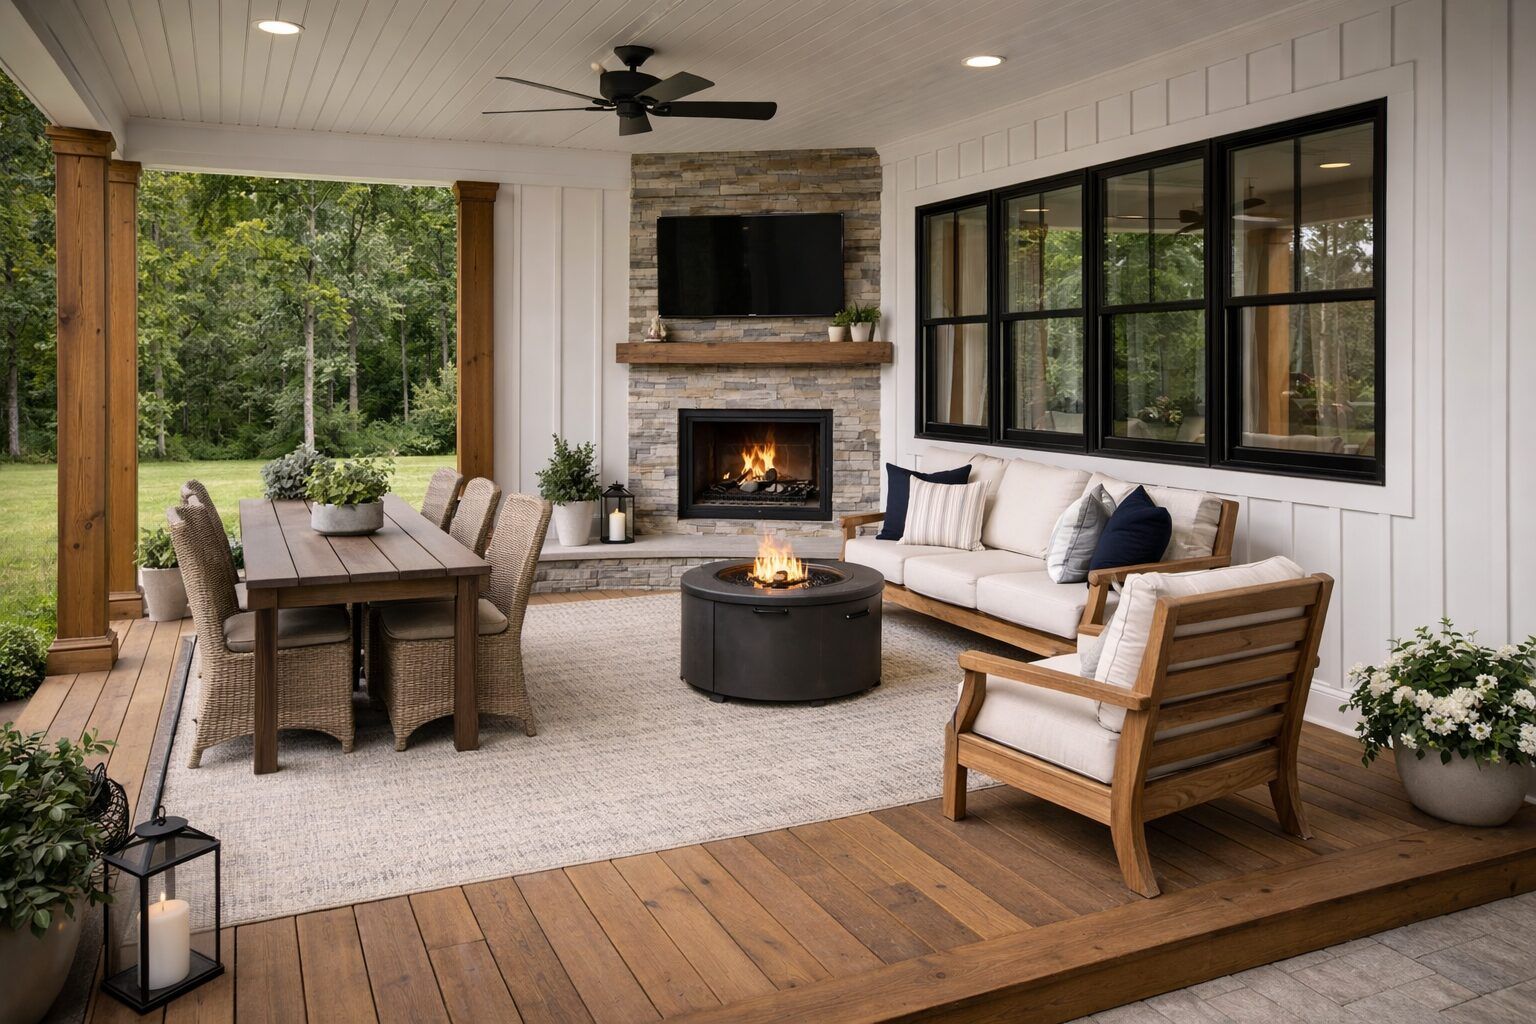
- Flooring transitions (reducers, thresholds, stair noses)
- Countertop and backsplash endpoints
- Door thresholds and floor height changes
If you are missing material pieces, order them now. The last day is not the time to realize a profile is back-ordered.
4) Sequence the finish work (the order that avoids rework)
Use this order to avoid damaging fresh work:
- Drywall repair and texture
- Priming and base coats
- Tile and hard-surface install
- Flooring install + transitions
- Trim and door adjustments
- Final paint and touch-ups
- Hardware, caulk, and detail cleanup
This sequence keeps paint from getting scuffed and helps transitions land cleanly.
5) Check lighting and sightlines
Finish details look different in daylight, overhead lighting, and evening light. A simple walk-through with the lights you use most helps catch:
- Paint touch-ups that “flash”
- Uneven grout lines or caulk seams
- Door reveals that look uneven in the main sightlines
Take photos from the main doorway and the most-used angle. Those are the views that matter most.
6) Decide what is worth repairing vs. replacing
Sometimes the fastest finish is replacement:
- Doors that are warped or swollen
- Trim that is heavily damaged
- Tile that cannot be matched
If replacement is faster than repair, your punch list should note it so the plan is realistic.
7) Quote checklist (what to send for a fast finish estimate)
When you reach out, include:
- Room list and priority order
- Photos (wide + close-up) for each item
- Material notes (paint color, tile brand, flooring type)
- Desired timeline and access constraints
For a copy/paste template, use the quote request checklist.
8) When to bring in finish-stage help
If your list includes tile edges, flooring transitions, door alignment, and paint touch-ups across multiple rooms, finish-stage help can save time and reduce visible mistakes. The coordination is as important as the individual tasks.
If you are in Lexington, KY or nearby towns, we can review your punch list and confirm the next steps. Start with photos and a short summary through the contact form.
Next step for remodeling help
If you want help planning or coordinating a remodeling project, start with our services overview and share your room list, goals, and photos. We will confirm the best next step based on your timeline and project details.
Need help planning the next step?
Share photos and rough measurements to get a clear yes/no on fit and the right follow-up.