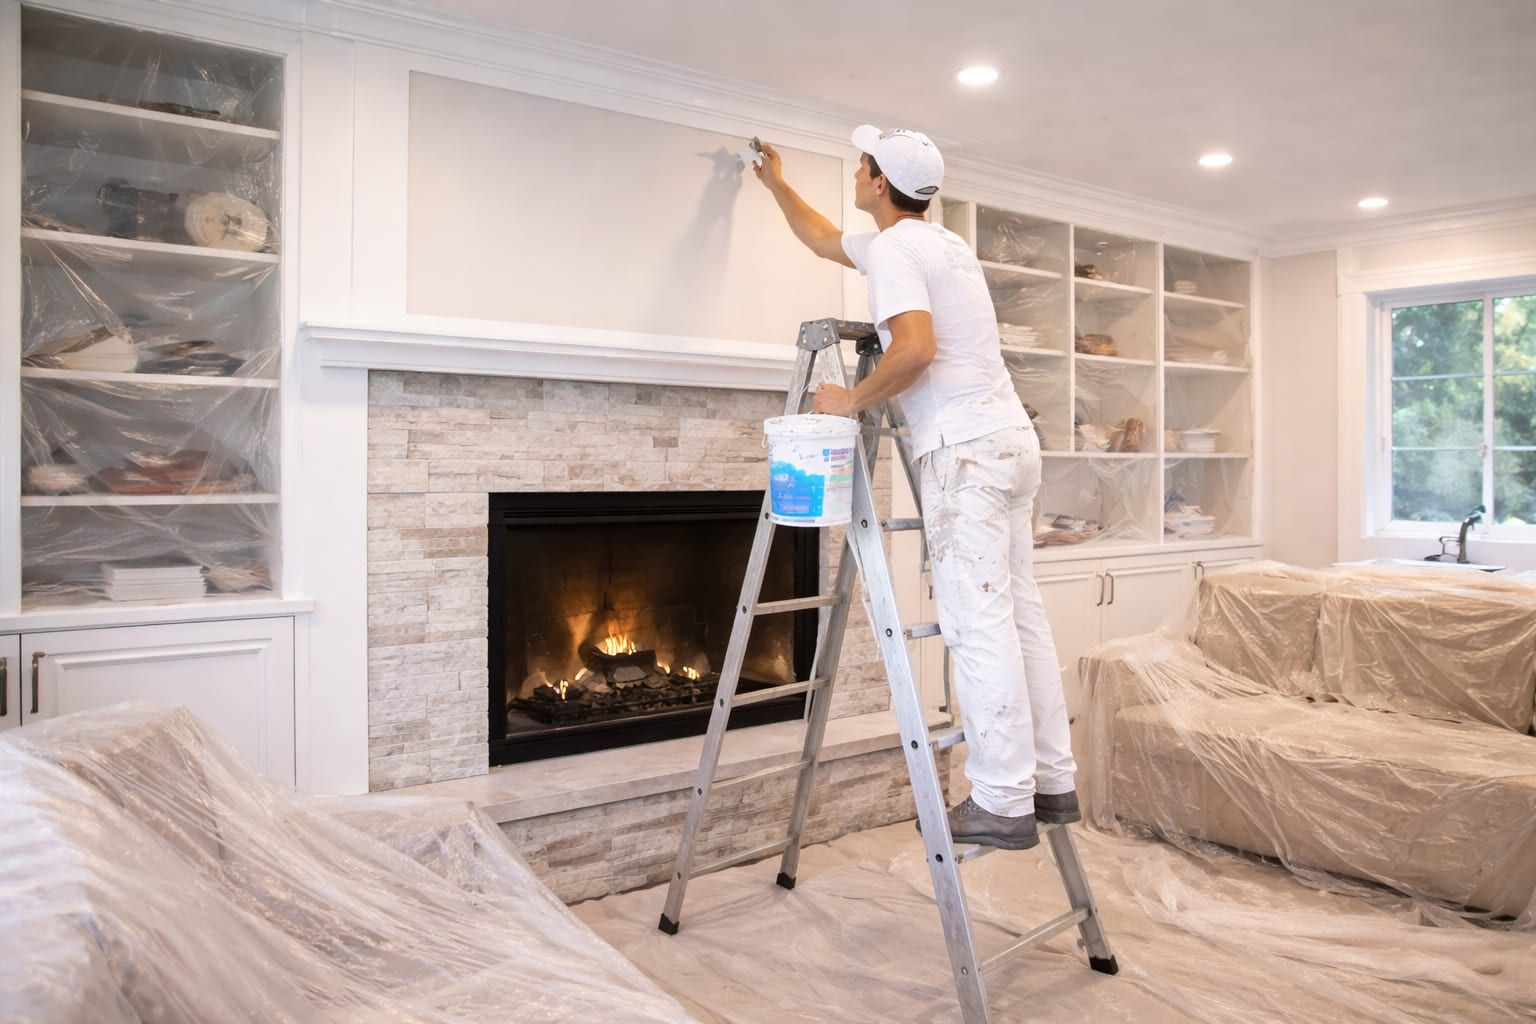
Interior painting looks simple from the outside: apply paint, let it dry, and move on. In real projects, a good finish is mostly planning and prep—repairs, masking, cleanup, and enough time for coatings to set up properly.
If you’re planning around a move, guests, or listing photos, the biggest confusion is usually the difference between dry time and cure time. This guide explains both, then walks through realistic day-by-day examples so you can plan with fewer surprises.
Quick takeaways
- Prep and repairs can take as long as painting. Wall condition drives timeline.
- Dry to the touch isn’t fully cured. Paint can feel dry but still be soft and easy to scuff.
- Ventilation matters. Temperature and humidity affect drying and comfort.
- Sequencing prevents chaos. Whole-home painting goes smoother with a room plan.
1) Dry time vs. cure time (the simplest explanation)
Paint goes through stages:
- Dry to the touch: the surface doesn’t feel wet.
- Recoat time: when you can apply another coat without causing issues.
- Cure time: when the coating reaches its full hardness and durability.
The main practical takeaway: a room can look “done” before it’s ready for heavy use, washing, or furniture bumps.
If you want to reduce scuffs and touch-ups, plan gentle use early on and avoid aggressive cleaning until the coating is more set.
2) What actually happens in an interior paint project
Most projects include these phases:
- Confirm what’s included (what is being painted: walls, ceilings, trim, doors)
- Prep (protect floors, cover furniture, tape/mask)
- Repairs (patching, sanding, caulking)
- Priming (when needed)
- Painting (often multiple coats)
- Touch-ups and walkthrough
If you’re not sure what details matter, this prep checklist helps you get organized: Interior painting prep checklist.
3) What variables change timelines the most
Painting time isn’t only about square footage. These factors often change schedule:
- Wall condition: dents, cracks, damaged drywall paper, stains
- Color change: dark-to-light transitions can take more coats
- Sheen change: higher sheen often needs more surface prep for a clean look
- Trim/doors included: trim and doors are detail-heavy
- Occupied vs. vacant: occupied homes require staging and protection
If repair work is significant, planning drywall repairs and paint together saves time and keeps expectations realistic: Drywall service.
3a) Adding trim, doors, or cabinets usually adds days (not hours)
Walls are big, flat planes. Trim and doors are detail work. If your project includes baseboards, casings, interior doors, or a lot of built-ins, plan for:
- More masking and protection
- More surface prep (caulk lines, sanding, filling)
- More dry time between coats (especially on doors that need to close properly)
- More touch-ups because detail surfaces show defects more
If you are trying to hit a deadline, a common strategy is to prioritize walls first (the biggest visual change), then schedule trim and doors as a second phase. Door work often overlaps with painting work, so sequencing helps: Interior door replacement options.
4) Day-by-day example: one bedroom (walls only)
This is a common “simple room” scenario.
Day 1: prep and minor repairs
- Move/cover furniture
- Patch small holes
- Light sanding and dust control
- Spot prime repairs where needed
Day 2: painting
- Cut-in
- Roll first coat
- Dry time
- Roll second coat if needed
Day 3 (optional): touch-ups
- Touch-up small misses
- Remove tape (if used) and reset the room
If the room has strong lighting or many repairs, a third day for touch-ups may be worth it for a cleaner result.
5) Day-by-day example: living area + hallway (high traffic)
High traffic areas often need more protection and more durability planning.
Day 1: prep
- Protect floors (especially if there’s adjacent flooring)
- Mask trim and transitions
- Repair dings (hallways often have more)
Day 2: paint walls
- One coat + second coat where needed
- Keep a plan for how people move through the space while paint is drying
Day 3: touch-ups and reset
Hallways are where scuffs happen early, so planning for gentle use and cure time is worth it.
5a) Example: one room with trim (and why it adds time)
If a room includes baseboards, door casings, and an interior door, the timeline usually grows because trim is detail work:
- Prep takes longer: caulk gaps, fill nail holes, and sand for a smooth finish.
- Coats take longer: trim and doors need careful cutting and often need multiple coats for uniform coverage.
- Dry time matters: doors need time to set up so they can close without sticking or imprinting.
A common plan is to do walls first (big visual change), then return for trim and doors once heavy movement in and out of the room is reduced.
6) Whole-home painting: the sequencing approach that reduces stress
Whole-home projects go best when you keep at least:
- One bathroom functional
- One sleeping area functional
- One clear path through the home
Common sequencing approaches:
- Public spaces first (entry/living/halls), then bedrooms
- Bedrooms first, then public spaces
- Top-down (upper level, then main level)
If you’re planning multiple rooms, this guide helps you sequence efficiently: Whole-home painting plan.
7) Drying and cure time: what homeowners feel in real life
Here are the most common “real life” constraints:
- Furniture placement: avoid scraping furniture into place too soon.
- Kids and pets: keep them from rubbing against fresh walls.
- Cleaning: avoid scrubbing fresh walls early; gentle wipe only if needed.
- Adhesives: avoid tape, hooks, and sticky products on fresh paint until it’s more cured.
Every product is different, but the principle is consistent: paint hardens over time.
7a) A simple aftercare timeline (so finishes stay clean)
If you want a practical plan after painting, think in stages:
- First 24 hours: treat walls and trim as “soft.” Avoid bumping furniture, do not scrub, and avoid painter’s tape or adhesive hooks.
- First week: normal gentle use is usually fine, but avoid aggressive cleaning. If you must clean a spot, use a soft damp cloth and minimal pressure.
- First month: coatings continue to harden. This is when most paints reach their full durability. After that point, normal cleaning is less likely to scuff or burnish the finish.
These are general guidelines and depend on the exact product, temperature, and humidity. If you have a specific paint line in mind, check the label for recoat and cure guidance and plan your move-in and furniture placement around that.
If you are planning to hang art, install adhesive hooks, or push heavy furniture tight to walls, waiting longer usually reduces the chance of dents, sticking, or shiny rub marks. For busy homes, a simple strategy is to keep a few feet of space behind larger furniture for the first week, then do the final placement after the coating has hardened more.
8) Ventilation and comfort planning
Ventilation helps:
- Drying time
- Odor management
- Comfort during the project
Practical tips:
- Use fans for airflow when appropriate
- Open windows when weather allows
- Plan around HVAC cycles and humid days
9) Planning around deadlines (move-in, photos, guests)
If you have a hard deadline, the best move is to share it early and prioritize:
- The most visible rooms first
- The rooms that affect daily function
- The surfaces that photograph most (entry, living room, main hallway)
Trying to rush the entire project can lead to more touch-ups. A staged plan is often the best quality and comfort approach.
10) FAQs
Can I paint and move in the same weekend?
Sometimes, but details matter. If time is tight, prioritize key rooms and avoid adding trim/door work unless it’s truly necessary.
Why does paint scuff if it feels dry?
Because dry-to-touch comes before full cure. The film can still be soft early on.
Is primer always required?
No. Primer is used when it solves a specific problem: stains, bonding to slick surfaces, or equalizing porosity after repairs.
When can I wash painted walls?
Gentle cleaning is usually fine after paint has had time to set up, but aggressive scrubbing is best avoided early on. Because cure time varies by product and conditions, checking the paint label guidance is the safest approach. If you want fewer shiny rub marks, wait longer before heavy cleaning.
Next steps
If you have a hard deadline, prioritize key rooms first and schedule detail work as a second phase. This keeps the finish cleaner and reduces rework.
- Painting service details: Painting
- Prep checklist: Interior painting prep
- Start a quote request: Request a quote

Need help planning the next step?
Share photos and rough measurements to get a clear yes/no on fit and the right follow-up.