Grout Repair vs. Regrout: When to Patch vs. Replace
Grout problems—cracks, stains, missing sections—are common in tile installations. Deciding whether to spot-repair or fully regrout depends on the extent of damage, tile location, and your goals. This guide helps you choose the right approach.
Quick takeaways
- Spot repair when only a few joints are bad; full regrout when most of the field is failing or you want a new color.
- Remove old grout fully before regrouting.
- Match sanded vs. unsanded and seal after cure.
When Spot Repair Works
Small isolated areas:
- 1-3 cracks or missing sections
- Damage in low-visibility areas
- Recent tile installation (under 5 years)
Process:
- Remove damaged grout (grout saw or oscillating tool)
- Clean joint thoroughly
- Apply new grout matching color
- Seal after cure
Cost: $50-200 DIY, $150-400 professional
Pros:
- Fast (2-4 hours)
- Inexpensive
- Minimal mess
Cons:
- Color may not match exactly
- Other areas will fail soon if grout is aging
- Patchwork appearance if many repairs
When Full Regrout Makes Sense
Widespread issues:
- Multiple cracks throughout
- Severe staining that won’t clean
- Crumbling or powdery grout
- Installation over 10-15 years old
Full regrout process:
- Remove ALL old grout (grout saw, multi-tool, or grinder)
- Clean joints thoroughly (vacuum, wipe)
- Apply new grout
- Clean tile surface
- Seal grout after cure (48-72 hours)
Cost:
- DIY: $100-300 materials (average bathroom)
- Professional: $500-1,500 (bathroom), $1,000-3,000 (kitchen)
Pros:
- Fresh, consistent appearance
- Resets lifespan (another 10-15 years)
- Opportunity to change grout color
- Addresses underlying issues
Cons:
- Time-consuming (1-3 days)
- More expensive
- Messy process
- Risk of chipping tiles during removal
Common Grout Problems and Causes
Cracking:
- Cause: Movement, deflection, improper mixing
- Solution: Remove and replace, address substrate if needed
Staining:
- Cause: Porous grout, mildew, hard water
- Solution: Try cleaning first, regrout if stains won’t come out
Crumbling/powdery:
- Cause: Wrong grout type, water intrusion, old age
- Solution: Full regrout, check for water issues
Missing sections:
- Cause: Poor installation, cleaning damage, movement
- Solution: Spot repair if isolated, full regrout if widespread
Discoloration:
- Cause: Mold/mildew, efflorescence, grout type
- Solution: Clean first, seal if successful, otherwise regrout
Grout Types and When to Use Each
Sanded grout:
- For joints 1/8” to 1/2” wide
- Most common
- Stronger, less prone to cracking
- Use in floors and walls
Unsanded grout:
- For joints under 1/8”
- Smoother finish
- Can scratch polished stone
- Use on walls with tight joints
Epoxy grout:
- Most durable, stain-resistant
- Doesn’t need sealing
- More expensive ($$$)
- Harder to install (sticky, short working time)
- Best for shower floors, heavy-use areas
Urethane grout:
- Flexible, stain-resistant
- Doesn’t need sealing
- Easier than epoxy
- Good for areas with movement
Grout Removal Methods
Grout saw (hand tool):
- Manual carbide blade
- Slow but safe for DIY
- Less risk of tile damage
- Best for small areas
Oscillating multi-tool:
- Grout removal blade attachment
- Faster than hand saw
- Moderate risk of chipping
- Good for medium projects
Angle grinder with grout blade:
- Fastest removal
- Highest risk of tile damage
- Dusty and loud
- Professional tool for large areas
Rotary tool (Dremel):
- Precision removal
- Good for detail areas
- Slow for large areas
Safety for all methods:
- Safety glasses required
- Dust mask
- Hearing protection for power tools
- Work slowly near tile edges
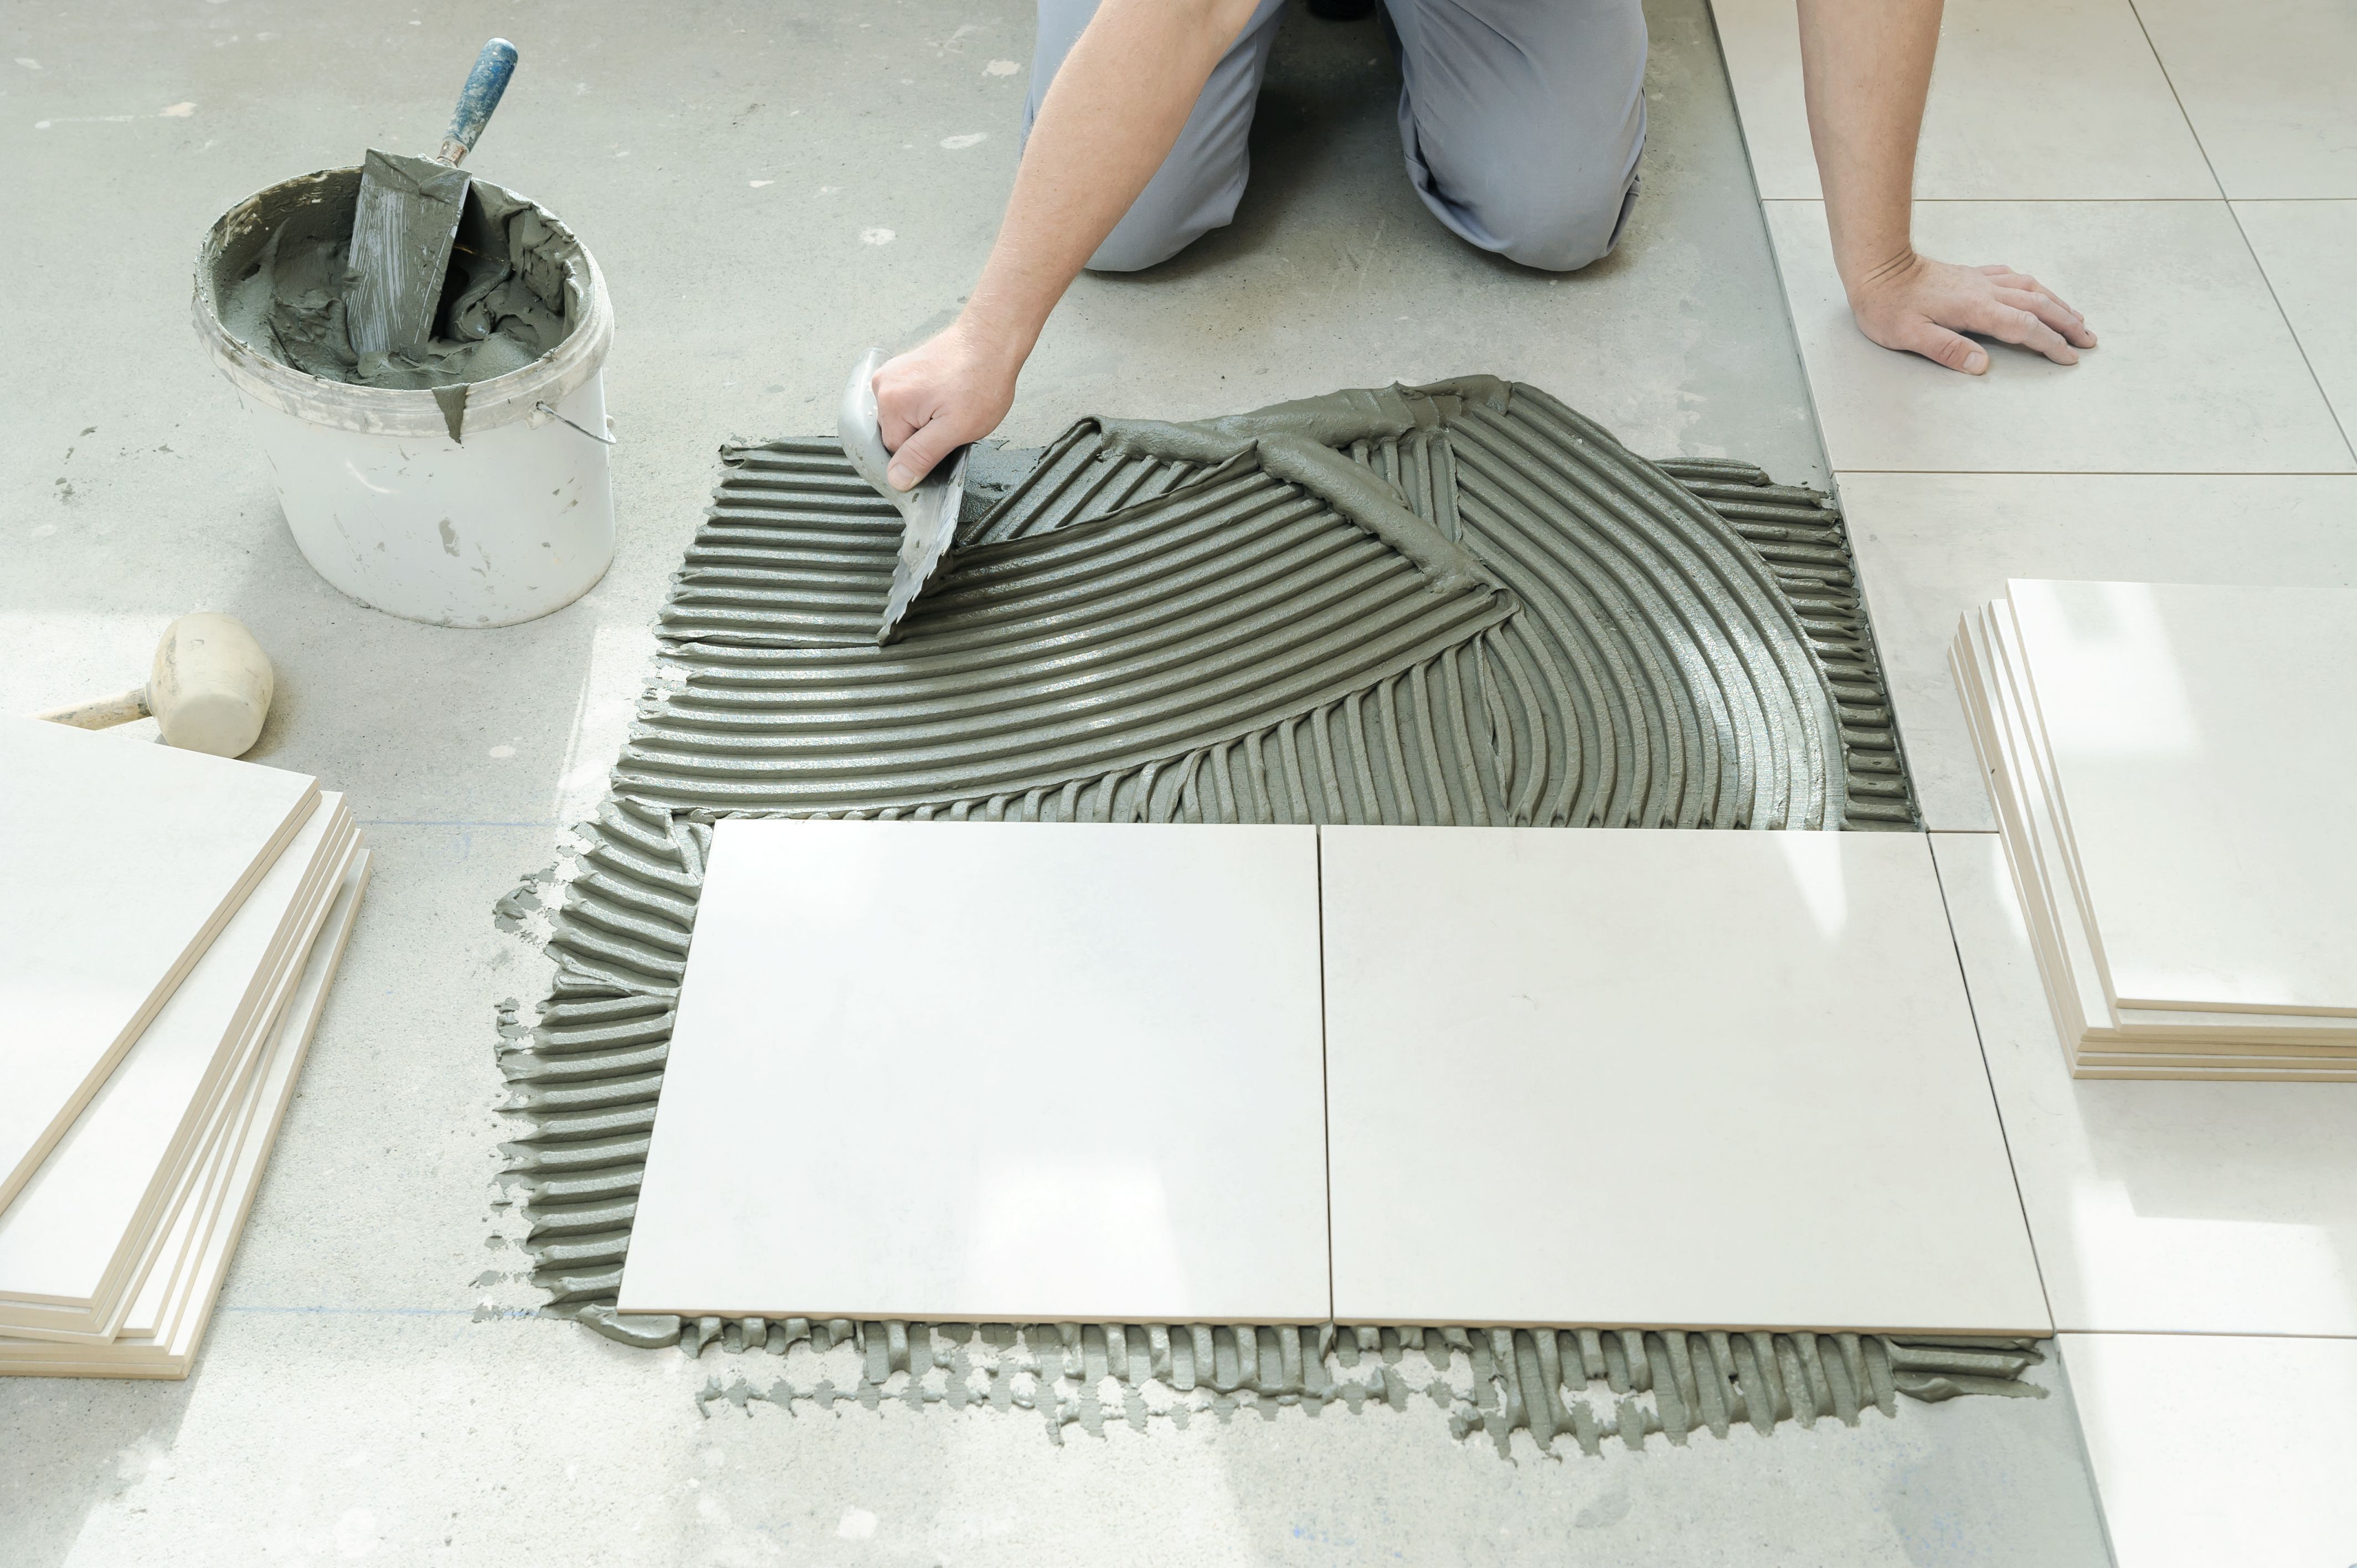
Regrout Process (Step by Step)
Step 1: Remove old grout
- Cut center of joint first (relieves pressure)
- Work carefully at tile edges (easy to chip)
- Remove grout to at least half the tile thickness
- Deeper is better (more new grout surface)
Step 2: Clean joints
- Vacuum all dust and debris
- Wipe joints with damp sponge
- Let dry completely
- Clean process determines grout adhesion
Step 3: Mix new grout
- Follow manufacturer water ratios exactly
- Mix to peanut butter consistency
- Let slake 5-10 minutes, re-mix
- Don’t add more water after slaking
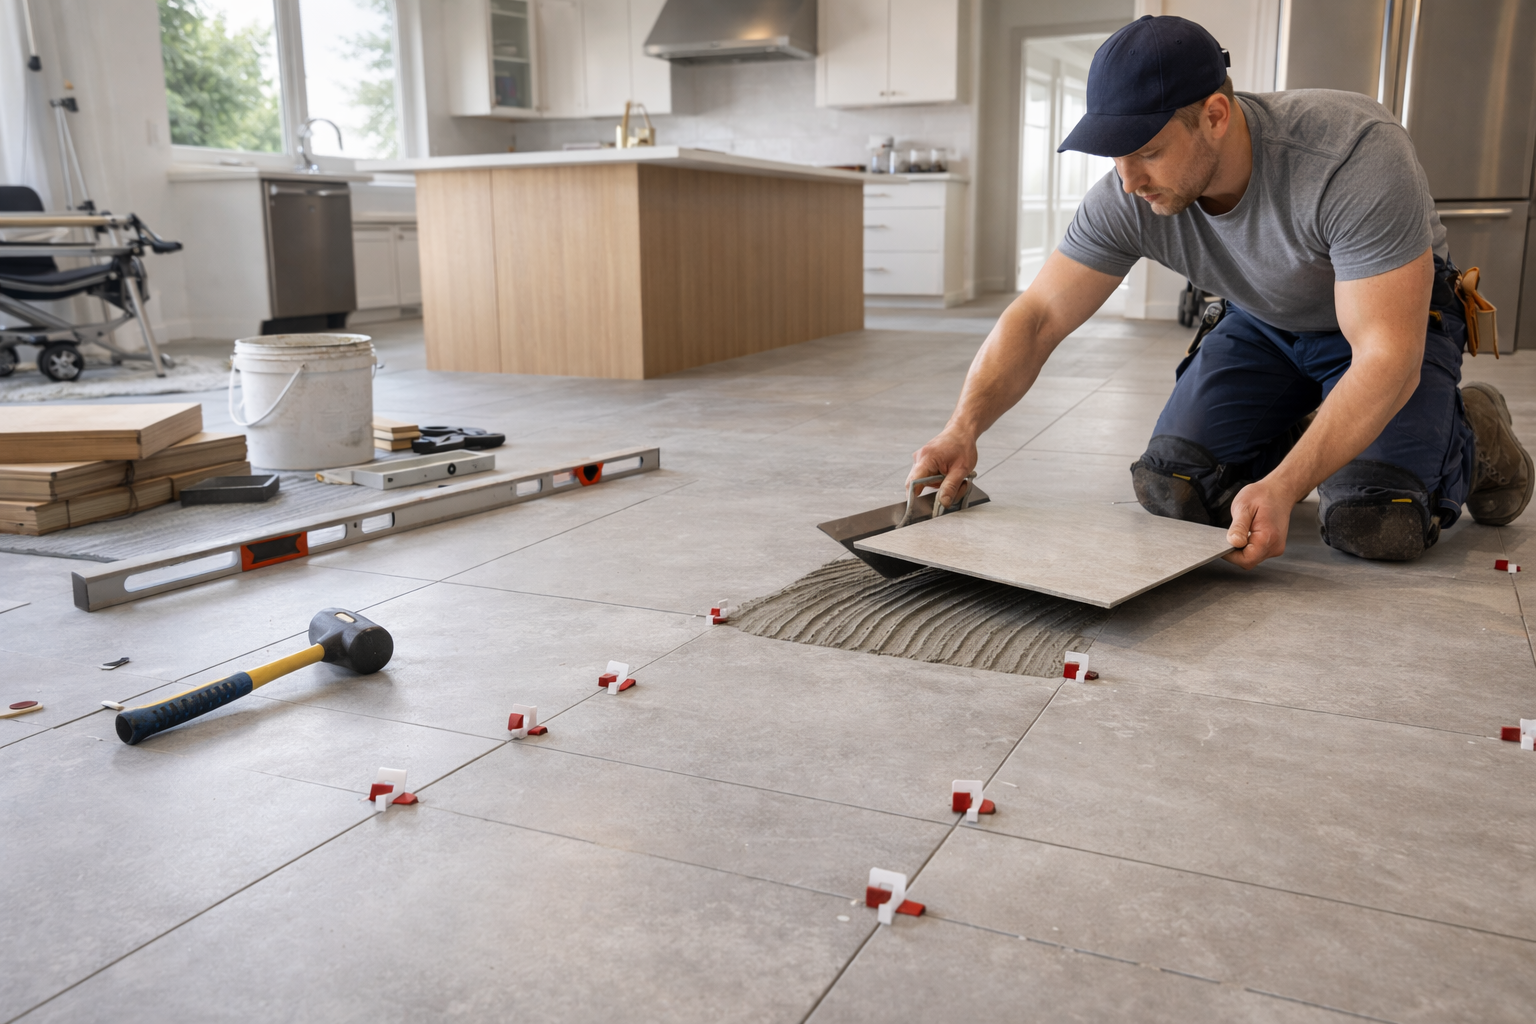
Step 4: Apply grout
- Use rubber grout float at 45° angle
- Pack grout into joints firmly
- Work diagonally across tiles
- Remove excess from tile surface
Step 5: Initial wipe
- Wait 15-30 minutes (grout firms up)
- Wipe diagonal with damp sponge
- Rinse sponge frequently
- Don’t remove grout from joints
Step 6: Haze removal
- Wait 2-4 hours
- Buff haze with dry cloth
- May need second haze removal next day
Step 7: Cure and seal
- Wait 48-72 hours before sealing
- Apply penetrating sealer
- Wipe excess immediately
- Re-seal annually
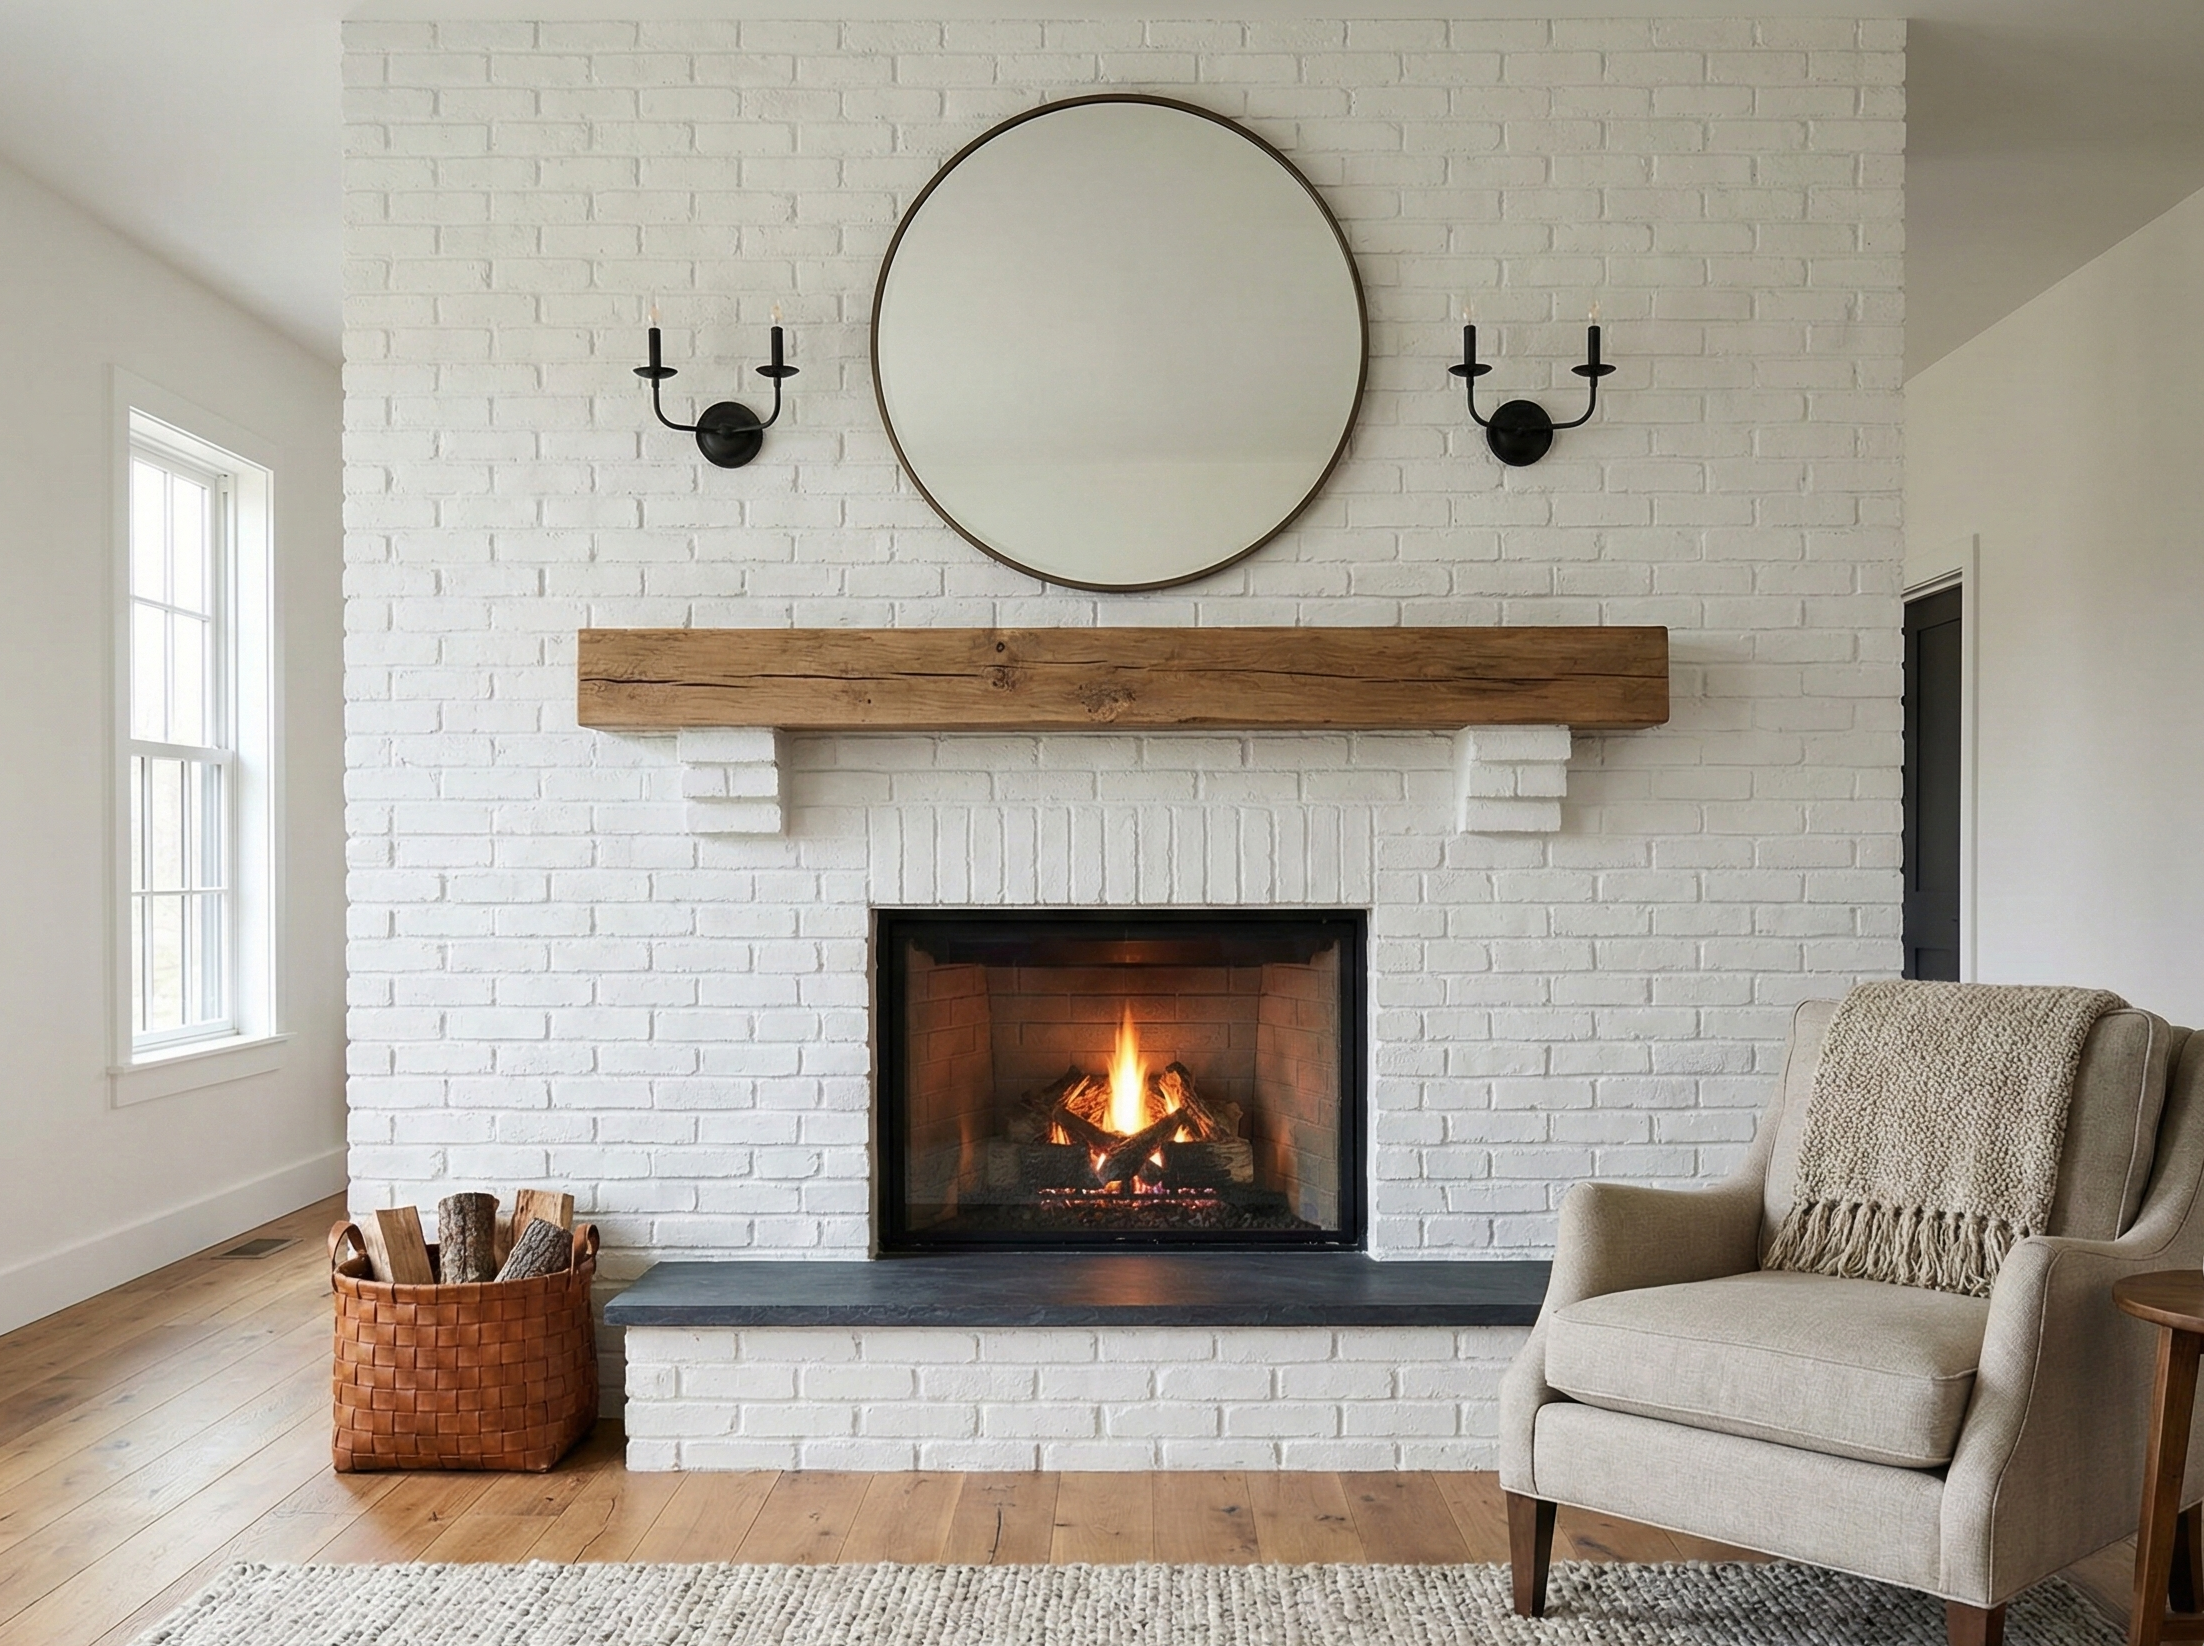
Color Matching Challenges
Why new grout looks different:
- Grout color changes as it ages
- Dirt and staining darken grout
- Different lighting affects appearance
- Batch variations in grout color
Improving match:
- Clean existing grout first (see actual color)
- Use colorant additives to adjust shade
- Test in inconspicuous area first
- Consider regrouting full wall/floor for consistency
When color match matters:
- Visible areas (kitchen/bath walls)
- Recent tile installation (color more consistent)
- Design-critical spaces
When color match doesn’t matter:
- Hidden areas (behind toilets, appliances)
- Full regrout (all new color)
- Grout is being changed intentionally
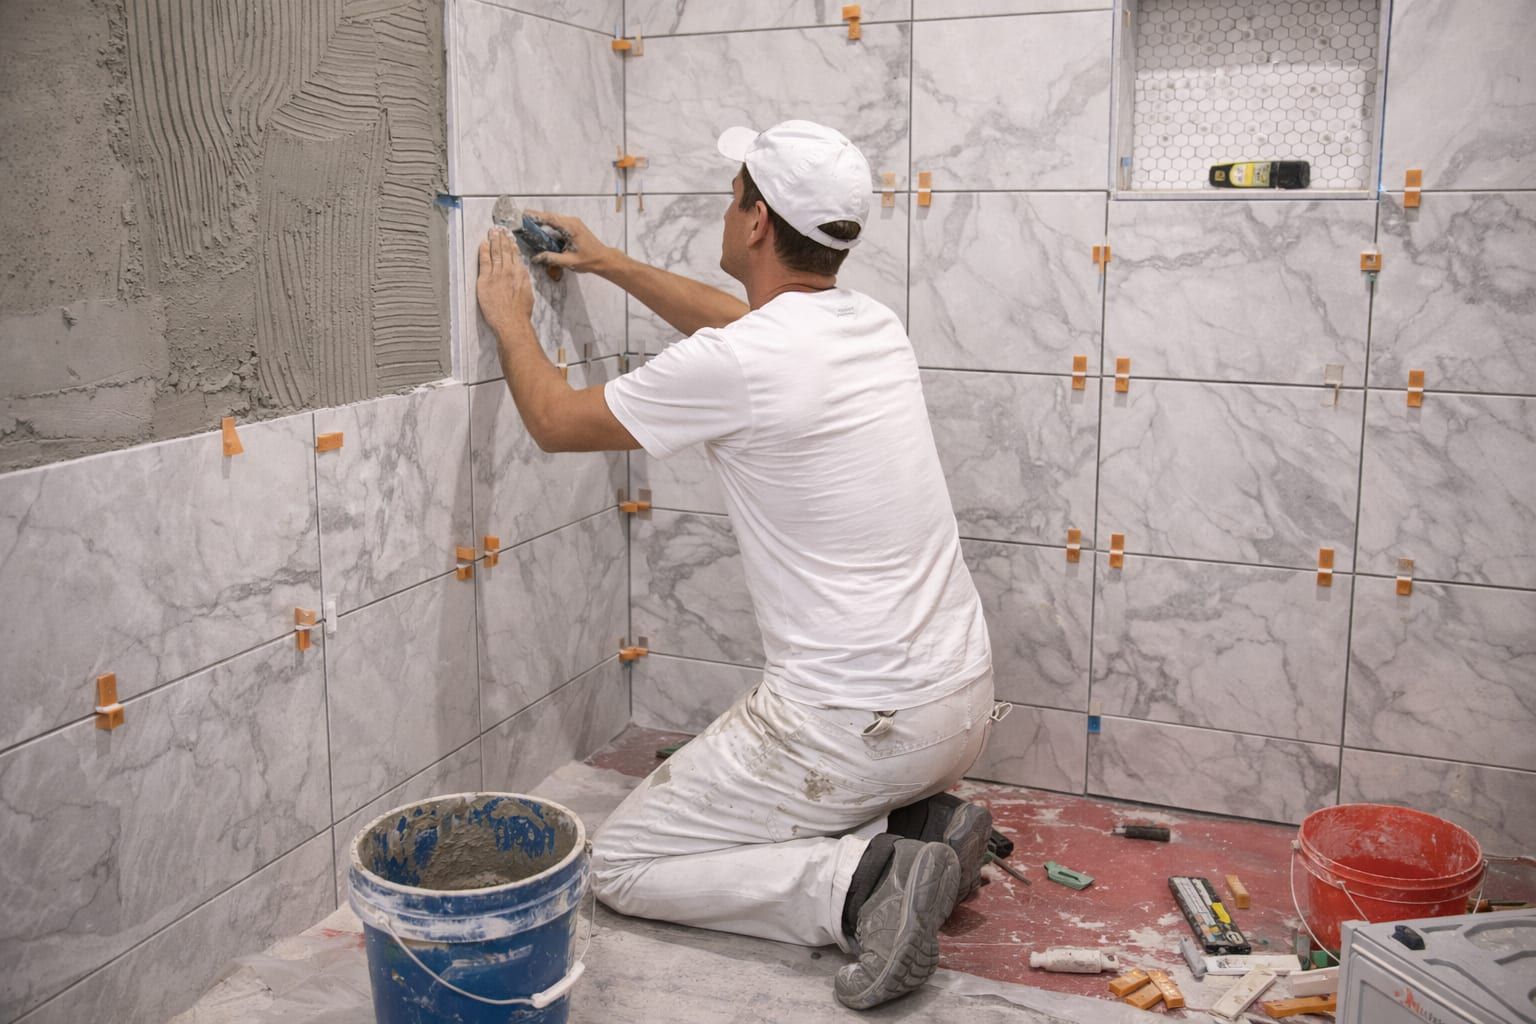
Shower Grout Special Considerations
Where grout should NOT be:
- Inside corners (use caulk, grout will crack)
- Where wall meets tub/shower pan (use caulk)
- Where different planes meet (use caulk)
- Expansion joints (use caulk)
Shower grout challenges:
- Constant water exposure
- More prone to mold/mildew
- Needs quality waterproofing behind tile
- Consider epoxy grout for floors
Maintenance:
- Squeegee after showers
- Ventilate bathroom
- Seal grout annually
- Clean regularly with non-acidic cleaner
Cost Comparison
DIY spot repair:
- Materials: $20-50
- Time: 2-4 hours
- Skill: Easy
DIY full regrout (bathroom):
- Materials: $100-200
- Time: 8-16 hours
- Skill: Moderate
Professional spot repair:
- Cost: $150-300
- Time: 2-3 hours
- Includes: Material, labor, cleanup
Professional full regrout (bathroom):
- Cost: $500-1,200
- Time: 1-2 days
- Includes: Removal, new grout, sealing, cleanup
Professional full regrout (kitchen backsplash):
- Cost: $400-800
- Time: 1 day
- Includes: Removal, new grout, sealing, cleanup
DIY vs. Professional
DIY if:
- Small repair area
- You have time (regrouting is slow)
- You’re comfortable with tools
- Budget is tight
Hire pro if:
- Large area (full shower, kitchen floor)
- Tile is expensive or delicate
- You’re unsure about technique
- Time is limited
- Want warranty on work
How Long Should Grout Last?
Standard cement grout:
- Floors: 10-15 years
- Walls: 15-20 years
- Showers: 8-12 years (more water exposure)
Factors that shorten lifespan:
- Poor installation (wrong mix, inadequate packing)
- Movement/deflection in substrate
- Water intrusion
- Harsh cleaning chemicals
- Not sealed or maintained
Factors that extend lifespan:
- Quality installation
- Proper sealing and maintenance
- Good ventilation (bathrooms)
- Epoxy or urethane grout
- Minimal substrate movement
Maintenance to Avoid Regrout
Annual tasks:
- Reseal grout (penetrating sealer)
- Deep clean with appropriate products
- Inspect for cracks or damage
Regular tasks:
- Wipe up spills quickly
- Ventilate bathrooms during/after showers
- Use pH-neutral cleaners
- Avoid harsh chemicals (bleach can degrade grout)
Early intervention:
- Spot repair small cracks immediately
- Address mold/mildew when first noticed
- Fix any water leaks promptly
- Re-caulk corners before grout cracks
When NOT to Regrout
Consider tile replacement instead if:
- Tiles are loose or cracked
- Waterproofing has failed (shower leak)
- Substrate is damaged
- Tile is dated and you want to update anyway
Signs of bigger problems:
- Soft spots in floor
- Loose tiles
- Water stains on ceiling below
- Musty odors
Don’t cover up problems—fix the cause first
Grout repair vs. full regrout depends on extent of damage, age, and your goals. Spot repairs work for isolated issues, but full regrout resets the clock and looks better. Either way, proper technique, quality materials, and sealing ensure grout lasts another 10-15 years.
Need help planning the next step?
Share photos and rough measurements to get a clear yes/no on fit and the right follow-up.