Grab Bar Installation Guide for Bathrooms
Grab bars prevent falls, assist with transfers, and provide stability in wet bathroom environments. Proper placement, solid anchoring, and ADA-compliant installation are critical for safety. This guide covers planning, installation, and best practices.
Quick takeaways
- Placement is critical. ADA heights (33–36” above floor for most bars) and length (42” min for toilet side wall) improve safety and compliance.
- Anchor in solid backing. Use studs or approved blocking; hollow-wall anchors are not sufficient for grab bars.
- Choose the right type. Wall-mounted, floor-to-ceiling, and fold-down each suit different layouts and needs.
- Plan for the user. Height and position should match the person who will use the bar.
Why Grab Bars Matter
Fall prevention:
- 80% of bathroom falls happen in tub/shower
- Grab bars reduce fall risk by 70%+
- Critical for aging-in-place
Independence:
- Assist with sitting/standing transitions
- Support balance on wet surfaces
- Enable safer showering
Who benefits:
- Seniors (balance/strength issues)
- Mobility limitations
- Post-surgery recovery
- Anyone wanting safer bathroom
ADA-Compliant Placement
Toilet grab bars:
- Side wall: 33-36” above floor (centerline)
- 42” minimum length
- 12” max from back wall to front of bar
- Rear wall: 33-36” above floor, centered on toilet
Shower grab bars:
- Vertical bar: 18” from controls, 33-36” above floor
- Horizontal bar: 33-36” above floor on side/back walls
- Diagonal bar (optional): Assists with entry/exit
Tub grab bars:
- Horizontal on back wall: 33-36” above tub floor
- Horizontal on side wall: 33-36” above tub rim
- Vertical at tub entry: Assists with step-over
Sink/vanity grab bars:
- Not always needed but helpful
- Mount at comfortable height (varies by user)
- Support transfers from wheelchair
Grab Bar Types
Wall-mounted:
- Most common
- Requires solid backing or studs
- Clean, permanent installation
- Strength: 250+ lbs when properly installed
Floor-to-ceiling poles:
- No wall penetration
- Adjustable height
- Good for rentals or tile concerns
- Strength: 250-300 lbs (when properly tensioned)
Suction cup bars:
- NOT RECOMMENDED for safety-critical use
- Temporary only
- Can fail unexpectedly
- Use only for light support, not weight-bearing
Fold-down bars:
- Space-saving option
- Flip up when not needed
- Common near toilets
- Requires solid backing
Materials and Finishes
Stainless steel:
- Most durable
- Won’t rust
- Clean, modern look
- $40-100 per bar
Powder-coated steel:
- Color options (white, bronze, black)
- Good durability
- More affordable
- $25-60 per bar
Textured vs. smooth:
- Textured: Better grip, especially when wet
- Smooth: Easier to clean
- Recommendation: Textured for safety
Diameter:
- 1.25-1.5”: Standard, comfortable for most
- Smaller: Easier to grip for small hands
- Larger: May be harder to grasp securely
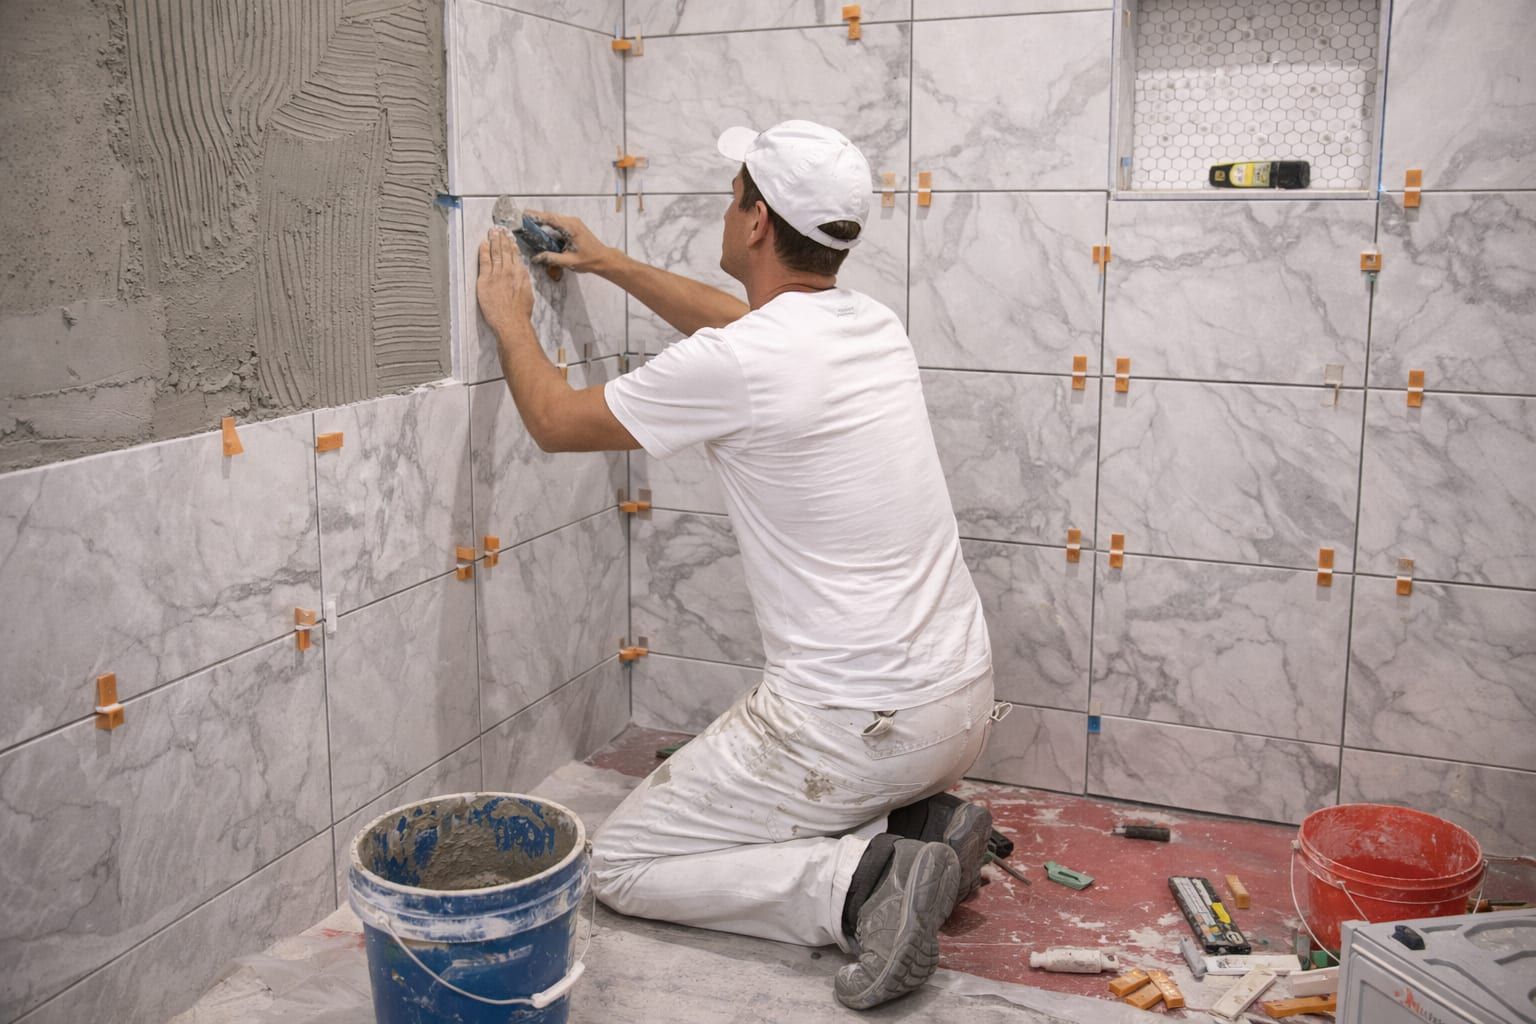
Critical: Proper Anchoring
Grab bars must support 250 lbs minimum
Into wood studs (best):
- 2x4 or 2x6 studs provide best support
- Use 2.5-3” wood screws (not drywall anchors!)
- Hit center of stud
- Minimum 2 studs per bar
Blocking added during construction:
- 2x6 or 2x8 blocking between studs
- Installed at grab bar height
- Best for new construction or remodels
- Allows grab bar placement anywhere
Retrofit blocking (tile already installed):
- Cut out tile/drywall
- Install blocking between studs
- Patch tile/drywall
- Install grab bar
- Time-consuming but necessary if no studs
Toggle bolts (NOT RECOMMENDED for primary support):
- Only if absolutely no other option
- Use heavy-duty toggles rated for 200+ lbs
- Test thoroughly before relying on
- Better than nothing but not ideal
What NOT to use:
- Drywall anchors alone (will fail)
- Short screws into only drywall
- Adhesive/glue (unreliable)
- Suction cups for weight-bearing
Installation Process
Step 1: Plan placement
- Measure per ADA guidelines or user needs
- Mark desired location
- Locate studs with stud finder
- Adjust placement to hit studs if possible
Step 2: Check for blocking
- Tap wall (hollow = no backing)
- Small test hole if uncertain
- If tile, use caution (expensive to patch)
Step 3: Install backing if needed
- Remove section of tile/drywall
- Install 2x8 blocking between studs
- Patch drywall or tile
- Let repairs cure before mounting bar
Step 4: Mark and drill
- Hold bar in position, mark holes
- Drill pilot holes (slightly smaller than screws)
- For tile: use carbide bit, tape over mark to prevent slipping
- Check depth (screws should penetrate 1.5-2” into stud)
Step 5: Mount grab bar
- Apply silicone caulk to mounting flange (if in shower)
- Position bar, insert screws
- Tighten screws gradually, alternating sides
- Check for level
- Final tighten (snug but don’t over-tighten)
Step 6: Test
- Let caulk cure (if used)
- Pull hard on bar (should have zero movement)
- Lean body weight on bar
- If ANY movement, remove and re-anchor properly
Tile Drilling Tips
Prevent cracking:
- Use carbide or diamond tile bit
- Place painter’s tape over mark (prevents bit slipping)
- Start at slow speed, increase gradually
- Keep bit cool (water or spray)
- Don’t force—let bit do the work
If tile cracks:
- Small crack may be cosmetic only
- Large crack requires tile replacement
- Silicone caulk around flange hides minor damage
Common Mistakes
Mistake 1: Relying on drywall anchors
- Will fail under weight
- Safety risk
- Always use studs or solid blocking
Mistake 2: Wrong placement height
- Too high = not helpful
- Too low = not ergonomic
- Follow ADA guidelines or user-test height
Mistake 3: Not testing after installation
- Loose mounting is dangerous
- Test with full body weight
- Re-tighten or remount if any movement
Mistake 4: Skipping caulk in wet areas
- Water gets behind flange
- Causes rust and wall damage
- Always seal with silicone in showers/tubs
Mistake 5: Using cheap bars
- May not support weight
- Corrosion issues
- Invest in quality for safety
Cost Estimates
DIY installation:
- Grab bar: $25-100
- Screws/hardware: $5-10
- Caulk: $5
- Tile bit (if needed): $10-20
- Total: $45-135 per bar
Professional installation:
- Simple install (stud hit): $75-150 per bar
- Retrofit blocking required: $200-400 per bar
- Multiple bars discount usually available
Blocking during remodel:
- Add 2x8 blocking: $20-40 materials
- Best value if walls are open anyway
Grab Bar Placement by User Needs
General aging-in-place:
- Toilet side wall (most important)
- Tub entry vertical bar
- Shower horizontal bar
Post-surgery recovery:
- Toilet (both sides if possible)
- Shower seating area
- Near bed/furniture transitions
Wheelchair transfers:
- Toilet (side and rear)
- Shower seat (both sides)
- Lower placement (32-34”)
General safety/prevention:
- Shower/tub entry points
- Near any steps or level changes
- Anywhere balance is challenging
Maintenance
Regular inspection:
- Check for loose mounting (quarterly)
- Look for rust or corrosion
- Tighten screws if needed
- Test with firm pull
Cleaning:
- Wipe with damp cloth
- Avoid abrasive cleaners (scratch finish)
- Dry after cleaning (prevent water spots)
Long-term:
- Quality grab bars last 20+ years
- Refinish or replace if corrosion develops
- If remodeling, verify backing still solid
Building Code and Permits
Requirements vary:
- New construction often requires grab bars
- Remodels may trigger requirements
- Check local codes before starting
Permits:
- Usually not required for grab bar installation alone
- May be required if part of larger bathroom remodel
Inspections:
- Not typically required for grab bars
- Ensure proper installation for safety regardless
Grab bars are simple safety devices that prevent serious injuries. Proper placement (ADA guidelines), solid anchoring (studs or blocking, never just drywall), and quality products are essential. Whether DIY or professional installation, test thoroughly and ensure zero movement under full body weight. A properly installed grab bar can literally save a life.
Need help planning the next step?
Share photos and rough measurements to get a clear yes/no on fit and the right follow-up.