Exterior paint durability is mostly prep. When exterior paint fails early—peeling, bubbling, flaking—the cause is often that the surface wasn’t prepared for the coating system. The prep steps can feel “invisible,” but they’re what protect your home and keep the finished look clean for longer.
This guide breaks down common exterior paint prep steps (cleaning, scraping, caulking, priming) and explains what each step accomplishes.
Quick takeaways
- Paint needs a sound surface. Loose paint must be removed; unstable surfaces need attention.
- Caulk is not cosmetic only. It helps seal joints and smooth finish lines.
- Primer solves specific problems. It’s used for bonding, stain blocking, and sealing porous areas.
- Prep sets the schedule. Prep often takes as long as (or longer than) the topcoats.
0) Start with a walkthrough: what is failing, and where?
Before you touch a scraper or open a caulk tube, do a simple exterior walkthrough. You’re looking for patterns, because patterns tell you what the prep should focus on.
Common surface conditions to note:
- Peeling and flaking: where paint is already letting go.
- Chalking: a powdery residue on the surface (often shows up when you rub your hand on it).
- Cracks at joints: where trim meets siding, or where boards meet.
- Dark staining or mildew-like growth: common in shaded or damp zones.
- Water paths: staining below gutters, downspouts, or rooflines that drip repeatedly.
Why this matters: painting is a system. If water is repeatedly hitting one corner of the house, that corner needs a different plan than a protected, shaded wall.
If you want to keep exterior paint looking good longer, water management is part of the prep mindset:
- Gutters that overflow can soak trim.
- Downspouts that dump water against the house can create repeated wetting.
- Splashback near grade can wear lower siding faster.
You do not have to solve every water issue to repaint, but identifying water paths early helps you set realistic expectations.
1) Cleaning: the foundation of adhesion
Paint won’t bond well to:
- Dirt and grime
- Chalky residue
- Mold/mildew residue
- Loose particles
Cleaning can involve different methods based on siding type and condition. The key outcome is a clean, dry surface that supports adhesion.
1a) What “clean” means for exterior paint
For repainting, “clean” means:
- Dust and loose debris removed
- Oils and residues reduced (especially around handrails and high-touch trim)
- Chalking controlled so new paint can bond
- Growth (mildew-like staining) addressed where present
If you skip cleaning, the new coat can bond to the dirt instead of bonding to the actual surface.
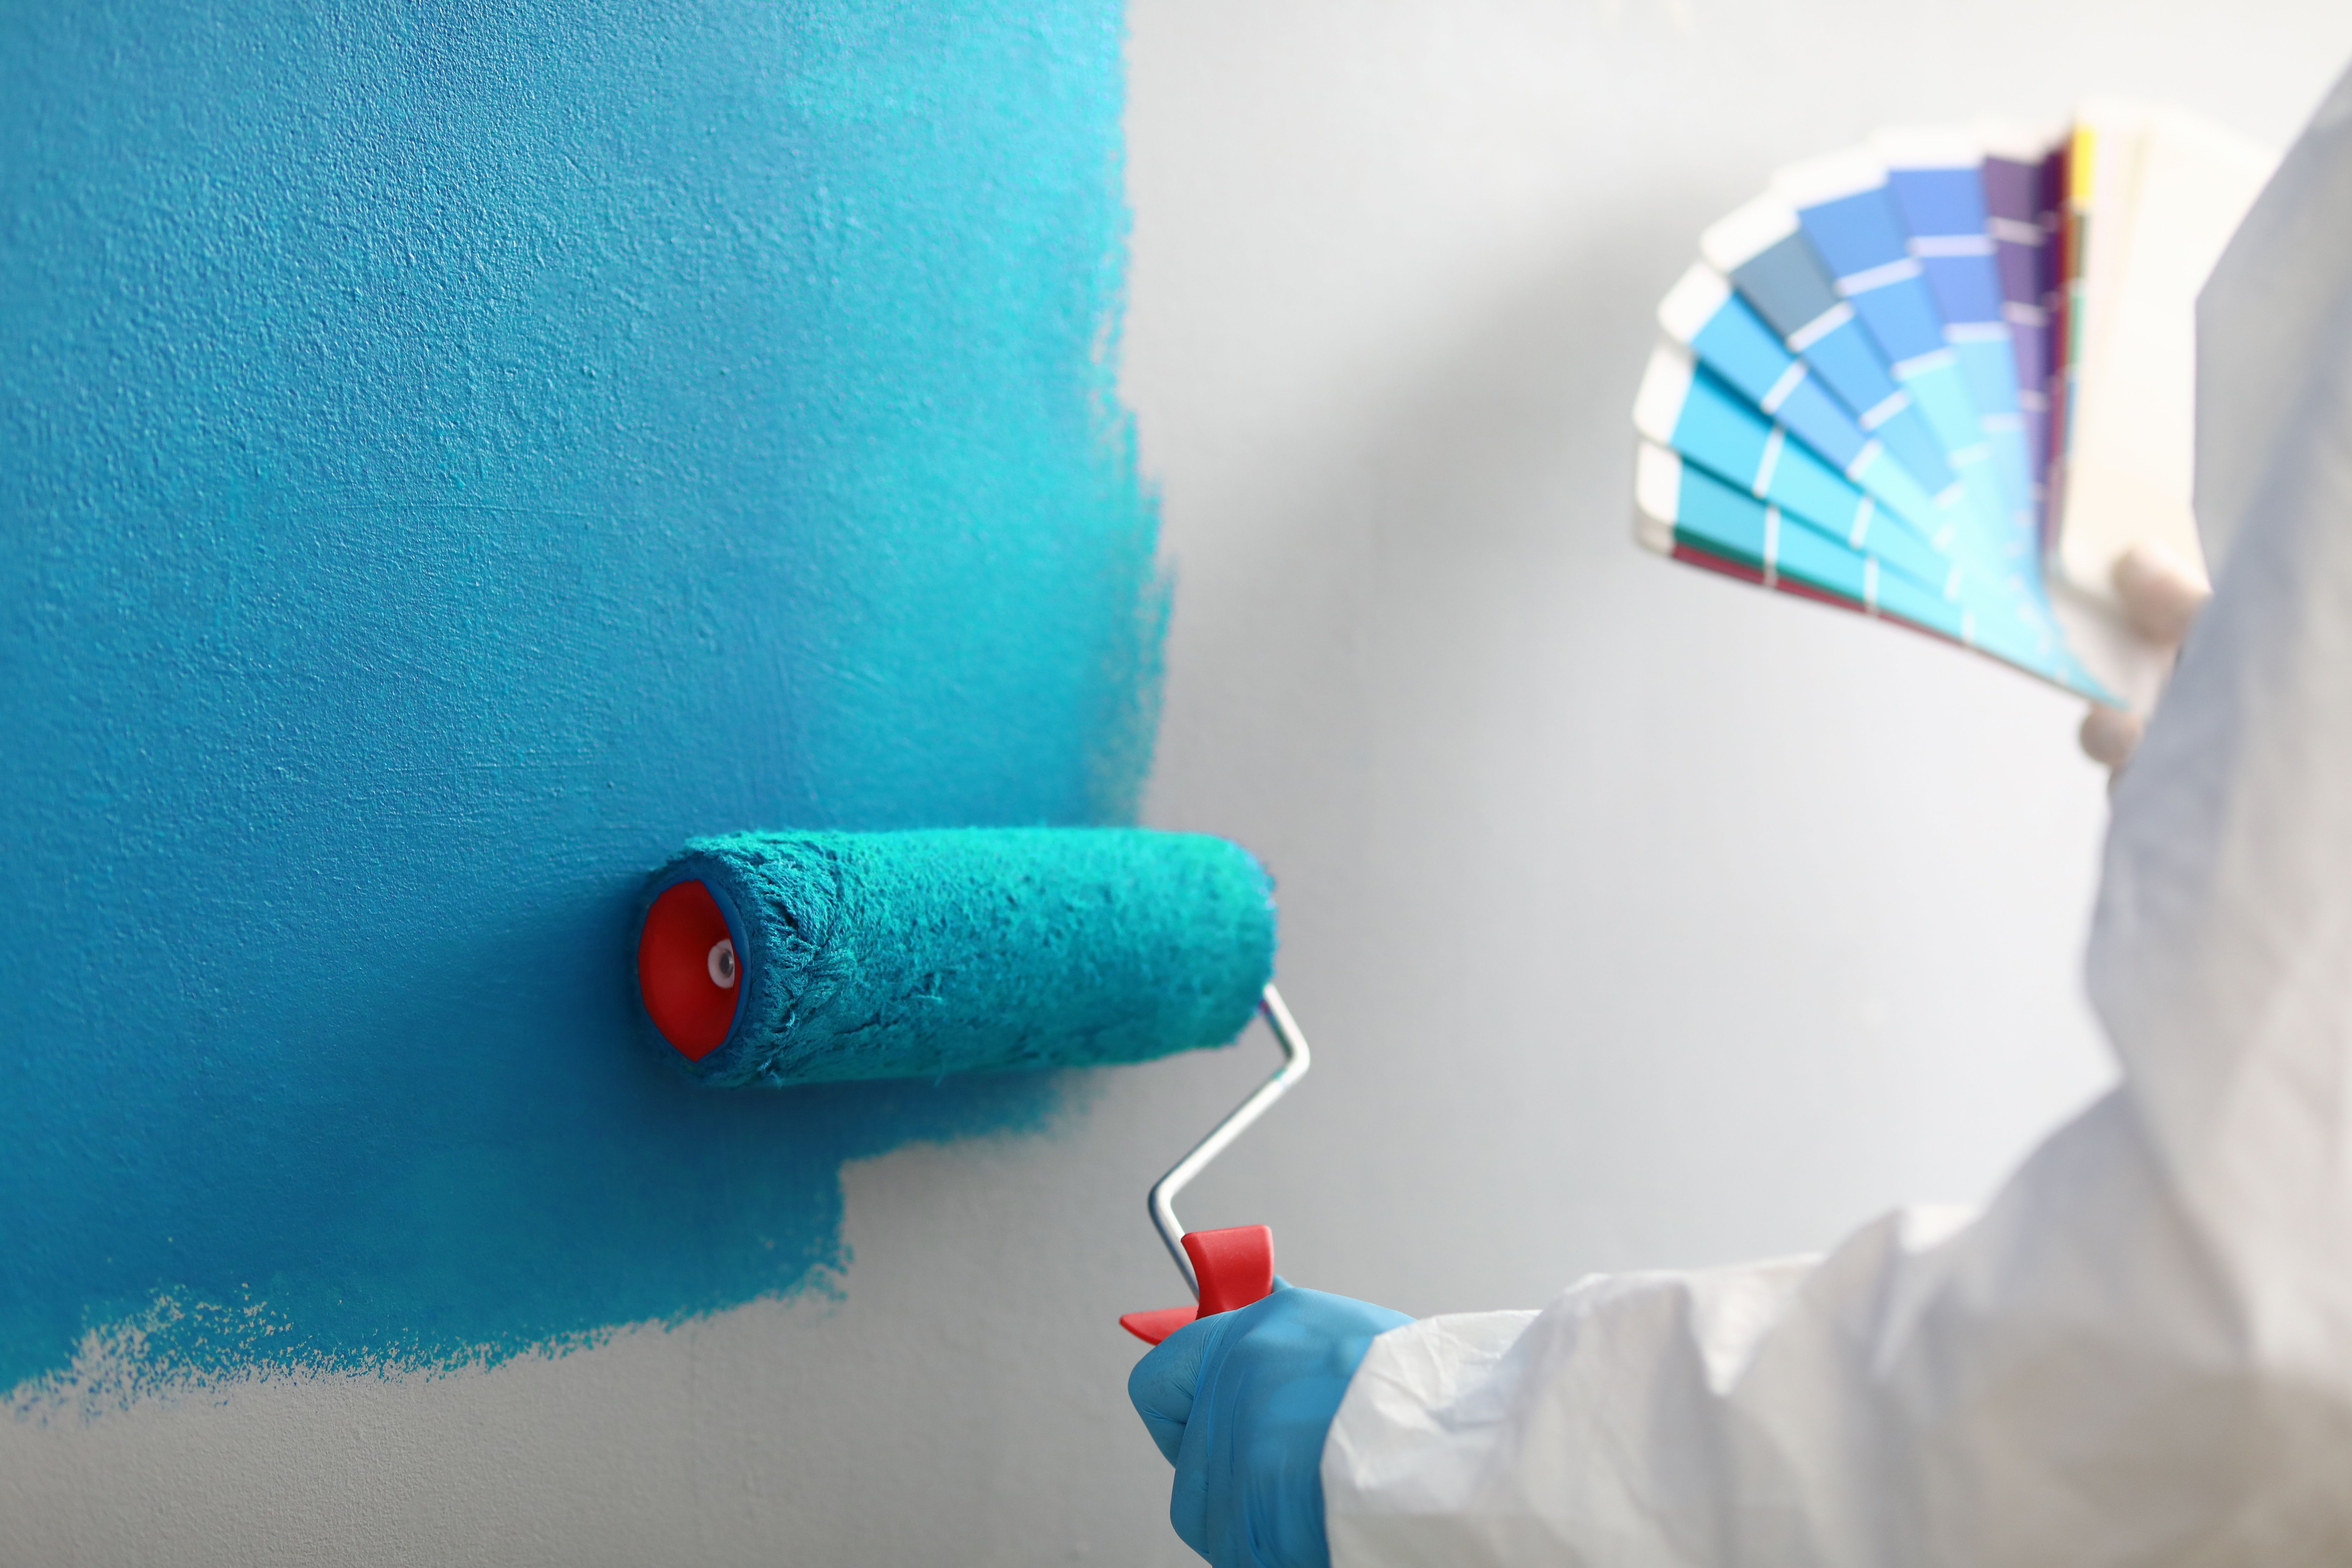
1b) Pressure washing: powerful tool, not always the default
Pressure washing can be useful, but it is not the only way to clean an exterior. The goal is a clean surface without causing damage or forcing water behind materials.
Homeowner planning note: if the home is washed, allow enough time for drying. Drying time depends on weather, shade, and material. Rushing this step can cause problems later.
2) Scraping: removing what’s already failing
If paint is peeling or flaking, painting over it doesn’t fix it. Scraping removes loose layers so new coatings bond to a stable surface.
The goal is to remove what’s failing—not necessarily strip the entire home down to bare material unless conditions require it.
2a) The “stop point” when scraping
Scraping should remove what is loose. If paint is still well-bonded, the goal is usually to keep that stable layer and prep its edges so the new coating system transitions smoothly.
2b) Containment and cleanup matters
Paint chips end up in landscaping, on decks, and in entryways. Planning to contain and clean up chips is part of a professional workflow and keeps the jobsite safer and cleaner.
2c) Safety note for older homes (lead paint)
Homes built before 1978 may have lead-based paint. Scraping and sanding can create hazardous dust if lead is present. If you have an older home and expect significant scraping, review lead-safe renovation guidance and use qualified help when appropriate.
U.S. EPA overview: https://www.epa.gov/lead
3) Sanding and feathering: preventing visible edges
After scraping, you can be left with paint edges. Feathering those edges helps the finished surface look smoother by reducing hard transitions.
3a) Why feathering changes the final look
When you repaint without feathering, you can get “telegraphing” where old paint edges show through as ridges. Feathering reduces those hard edges so the new finish looks more uniform.
3b) Dust control and nearby surfaces
Exterior prep often creates dust and debris. If you have:
- Outdoor furniture
- Vehicles parked close to the home
- Plants and landscaping you want protected
…it helps to plan protection and staging before prep begins. This is also why access and site setup can affect timelines.
4) Repairs: addressing damaged wood and trim (when applicable)
Exterior painting often reveals:
- Damaged trim boards
- Soft or rotted sections (which should be assessed)
- Cracked joints and separations
Repair approach depends on the type and extent of damage. Planning includes identifying these areas early so the estimate is accurate.
4a) Repair decisions that change the estimate
Two common repair choices affect schedule and cost:
- Repair and stabilize: address small localized damage and keep the existing board.
- Replace sections: remove and replace damaged trim when the material is not sound.
If you see soft or crumbling material, treat it as a “stop and assess” moment. Cosmetic paint won’t solve underlying material failure.
5) Caulking: sealing joints and improving finish lines
Caulk is used to:
- Seal small gaps where water can enter
- Create smooth lines at trim transitions
- Improve the “finished” look where materials meet
Caulking is not a substitute for repairing significant rot or structural issues, but it plays an important role in the finish.
5a) Where caulk makes the biggest difference
Caulk is most valuable where it:
- Seals small gaps at trim joints
- Smooths transitions so paint lines look clean
- Reduces water entry at vulnerable seams
5b) Where you should be cautious with caulk
Not every gap should be sealed. Some areas are intentionally designed to drain or vent. If you seal a drainage path, you can trap moisture where you do not want it.
Planning note: if you are unsure about a specific gap, take a close-up photo and ask before sealing it.
6) Priming: when and why it matters
Primer is used when it solves a problem such as:
- Bare wood or porous surfaces needing sealing
- Stains needing blocking
- Surfaces needing better bonding
Not every area needs primer, but when conditions call for it, primer is a key durability step.
6a) Spot prime vs. full prime
Priming can be:
- Spot priming: priming bare or repaired areas only.
- Full priming: priming an entire elevation or surface.
The right approach depends on surface condition. The core goal is to create a consistent, bondable base for the finish coats.
6b) Primer is part of a system
Primer choice and finish coat choice should work together. If you are changing coating types or painting a surface with known adhesion challenges, primer is often the tool that bridges the gap.
Because every exterior is different, the best planning move is to document the current surface and discuss the intended coating system before work starts.
7) Timing: how prep affects schedule
Exterior projects often include:
- Cleaning day(s)
- Scraping and repair day(s)
- Prime day(s)
- Paint coat day(s)
Weather windows matter. In Kentucky, planning around stable conditions helps keep coats drying properly: Exterior painting seasonal planning.
7a) Drying windows are part of prep
Exterior paint planning isn’t only about “do we have a sunny day?” It is also about:
- Overnight dew and morning moisture
- Shade vs. sun exposure on different sides
- Rain timing
- Temperature swings that change dry behavior
Planning around stable windows is one of the simplest ways to reduce risk and improve consistency.
8) What to photograph for an accurate quote
Helpful photos include:
- Each side of the home (wide shots)
- Close-ups of peeling areas
- Close-ups of damaged trim
- Any hard-to-access peaks or second story areas
This quote guide makes it easy to send the right info: Quote request checklist.
8a) Homeowner prep checklist (small steps that help the job)
If you’re planning an exterior paint project, these simple steps help:
- Move grills, planters, and patio furniture away from walls.
- Trim back shrubs that block access (or ask if the crew will handle it).
- Identify pets and pet areas so gates and doors can be managed safely.
- Plan parking so ladders and materials can be staged efficiently.
- Point out any areas that have leaked or held moisture in the past.
These steps do not replace professional prep, but they reduce friction and help the project move faster.
9) FAQs
Can I paint over peeling paint if I use thick primer?
Primers aren’t a substitute for removing loose paint. Loose layers need to be removed so the new system bonds to a stable surface.
Does caulk fix everything?
No. Caulk seals small gaps and improves finish lines, but it doesn’t repair damaged wood or structural problems.
Is pressure washing always required?
Not always, but cleaning is required. The method depends on siding type and condition; the goal is a clean surface ready for paint.
What is the biggest prep mistake homeowners make?
Assuming paint is “just color.” Most failures come from skipping the steps that make a surface sound and bondable: cleaning, removing loose paint, feathering edges, and priming where needed.
How can I tell if my paint is chalking?
A simple check is to rub your hand on the surface. If you see a powdery residue on your hand, chalking may be present. Cleaning and prep strategy should account for it.
Next steps
- Service details: Exterior house painting
- Seasonal planning: Exterior painting in Kentucky
- Start a quote request: Request a quote

Need help planning the next step?
Share photos and rough measurements to get a clear yes/no on fit and the right follow-up.