Drywall problems tend to show up at the worst time—right before guests, when you’re listing a home, or after you’ve already picked paint colors. The good news is that many common drywall issues are fixable in a way that looks clean and holds up. The key is choosing the right repair approach for the problem.
This guide covers the most common drywall issues homeowners notice (cracks, nail pops, dents, and tape seams), what usually causes them, and what repair strategies tend to last.
Quick takeaways
- Not all cracks are the same. The cause determines whether the repair will last.
- Nail pops are usually movement-related. Fixing the surface without addressing the cause can lead to repeats.
- Paint-ready drywall is a finish standard. Smoothness and texture matching matter as much as “filling the hole.”
- Plan repairs before paint. Drywall repair and painting are best coordinated as one project.
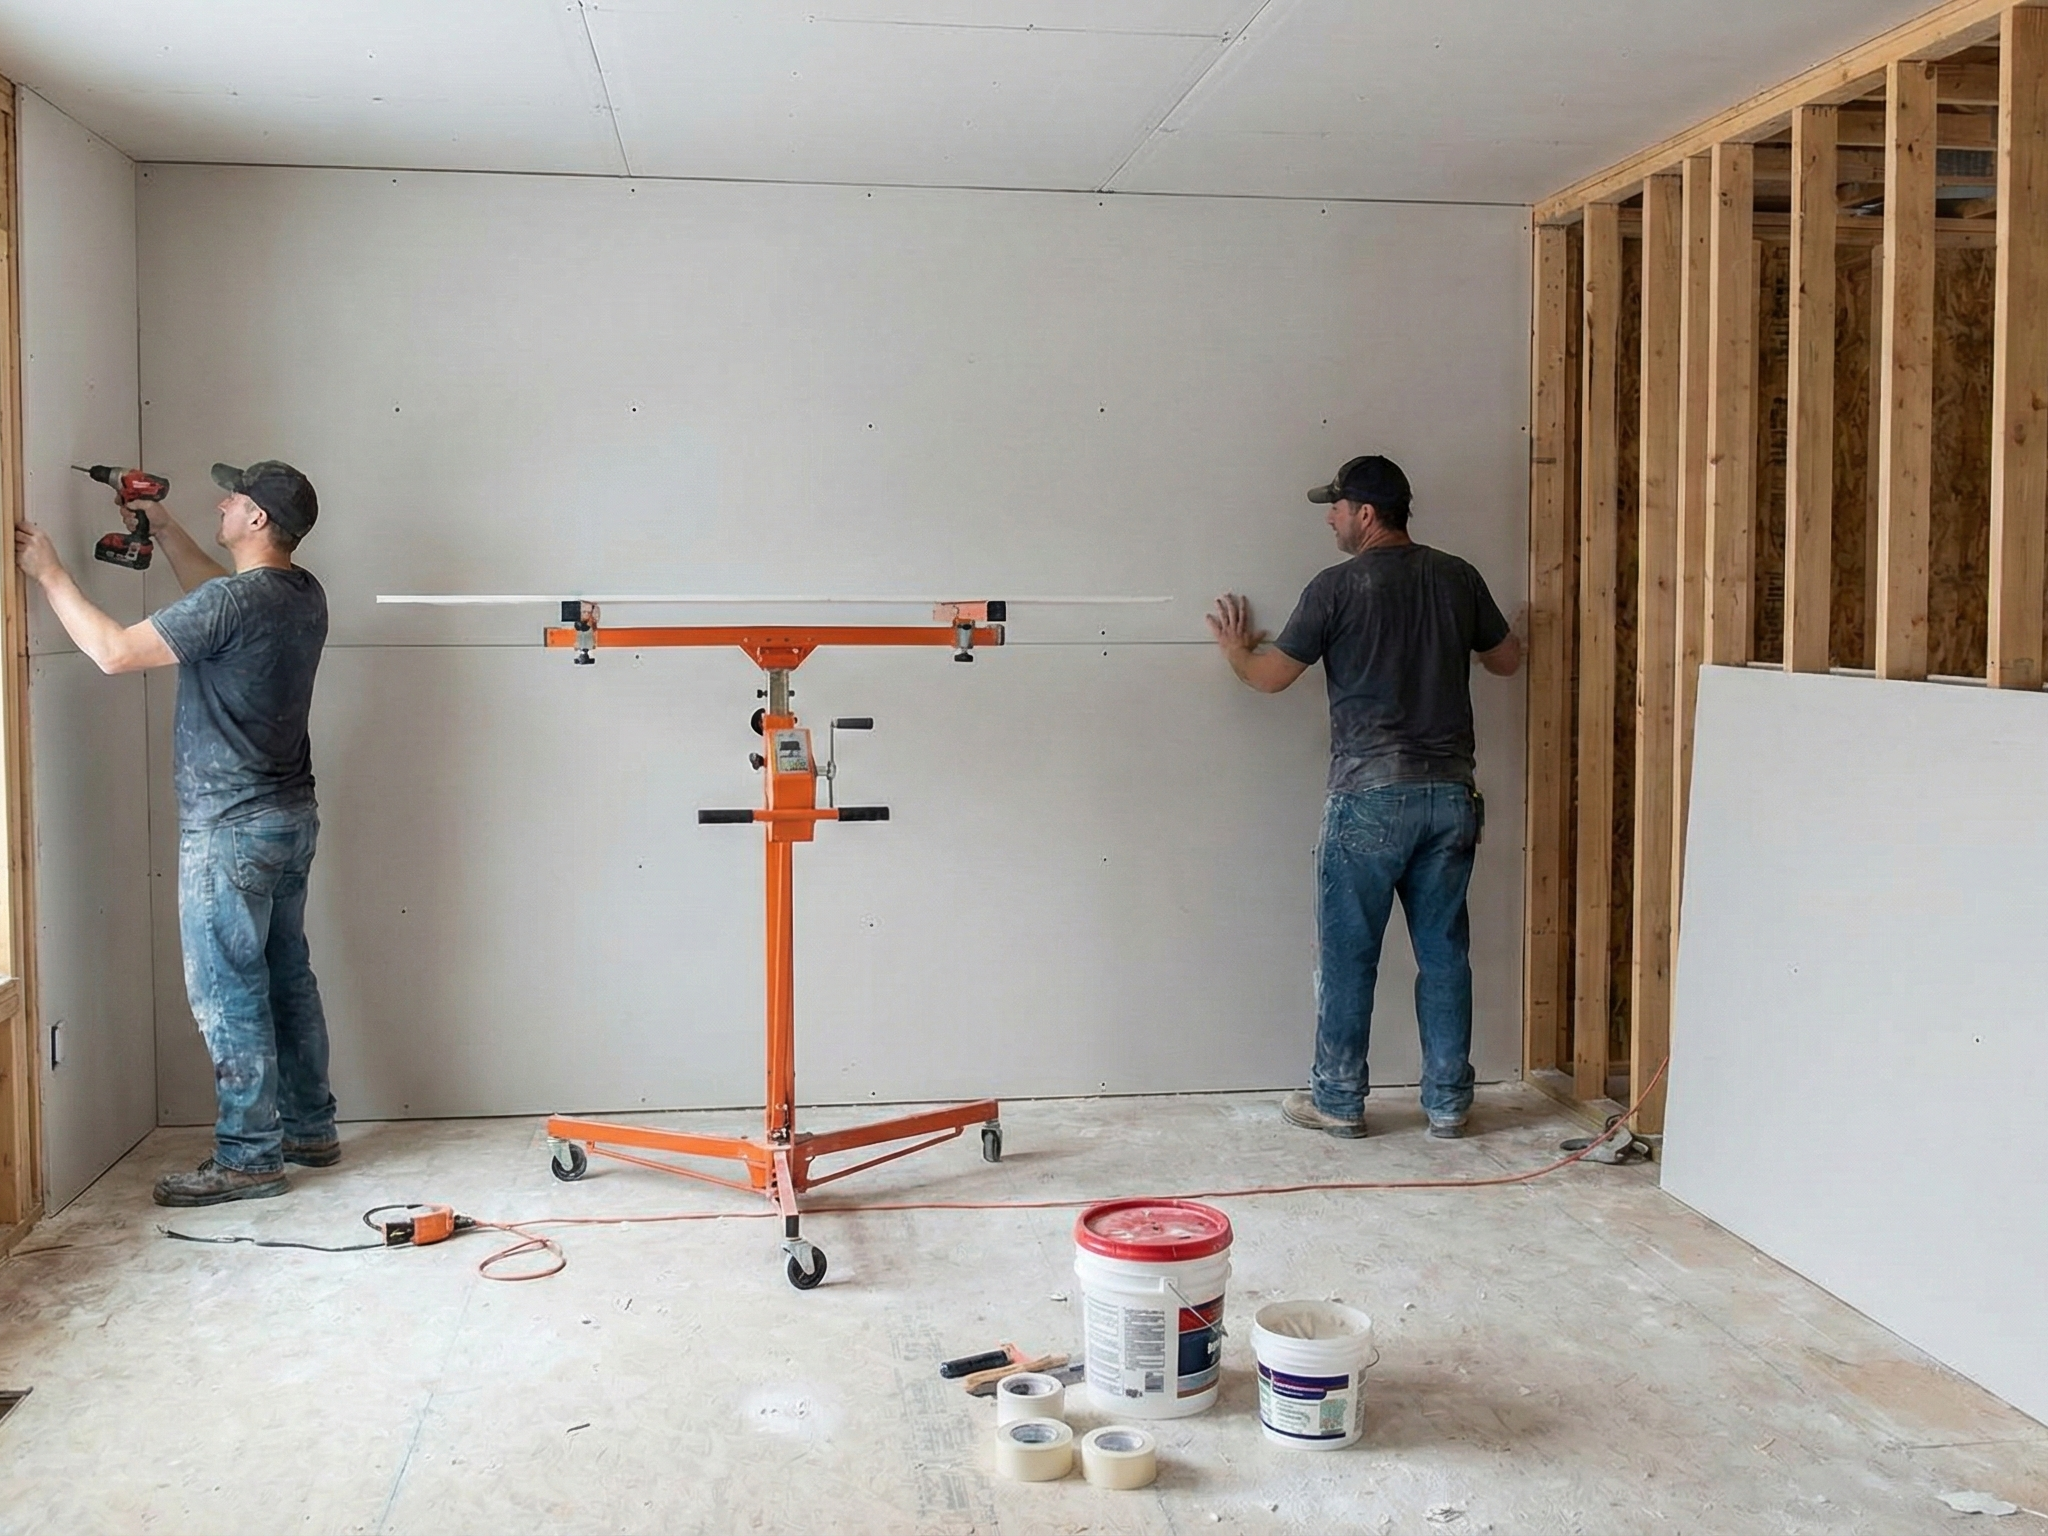
1) Drywall repair basics: what you’re really fixing
Drywall repair is usually a combination of:
- Re-attaching loose drywall or stabilizing movement
- Filling and reinforcing damaged areas
- Feathering edges so the repair disappears
- Matching texture (if the wall/ceiling is textured)
- Priming so the paint finishes evenly
If your end goal is repainting, the repair needs to be planned for the sheen you want. Higher sheens show more imperfections: Paint sheen guide.
2) Hairline cracks: when they’re normal and when they’re not
Hairline cracks often appear:
- At inside corners
- Where wall meets ceiling
- Near doors and windows
Common causes include minor settlement and seasonal movement. Repairs that tend to last usually involve:
- Proper crack prep (cleaning and opening the crack slightly when needed)
- Reinforcement where appropriate
- Feathering wide enough that the repair blends
If cracks keep returning in the same location, it often indicates ongoing movement. In those cases, managing expectations is part of a good plan.
2a) Quick crack diagnostics: what to note before you fix it
Before repairing, take a minute to note what the crack is doing. A few details help determine whether a standard repair is likely to last:
- Direction: straight vertical/horizontal cracks often track seams or framing lines; diagonal cracks can show up near doors and windows.
- Location: cracks at inside corners and ceiling lines are common in many homes; cracks that run across a field of drywall may point to movement or previous repair issues.
- Repeat behavior: if a crack opens and closes seasonally, movement is part of the story. In that case, reinforcement and flexible joints can matter more.
- Related symptoms: sticking doors, new gaps at trim, or multiple cracks appearing at once can indicate broader movement that should be assessed.
You do not need to diagnose like an engineer. The goal is choosing a repair approach that matches the problem instead of repeatedly patching the same spot.
3) Wider cracks and recurring cracks: stability first
Cracks that are wider, irregular, or recurring can be signs of:
- Movement at framing joints
- Loose drywall edges
- Past repairs that weren’t reinforced
A lasting repair often includes:
- Securing loose drywall
- Reinforcing joints where needed
- Rebuilding a clean corner line
4) Nail pops and screw pops: why they happen
A nail pop is when a fastener head pushes out slightly, creating a bump or a small crack circle.
Common causes:
- Seasonal expansion/contraction in framing
- Fasteners that were set too shallow
- Framing movement over time
A durable repair usually includes:
- Securing the drywall properly (often with new fasteners set correctly)
- Removing or stabilizing the popped area
- Filling and feathering
- Priming before paint
4a) How to reduce nail pops coming back
For recurring pops, the repair usually fails because the drywall can still move. Adding properly placed fasteners near the pop (set correctly) is often part of a longer-lasting fix. The goal is to secure the sheet, then rebuild the surface so it blends after paint.
5) Dents, dings, and doorknob holes
Small dents and dings are usually straightforward, but the finished look depends on:
- How well the repair is feathered
- Whether the wall has texture
- Whether primer is used to prevent flashing
If a doorknob repeatedly hits a wall, it’s also worth addressing the cause (door stop) so the repair isn’t immediately re-damaged.
6) Water stains and moisture concerns
If you see stains, bubbling paint, or soft drywall, it’s important to identify and stop the moisture source before repairing the surface. Otherwise, repairs can fail or discolor again.
This guide doesn’t replace moisture diagnostics. The practical takeaway is: treat water issues as a “stop and assess” moment before cosmetic work.
7) Tape seams and corner bead issues
Visible seams, peeling tape, or corner bead damage can show up as:
- A line telegraphing through paint
- A bubbled tape edge
- Chipped or dented corners
Lasting repairs focus on:
- Removing loose material
- Rebuilding a stable edge
- Feathering the repair so it disappears after paint
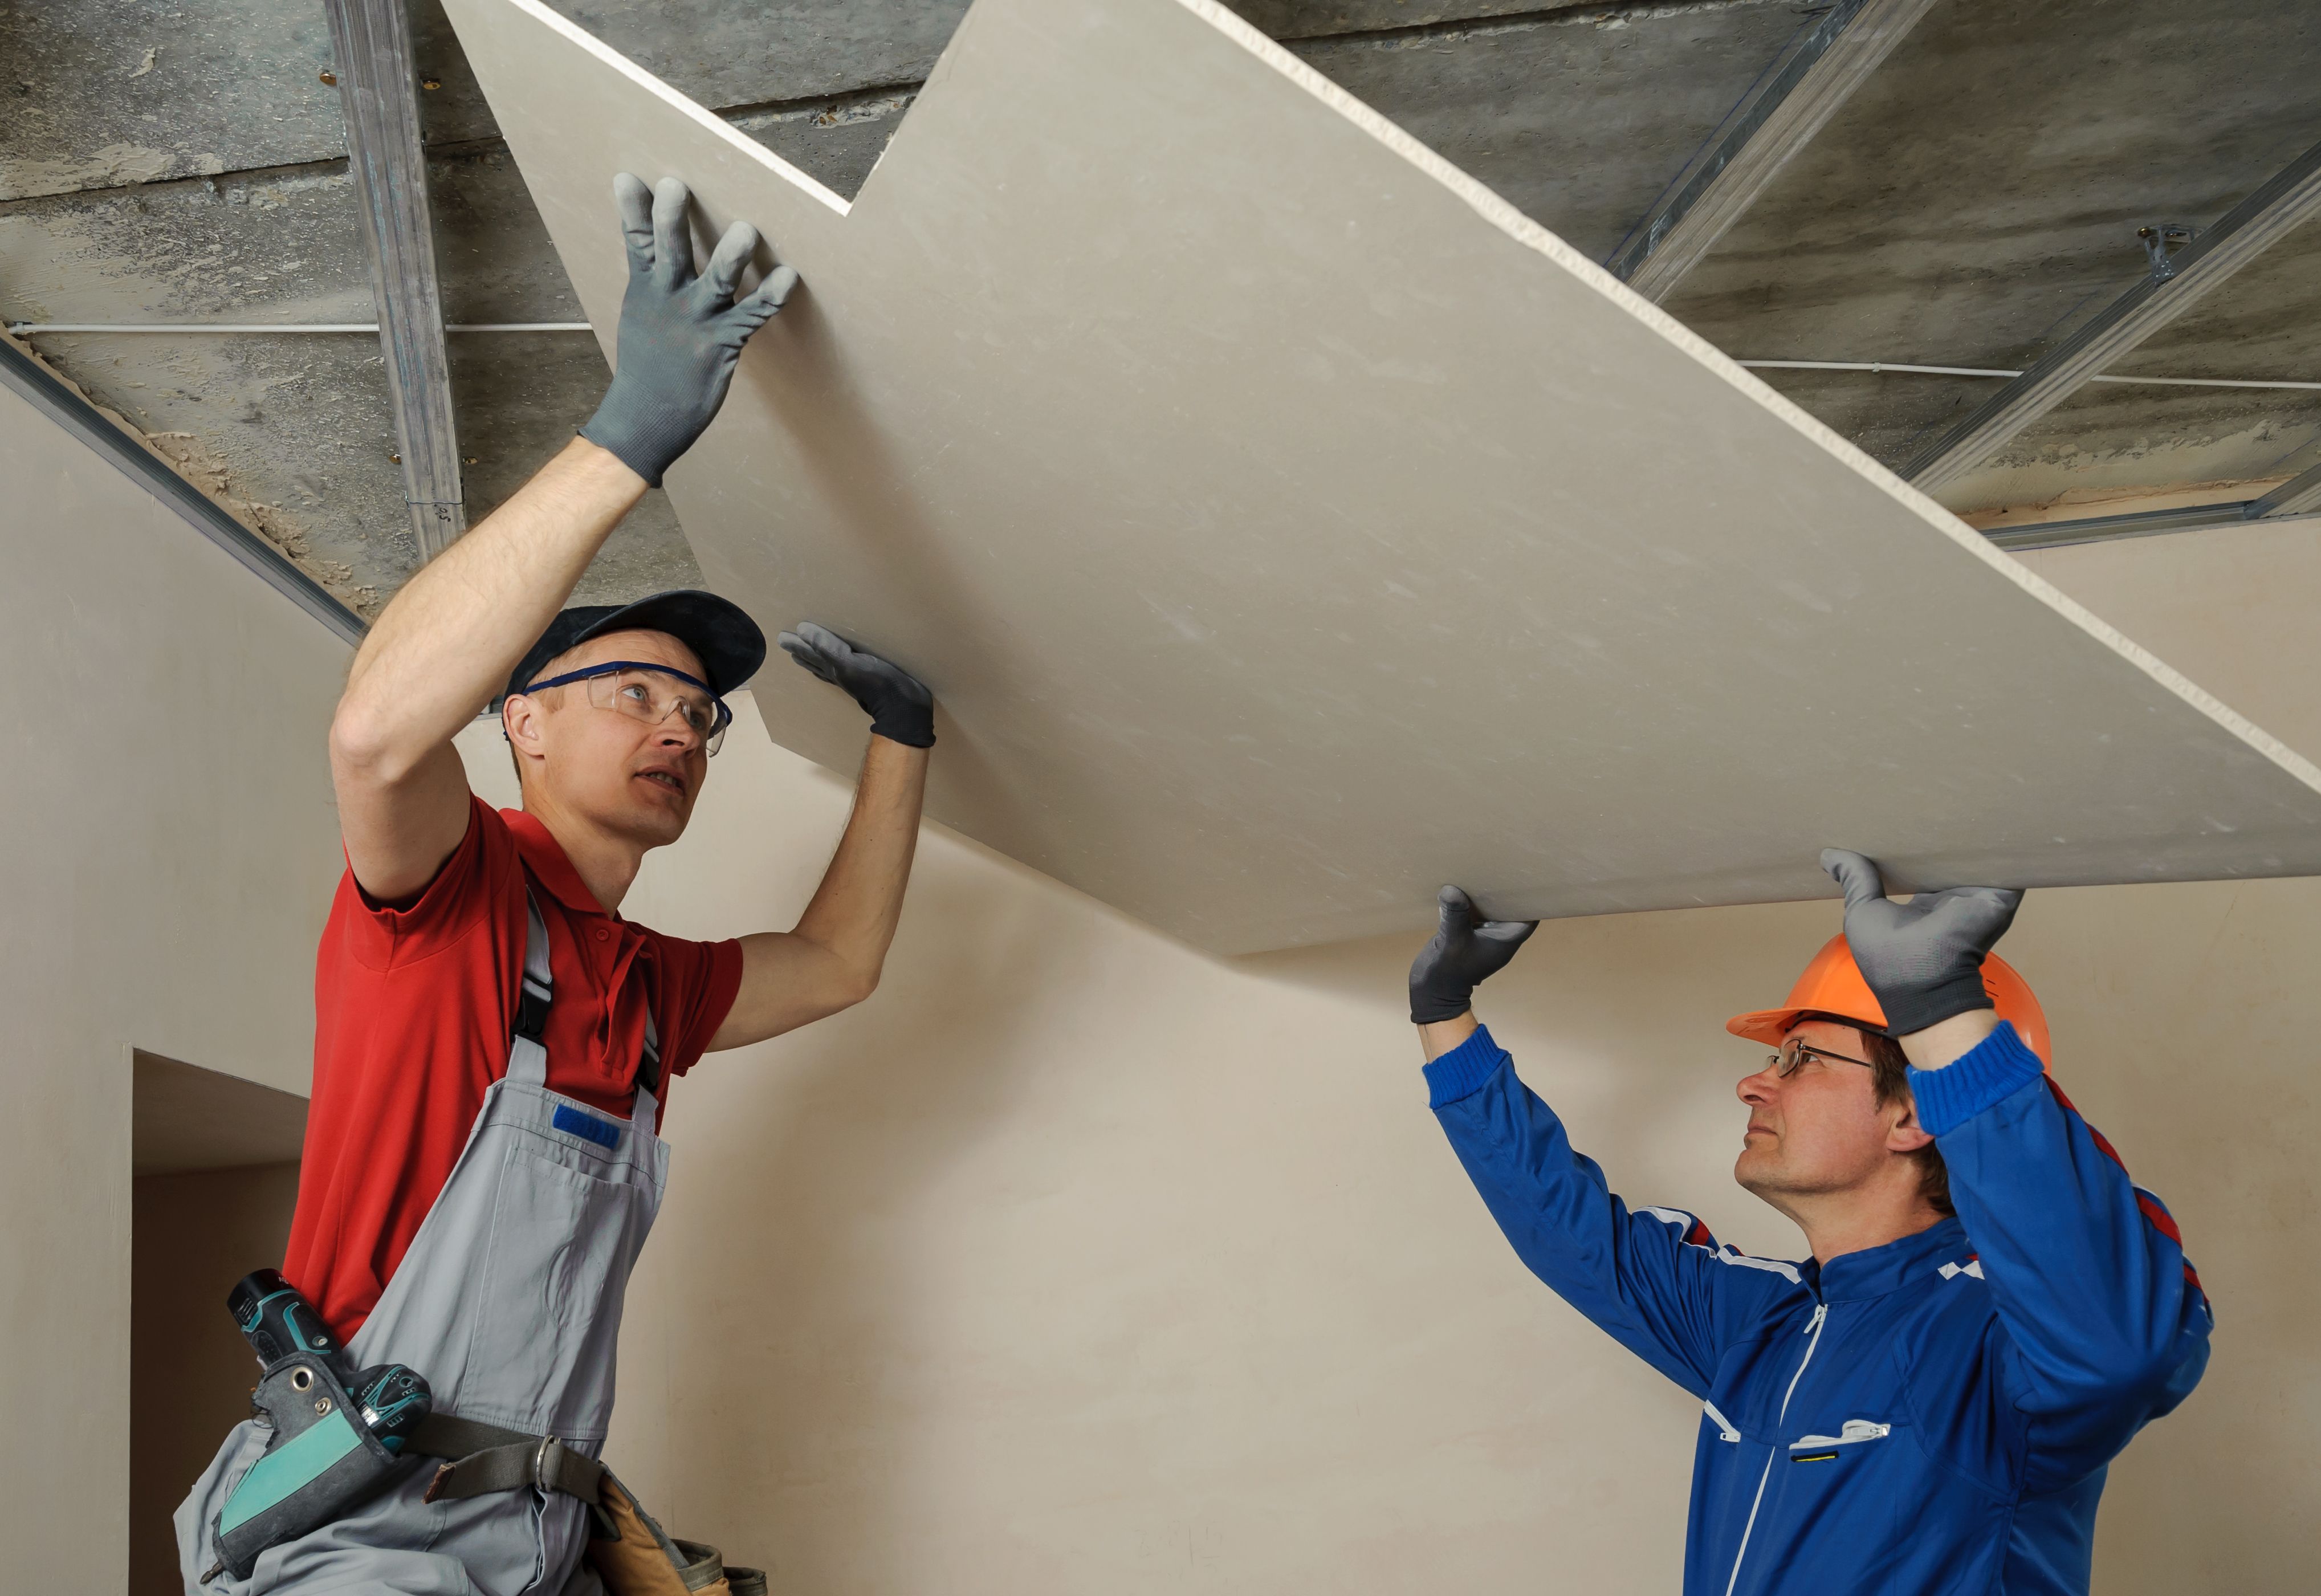
8) Texture matching: why it’s the hardest part
On textured walls/ceilings, the repair isn’t “done” until the texture blends. Texture matching often takes:
- The right material and technique
- Multiple passes
- Time to dry before priming and painting
If you want a deeper look at texture matching strategies, see: Patching drywall holes and matching texture.
8a) Smooth walls are less forgiving than textured walls
Texture is sometimes more forgiving because it can hide minor plane differences. Smooth walls do the opposite. On smooth walls, the repair has to be very flat and very well feathered, or it will show in strong light (especially with higher sheen paint). If your home has smooth walls and big window light, plan for wider feathering and more careful sanding.
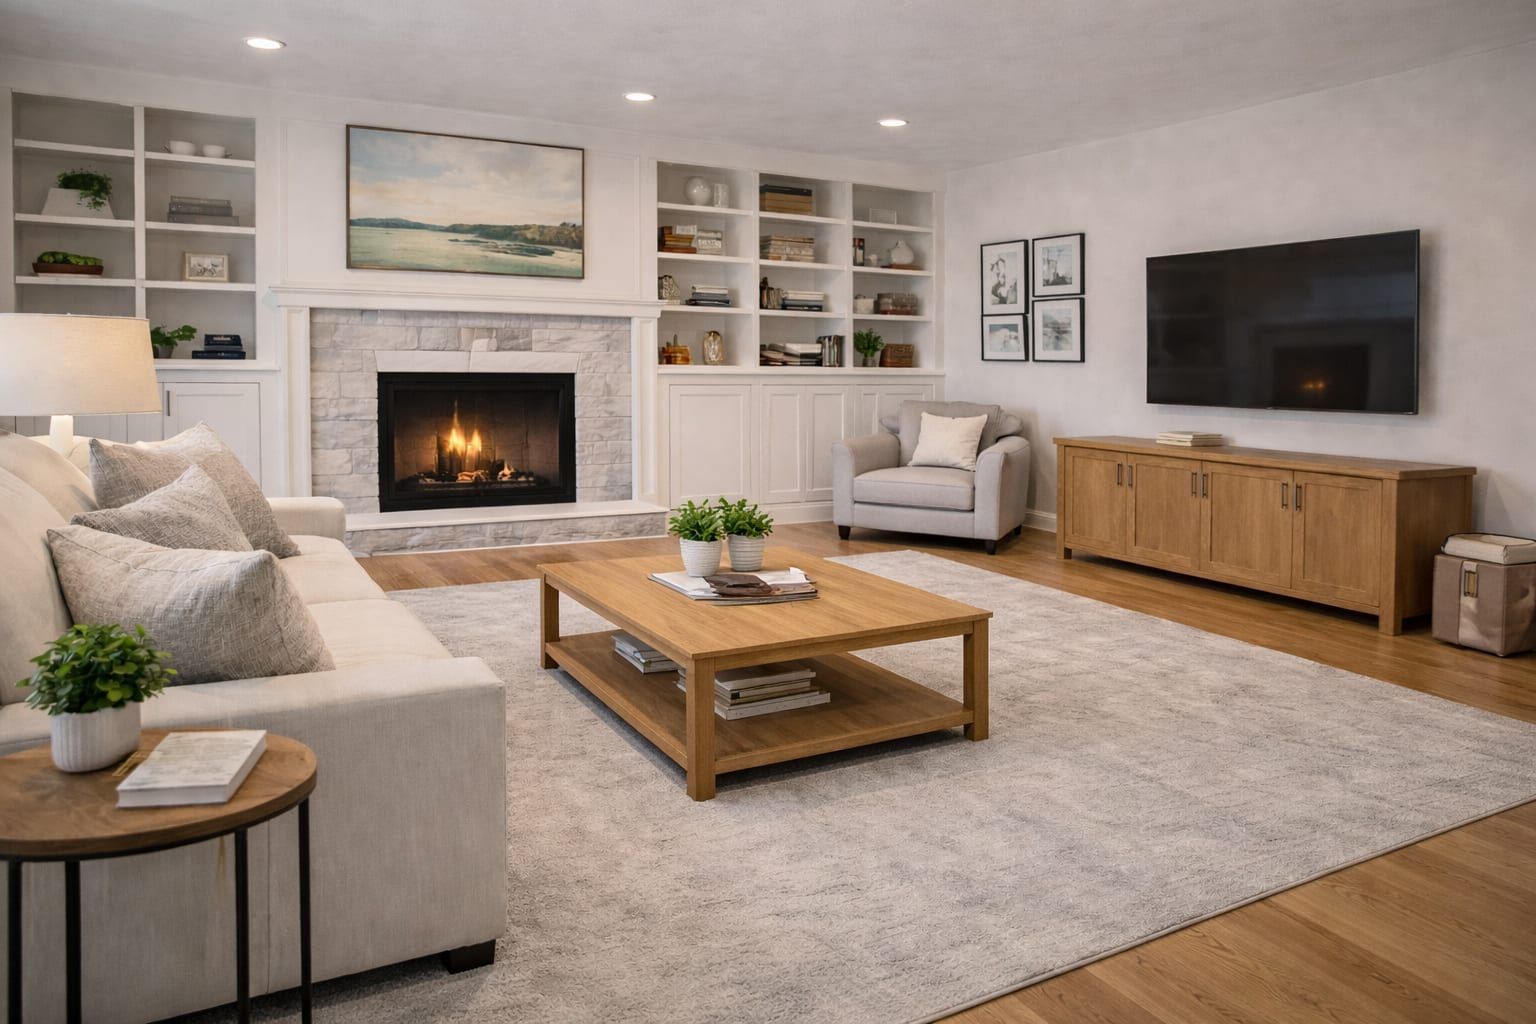
9) Plan drywall repair with paint in mind
If you’re repainting, the best results usually come from planning:
- Repair details (what gets fixed, what’s “as-is”)
- Primer strategy (especially after patches and stains)
- Paint sheen (higher sheen shows more)
For a practical prep list before painting starts: Interior painting prep checklist.
9a) What to expect in real life: dust, drying, and finish blending
Drywall repair is usually not a one-step process. Even small repairs commonly involve:
- Dry time between coats: compound needs time to dry before sanding or recoating.
- Sanding and dust control: sanding is what makes the repair disappear, but it also creates dust. Protecting adjacent areas matters.
- Primer before paint: primer helps reduce flashing so the paint sheen looks consistent.
If you want the repair to fully disappear, plan for blending. That may mean painting a full wall in certain lighting conditions, especially when using higher sheens or when the wall has strong raking light.
9b) What to share for a faster estimate and cleaner quote
Drywall repair work can vary a lot, so a few details help confirm what is needed:
- Photos of each area (wide shot + close-up)
- Whether the surface is smooth or textured
- Notes about recurring cracks (do they return seasonally?)
- Any moisture history (past leaks, stains, soft drywall)
- Whether repainting is part of the plan
If you want a simple format for sending this information, the blog quote checklist works for drywall projects too: Quote request checklist.
10) FAQs
Why do drywall cracks come back?
Usually because the underlying movement was not addressed or the repair wasn’t reinforced. Some movement is normal; the goal is a repair strategy that handles it as well as possible.
Can you repair drywall without repainting?
Sometimes, but most repairs require priming and paint touch-up to blend. If you want the repair to disappear, repainting the area (or the full wall) is usually part of the plan.
What’s the fastest way to make drywall look good before listing photos?
Prioritize the most visible areas (entry, main hallway, living room) and plan repairs + paint together so patches don’t flash.
Do drywall cracks mean a serious structural issue?
Not always. Many cracks are from normal movement, seasonal changes, or older seams that were not reinforced well. That said, if you see multiple new cracks at once, doors that suddenly stick, or signs of ongoing moisture, it is worth assessing the cause before doing cosmetic work.
Next steps
Photos in natural light (wide + close-up) help confirm details and texture needs quickly. Also note if the wall will be repainted and what sheen you want before repairs begin on site.
- Drywall service details: Drywall
- Plan paint and repairs together: Interior painting prep
- Start a quote request: Request a quote
Need help planning the next step?
Share photos and rough measurements to get a clear yes/no on fit and the right follow-up.