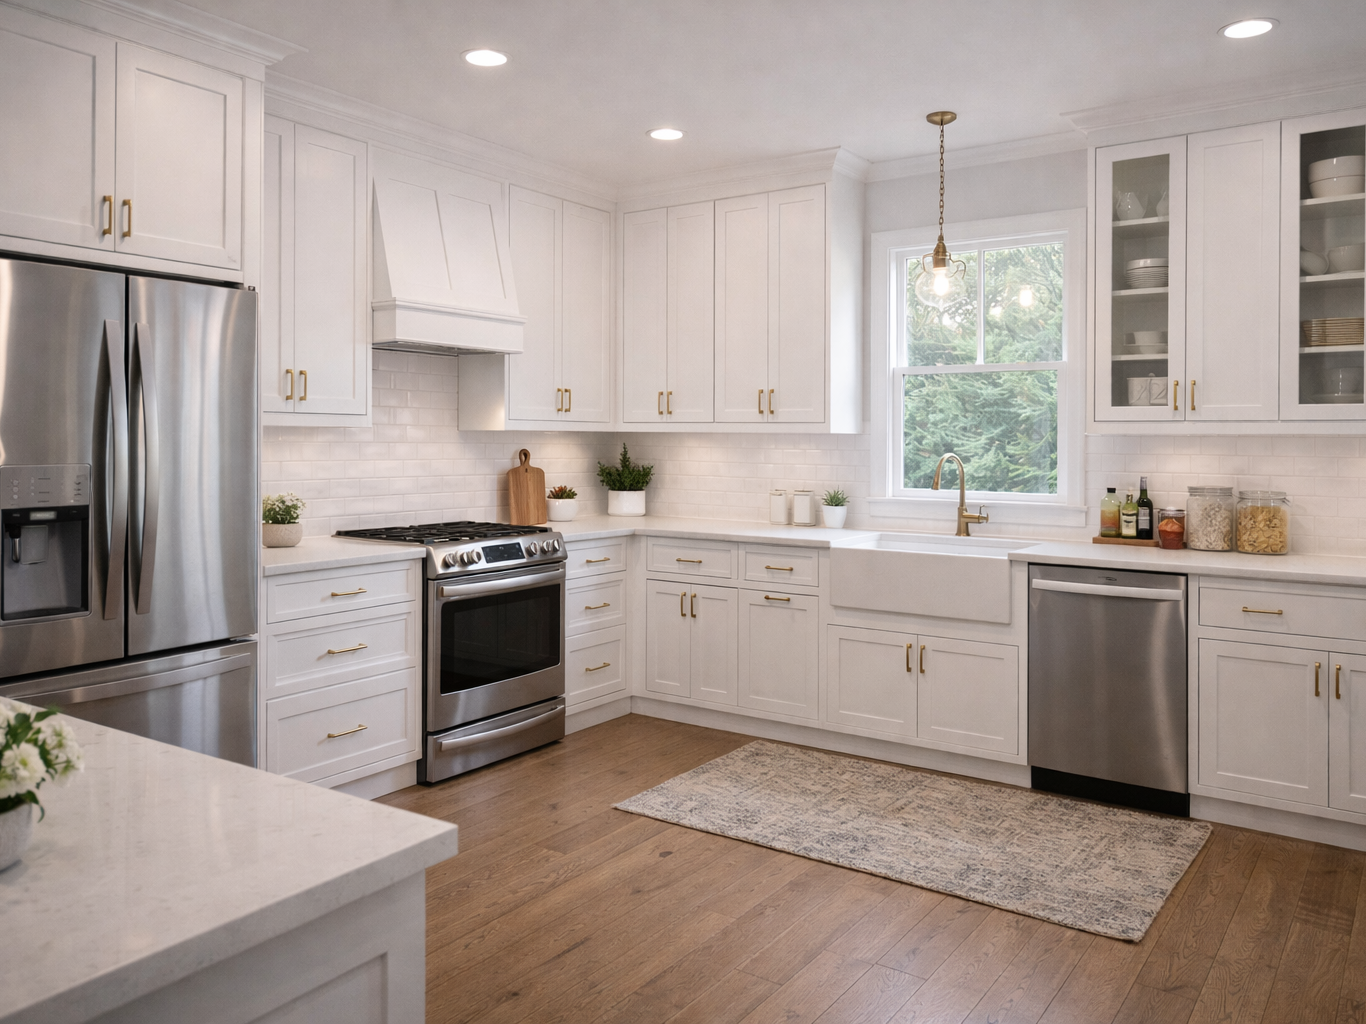
Cabinet installation affects more than storage. It affects workflow, clearances, and how finished the entire space feels. Most cabinet problems homeowners notice—uneven lines, awkward gaps, doors that conflict—can be prevented with better planning before ordering.
This guide covers the key measurements and decisions that keep cabinet installs smooth and predictable.
Quick takeaways
- Measure more than wall length. Clearances, corners, and obstacles drive layout success.
- Confirm what’s out of level/out of plumb. Real walls and floors aren’t perfect.
- Plan around appliances and doors. Conflicts are common without clearance checks.
- Coordinate timing with other finishes. Counters, backsplashes, and paint sequencing matter.
1) Define what “cabinet installation” includes
Cabinet work can mean different things:
- Base cabinets only
- Wall cabinets only
- Full kitchen layout (bases + uppers)
- Pantry cabinets
Clarifying what’s included early makes planning and quoting easier. See our cabinet service overview: Cabinet installation.
Clarity on what’s included also helps you avoid a common mistake: assuming finish details are included. If you want a “built-in” look, make sure you are planning for fillers, end panels, and trim details as part of the project (not as an afterthought).
2) Measure the room (not just one wall)
A reliable layout starts with:
- Wall lengths (each wall, not just one run)
- Ceiling height
- Window and door locations (including casing)
- Plumbing/electrical fixed points (sink, outlets)
Take measurements in multiple places when possible. Rooms can vary from one end to the other.
2a) Take diagonal measurements (out-of-square rooms are normal)
If you want a quick read on whether a room is out of square, measure diagonals across the main opening area. Many rooms are slightly out of square. That doesn’t stop a good install, but it does change how corners, fillers, and “straight lines” need to be planned.
In practice, the goal is not to make the room perfect. The goal is to make the cabinet lines look intentional and straight.
2b) Note ceiling and soffit conditions
Upper cabinets and trim details are affected by:
- Ceiling height (which may vary across the room)
- Soffits or bulkheads
- Crown molding plans (if any)
If you’re deciding between full-height cabinets and a shorter upper run, ceiling realities and soffits often decide what is possible.
3) Obstacles and “surprises” to account for
Common layout disruptors:
- Radiators and vents
- Baseboard heaters
- Outlets and switches
- Pipes that aren’t where you expect
- Wall bumps or chases
Photos help reveal these early.
3a) Electrical, lighting, and outlet planning
Cabinet layouts often interact with:
- Outlet placement above counters
- Under-cabinet lighting plans
- Range hood or microwave locations
You do not need a full electrical plan to start cabinet planning, but you do want to identify where the fixed points are so cabinet placement does not create surprises later.
4) Level and plumb reality
Cabinets highlight uneven conditions:
- Out-of-level floors create stepped lines.
- Out-of-plumb walls create gaps behind cabinets.
Part of installation quality is how these conditions are handled so the final lines look straight and intentional.
4a) What “leveling cabinets” usually involves
In imperfect rooms, installers often:
- Establish a level reference line
- Shim cabinets to that line
- Use fillers and panels to manage wall gaps
This is normal and expected. It is also one reason cabinet work can take longer than people assume. If you want the finished lines to be straight, the setup work matters.
5) Clearances: doors, drawers, and appliance swing
Clearances make or break usability:
- Can a dishwasher open fully without hitting a handle?
- Do corner drawers or doors collide?
- Is there enough space for a refrigerator door swing?
Planning around these details prevents costly changes after install.
5a) Walkways and islands (comfort matters)
If your plan includes an island or a peninsula, comfort is often about spacing:
- Can two people pass each other comfortably?
- Can appliance doors open without blocking the main path?
- Do drawers clear each other when opened at the same time?
You don’t need to memorize design rules to plan well. The practical goal is to avoid a layout that looks good on paper but feels tight in daily use.
6) Hardware planning: knob/pull placement and feel
Hardware placement affects daily experience. It’s helpful to decide:
- Knobs vs. pulls
- Finish family (consistent across the space)
- Placement standard (height and alignment)
If you want a deeper guide, see: Cabinet hardware placement guide.
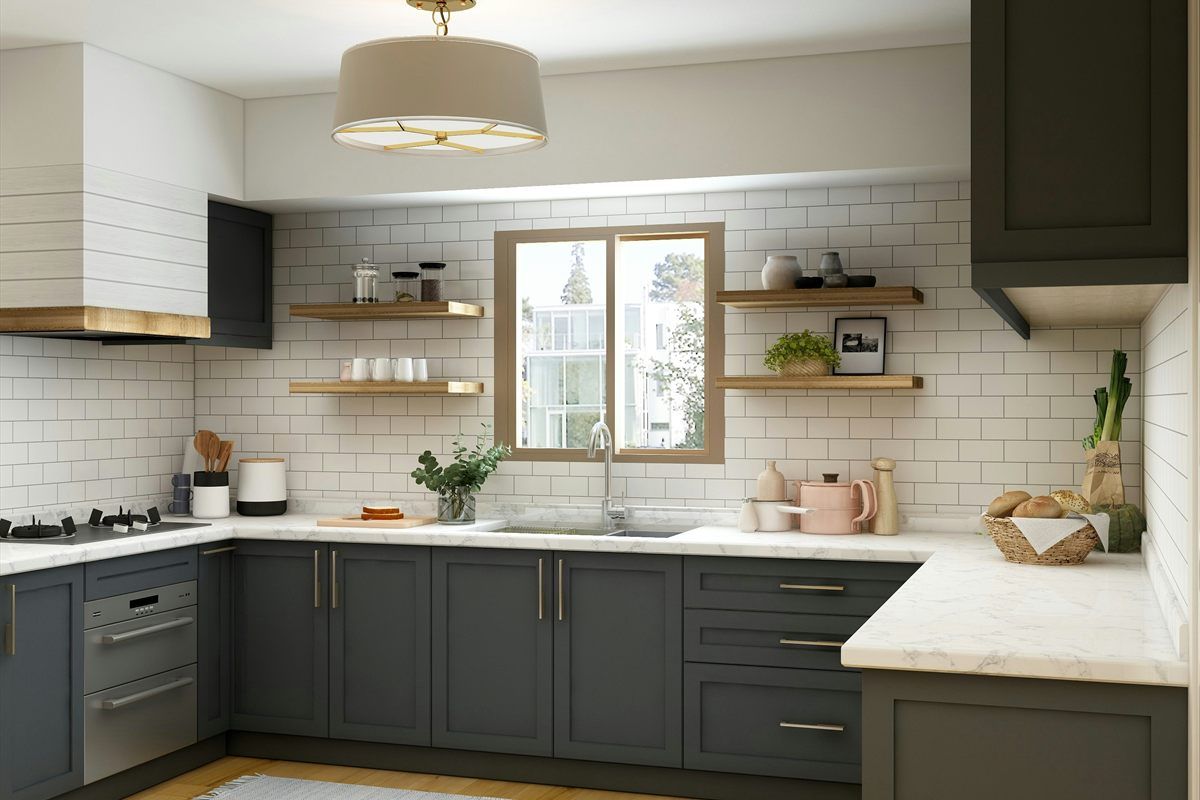
6a) Fillers, end panels, and trim: what makes cabinets look “built-in”
Many cabinet problems are not really cabinet problems. They are finish detail problems:
- A cabinet run stops short of a wall and leaves an awkward gap.
- A door handle hits a wall or appliance because there is no clearance.
- An exposed cabinet side looks unfinished because it needs a panel or skin.
That is where fillers and panels come in. They are not wasted space when used intentionally. They are often the difference between “installed cabinets” and a finished, custom-looking result.
Common details to plan:
- Fillers at walls and corners: these create clearance for doors and drawers and give you a clean line at the end of a run.
- Refrigerator and pantry panels: these visually frame tall units and can help control door and drawer gaps.
- Side skins and end panels: these cover unfinished cabinet sides where a cabinet ends or is visible from another room.
- Toe kick and trim: toe kicks, scribes, and small trim pieces help blend cabinets to uneven floors and walls.
If you want a simple rule: plan where you will see cabinet sides, and plan where you need door and drawer clearance. Those two decisions usually define where fillers and panels are needed.
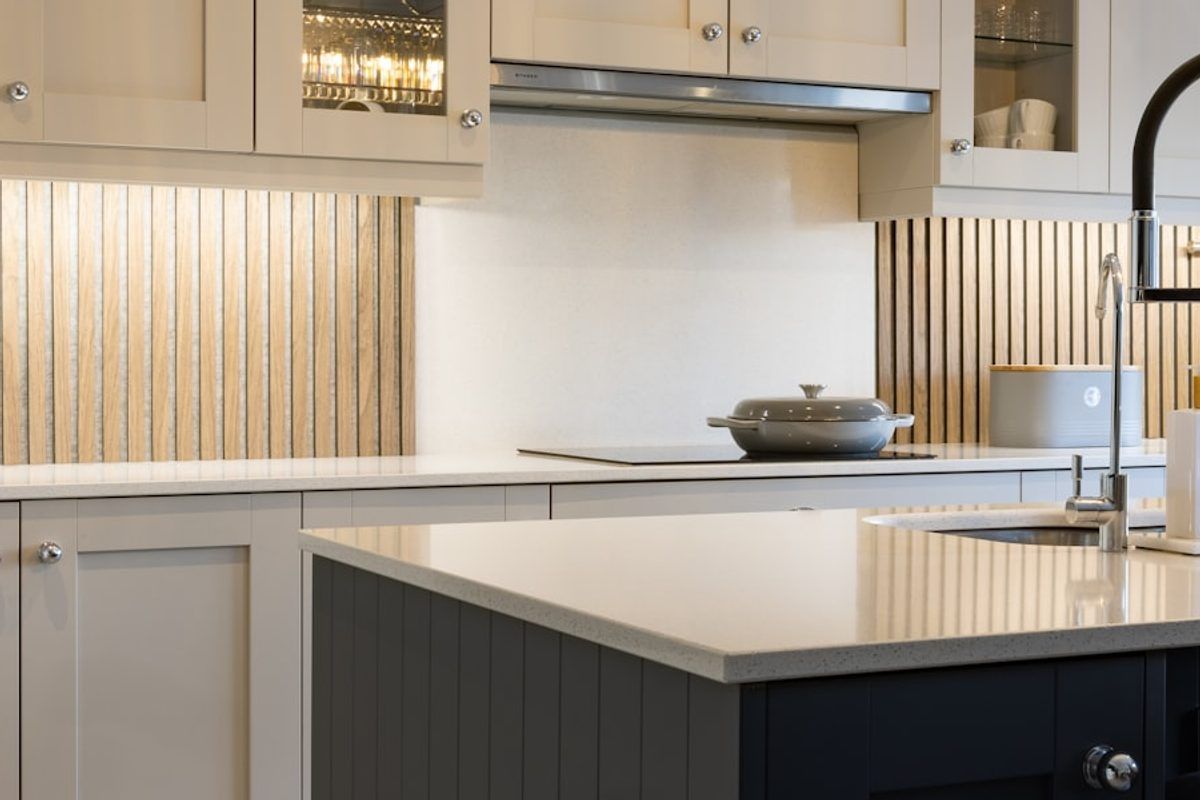
7) Coordination with countertops, backsplash, and paint
Cabinet installs often overlap with:
- Countertops (timing and measurements)
- Tile backsplash (edge planning and sequencing)
- Painting (walls and trim around cabinets)
If you’re planning a backsplash, these planning topics overlap: Tile backsplash planning.
If walls need repair before cabinets go in, plan drywall early: Drywall.
7a) Common sequencing (high-level)
Many projects follow a general order:
- Walls repaired and prepped (as needed).
- Cabinets installed and aligned.
- Countertops templated and installed.
- Backsplash installed after countertops (if included in the overall plan).
- Final paint touch-ups and hardware adjustments.
If you are combining services (painting, drywall, tile, doors, vinyl), sequencing is the difference between a clean finish and rework. See: Our process.
8) How to request a cabinet installation quote
To speed up planning, provide:
- Layout plan from the supplier (if available)
- Room photos (wide shots)
- Notes about floor level and wall condition (if known)
- Timeline goals
This quote guide makes it easy: Quote request checklist.
9) FAQs
Should cabinets go in before flooring?
It depends on the flooring type and project plan. Sequencing should be planned so finished heights and transitions work cleanly.
Can cabinets hide uneven walls?
Cabinets can be shimmed and aligned, but very uneven conditions can still create gaps. Planning for those realities early helps set expectations.
Do I need to pick hardware before install?
It’s not always required, but having a plan early reduces last-minute decisions and helps ensure a consistent look.
What is the most common planning mistake?
Assuming the room is square and level, then ordering cabinets that leave no flexibility at the ends. Fillers and panels are not “wasted space” when they are used intentionally; they are often how you get clean, straight finish lines in an imperfect room.
Do I need a final countertop selection before cabinets are installed?
Not always, but you do need a plan. Countertop thickness, overhang, and edge profile can affect clearances, backsplash height, and how appliances fit. If the countertop is not selected yet, keeping the plan flexible (and confirming assumptions) helps prevent rework later.
10) Before you order: a short checklist
If you want to reduce surprises, confirm these before ordering:
- Room measurements (multiple points, not just one wall)
- Appliance specs and swing direction
- Any soffits, bulkheads, or ceiling height changes
- Your finish goal (simple vs built-in look with panels/trim)
- Hardware style and finish direction
- Where fillers, panels, and exposed cabinet sides will be handled
- Who is responsible for trim removal/reinstall and any wall touch-ups
Even if you are still weeks away from install, clarifying these early reduces delays later.
Next steps
If you already have a supplier layout, include it with photos for faster confirmation.
- Cabinet service details: Cabinet installation
- Planning support: Our process
- Start a quote request: Request a quote
Need help planning the next step?
Share photos and rough measurements to get a clear yes/no on fit and the right follow-up.