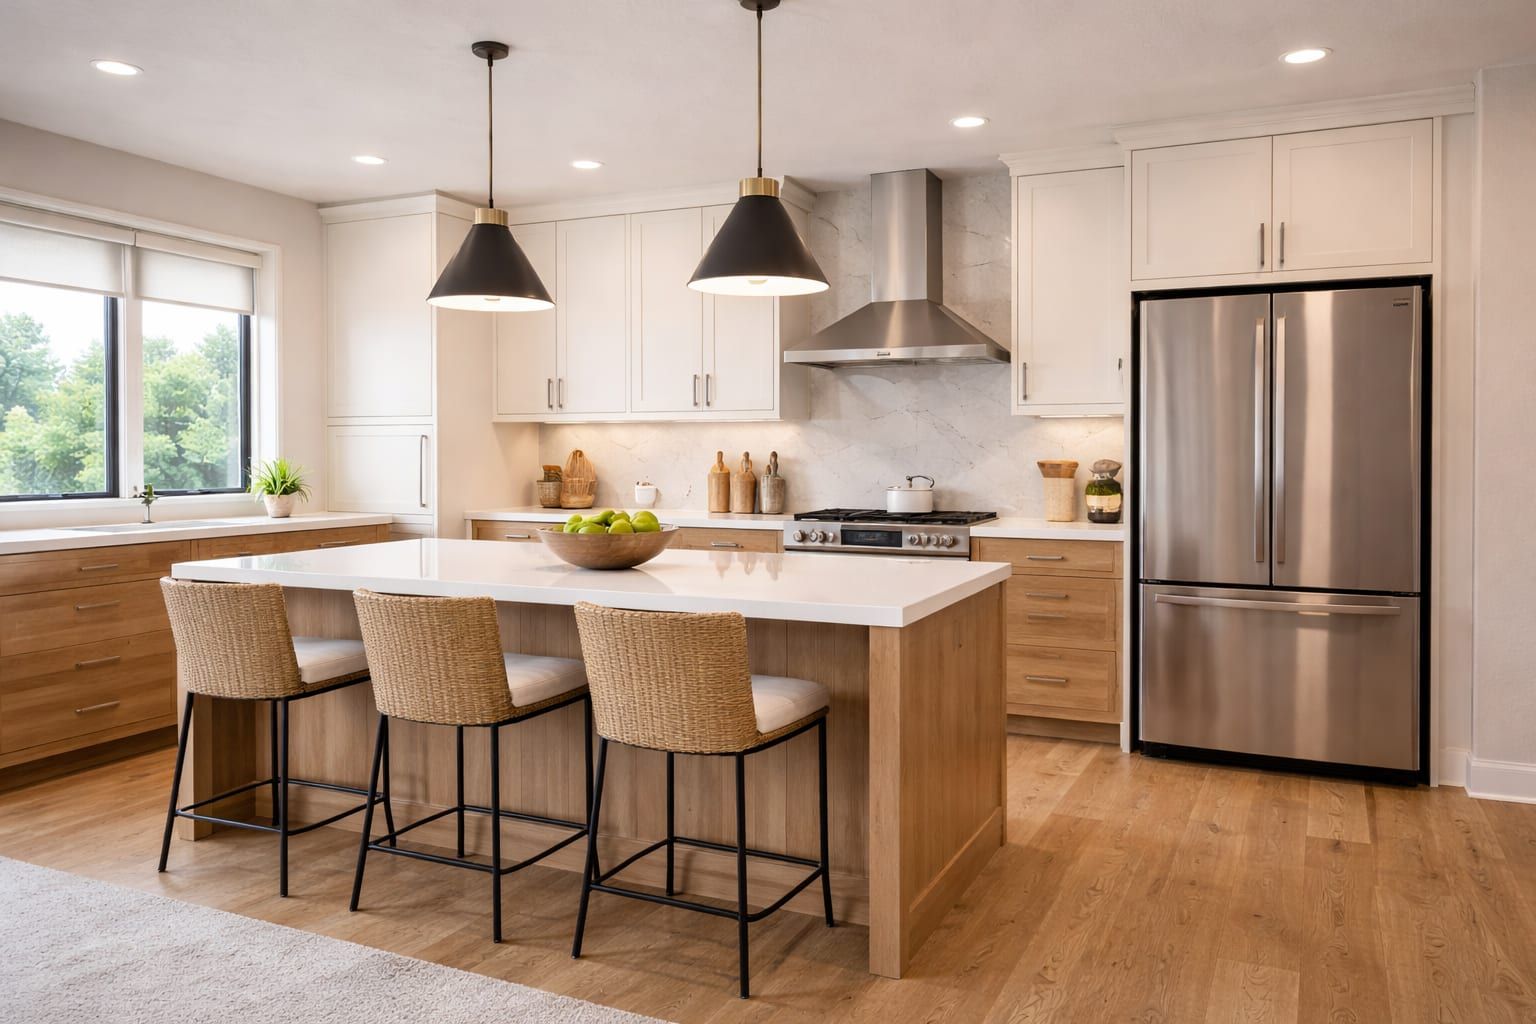
Cabinet hardware is a small detail with a big impact. A good hardware plan makes cabinets feel intentional and finished. A bad plan can make an otherwise clean install feel off: inconsistent heights, awkward placement, and handles that don’t feel good in the hand.
This guide covers how to plan cabinet hardware placement in a practical way, with a focus on consistency and usability.
Quick takeaways
- Consistency reads as quality. Use a placement standard and stick to it.
- Knobs vs. pulls is both style and function. Choose what feels right day to day.
- Test before drilling. Mock-up placement prevents regret.
- Hardware finish should be cohesive. Match within the space or within main sightlines.
0) Start with the goal: subtle, modern, or statement?
Hardware decisions are easier when you decide what role hardware should play:
- Subtle: hardware blends in and supports the cabinet style.
- Modern: hardware is clean and minimal, often with a consistent line across the run.
- Statement: hardware is meant to be noticed (finish contrast, larger pulls, or a bold style).
This matters because a “statement” plan can tolerate less inconsistency. If hardware is bold and high-contrast, crooked lines or uneven heights will show more. In practical terms: hardware is the part you touch every day, so it should look good and feel good. A little planning here prevents extra patching and rework later.
1) Decide knobs vs. pulls (and why)
Knobs can feel:
- Traditional
- Minimal
- Simple and compact
Pulls can feel:
- Modern
- Easier to grip
- More substantial
Many homes mix them intentionally (for example, knobs on doors and pulls on drawers), but consistency matters.
Practical selection tips:
- If you want a simpler look, pick one style and use it everywhere (all knobs or all pulls).
- If you want a common mixed approach, use knobs on doors and pulls on drawers, then keep finishes consistent.
- If you have kids or frequently open cabinets with full hands, pulls can feel easier day to day.
2) Set a placement “rule” for doors
Door hardware placement should be:
- Comfortable to reach
- Consistent across doors
- Aligned visually when doors sit next to each other
Even if you don’t use precise measurements in planning, choose a consistent reference point (like a corner offset or a line that aligns across the run).
Two placement patterns that are easy to live with:
- Corner-based placement: hardware sits a consistent distance from a door corner. This is common for knobs and many pull setups.
- Line-based placement: hardware aligns to a consistent visual line across multiple doors (especially when you have stacked doors or tall pantry doors).
If you have two doors that meet in the middle of a run, keep placement mirrored so the hardware reads as a pair.
3) Drawers: placement affects feel
Drawers are used differently than doors. Hardware should feel centered and natural for how you pull. If you have large drawers, pull size and placement matter more for comfort.
Comfort checks that prevent regret:
- If you open drawers one-handed often, the pull should feel easy to grab without pinching.
- If drawers are wide, a larger pull can feel more stable and reduce twisting.
- If you have a deep drawer used for heavy items, make sure the placement feels balanced and not “too high” or “too low” for leverage.
4) Alignment across mixed sizes
Cabinet layouts often include:
- Different door widths
- Drawer stacks
- Tall pantry doors
The goal is to create a consistent visual line so hardware doesn’t “bounce” up and down across the run.
In mixed layouts, decide what you want to align:
- A horizontal line across all drawer pulls
- A consistent corner offset for knobs on doors
- A consistent relationship between door hardware and drawer hardware
You don’t need perfection to get a clean look, but you do need a plan. When hardware is placed “by eye” on every door independently, the human eye catches the inconsistency.
5) Finish planning: match or contrast?
Hardware finish can:
- Blend in (subtle, calm)
- Contrast (statement finish)
The best plan often coordinates hardware with other fixed finishes (faucets, lighting, appliances) without forcing everything to match perfectly.
Simple finish strategies that work well:
- One finish everywhere in the room: easiest to keep cohesive.
- Two finishes with clear rules: for example, cabinet hardware matches door hardware, while lighting is separate.
- Contrast intentionally: for example, dark hardware on light cabinets, but keep the contrast consistent across the whole run.
If the room is being repainted, paint color and lighting will affect how a metal finish reads. Coordinating paint and cabinet details can help the whole space feel intentional: Painting.
6) Test placement before committing
Practical test method:
- Tape a sample knob/pull in a few positions
- Open doors and drawers repeatedly
- Check sightlines from the main entry point
This small step prevents permanent regrets.
If you’re installing hardware on many doors, consider using a template or jig. The goal is repeatability: the exact same placement across every cabinet. Even small measurement drift becomes visible when it’s repeated across a full kitchen run.
6a) Common hardware placement mistakes (easy to prevent)
Most regrets come from rushed decisions. Common mistakes include:
- Mixing hardware styles that don’t relate (too many different shapes)
- Choosing hardware that looks great in a photo but feels awkward in your hand
- Skipping a mock-up and drilling before you see it on the cabinet
- Setting placement door-by-door without a standard (creates a “wavy” line)
If you pick a simple rule (one finish, one style family, one placement standard) and test it before drilling, you avoid most of the common issues.
7) Hardware timing in an installation project
Hardware decisions affect:
- Install schedule
- Final adjustments
- The finished “feel” of the space
If hardware is backordered, it can delay the last details. Planning early helps keep the schedule smooth.
Ordering tips that reduce stress:
- Order a few extras (especially if you may add a matching pantry or future cabinet later).
- Confirm that the finish is consistent (mixing batches can create slight variations).
- Decide early if you want to keep hardware consistent across the whole home or just within one space.
If you’re still in the planning phase for the overall cabinet project, this guide helps you gather the right information: Cabinet installation planning.
8) FAQs
Do I need to choose hardware before cabinets are installed?
Not always, but it helps. Early decisions reduce last-minute stress and help keep placement consistent.
Can hardware be changed later?
Yes, but new hardware may not match existing holes. Testing placement first helps avoid unwanted hole patterns.
Should knobs/pulls match door hinges?
Not required, but a cohesive finish plan usually looks best. Decide what should match and what can vary.
How do I avoid crooked-looking hardware lines?
Use a repeatable placement method (template/jig) and align to a consistent reference point. If you are mixing door sizes, decide which line you want to keep consistent (for example, all drawer pulls align, while door knobs follow a corner rule).
Can hardware placement make cabinets feel “higher end”?
Yes. Clean, consistent placement is one of the small details that makes cabinetry feel intentional. Even budget cabinets can look more premium when hardware lines are consistent and the finish choice is cohesive.
9) Quick hardware planning checklist
If you want a simple checklist before drilling:
- Knobs vs. pulls (and where each will be used)
- Finish selection (one finish or a two-finish rule)
- Placement rule for doors (corner-based or line-based)
- Placement rule for drawers (centered and aligned)
- Mock-up tested in the actual space
If you want help planning a cabinet install and the finish details, start here: Cabinet installation.
10) Quote checklist: what helps confirm hardware details
If you’re bundling hardware installation into a cabinet project, these details reduce back-and-forth:
- A photo of the cabinet layout (or supplier plan) showing doors and drawers
- The hardware you selected (link or product name) and finish
- Notes about special cases (appliance pulls, tall pantry doors, or mixed styles)
- Whether you want a uniform placement standard across the whole space
The goal is to confirm the finish plan and placement plan early so the final result looks consistent. If you want a second set of eyes, send photos and your hardware shortlist and we can help confirm a simple plan.
Next steps
- Cabinet service details: Cabinet installation
- Planning guide: Cabinet installation planning
- Start a quote request: Request a quote
Need help planning the next step?
Share photos and rough measurements to get a clear yes/no on fit and the right follow-up.